Crews
Table of Contents
How to Create a Crew Resource
Accessing Crew Menu
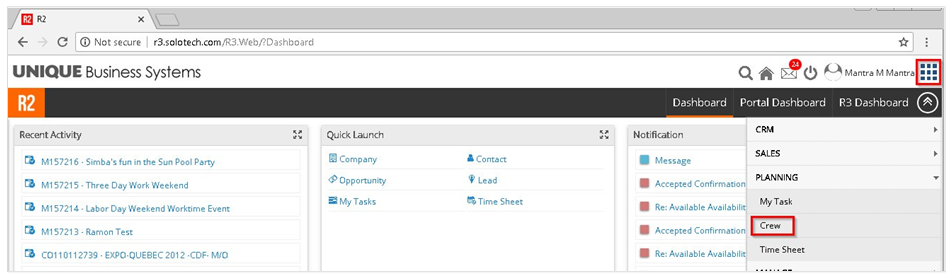
From the Dashboard page, click on the Grid icon on the far right of the top menu. This brings down a menu. Select PLANNING > Crew
Creating a Crew Resource
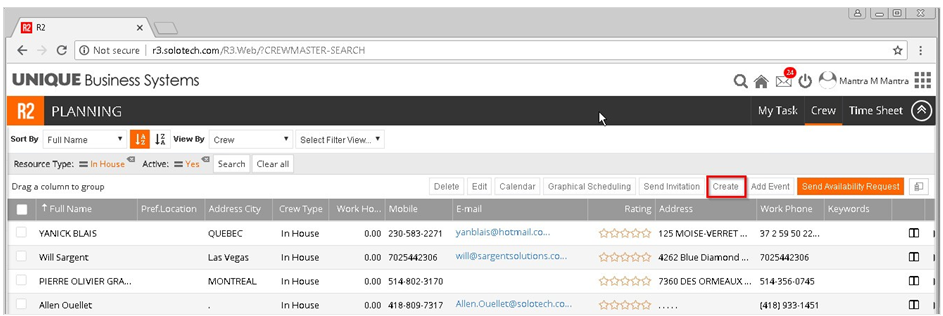
From the Crew Menu, click the CREATE button
Contact Information
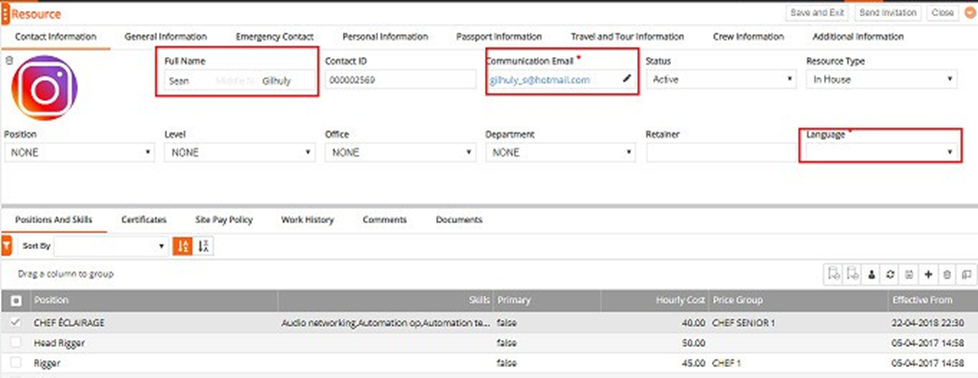
After clicking on the CREATE button, the Contact information page appears. This page is divided into a set of multiple tabs(Contact Information, General Information….). The first Tab is Contact Information:
The Minimum information required to create a crew member is:
FULL NAME
EMAIL
ADDRESS
MOBILE NUMBER
LANGUAGE
Full Name, Communication Email and Language fields are available on Contact Information Tab
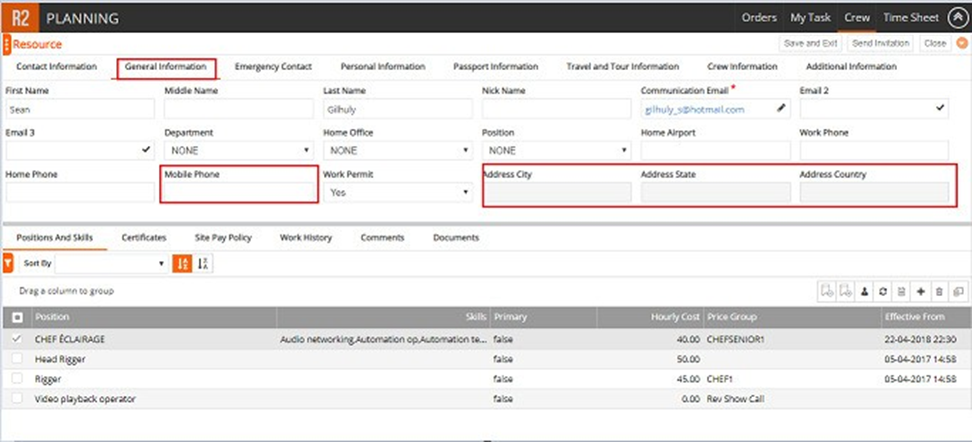
Mobile Phone and Address Information
Personal Information
The Personal Information section contains detailed information about the resource.
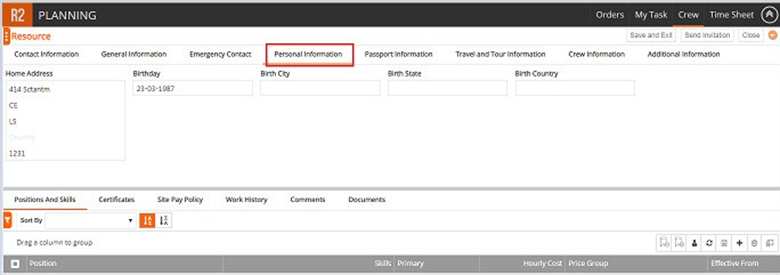
Note: If the Resource receives their correspondence is a different language, the Planner may select a different language from the Language drop down. The options that appear in contact information tab as a drop down list and are created by your System Administrator and they can create any new choices not appearing here.
Crew Information
The Crew Information section contains information relating to their Crew position.
KEY WORDS – Descriptive words that can be used to find (filter) this resource
RESOURCE TYPE –In-House, Freelancer, Broker, Union, Pay Agent
PROFICIENCY LEVEL – Internal preference scale to use when choosing a resource
BURDEN % – this percentage increases the cost of the job if this resource is assigned
HOME SITE – Sites where the resource may work. This is useful to minimize the number of resources showing when looking for resources.
PREFFED LOCATION – Planners can filter for specific locations.
HOURLY COST – Utilized for internal bookings when timesheets are process for Daily, Weekly, Monthly

Note: The Purchase Order process is by-passed if the Broker option is selected for the Resource Type. Additionally note the Preferred Location list must be created by the Administrator before that drop down can be used by the Planner.
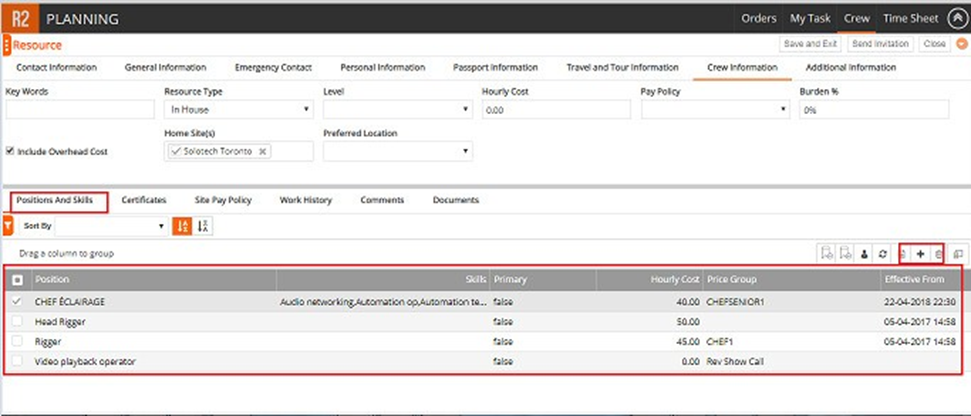
Position Details
To add Positions (and details) to this Resource, select the Plus icon and specify the Position details. Select the skills from the drop down. User can select multiple skills as shown in the image below.
Each Position can have multiple price group. User can select from the Price group drop down field. The primary position selected will display true in Primary column as shown in the image below.
NOTE: Effective date should be entered for all the positions selected.
Certification Details
To add Certifications, select the Plus icon and specify the details.
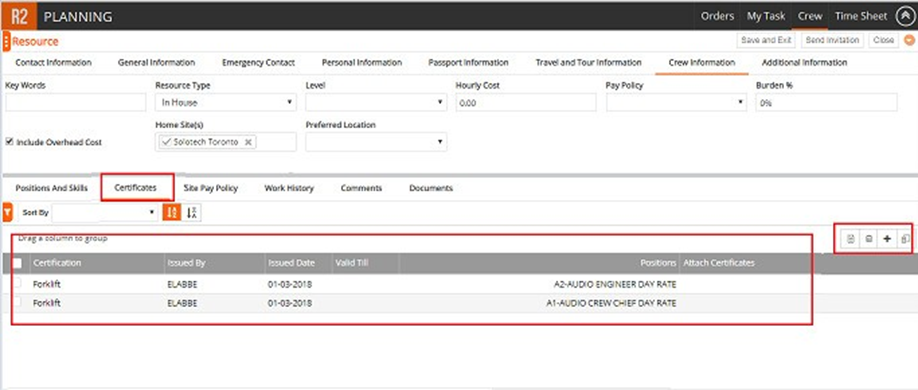
Note#1: The Certifications are predefined by your System Administrator.
Note#2: Positions and Certificate may be used on the search resource screen to filter the resource list. Both filters may also be added to the order from R2 to help the planner narrow the resource selection.
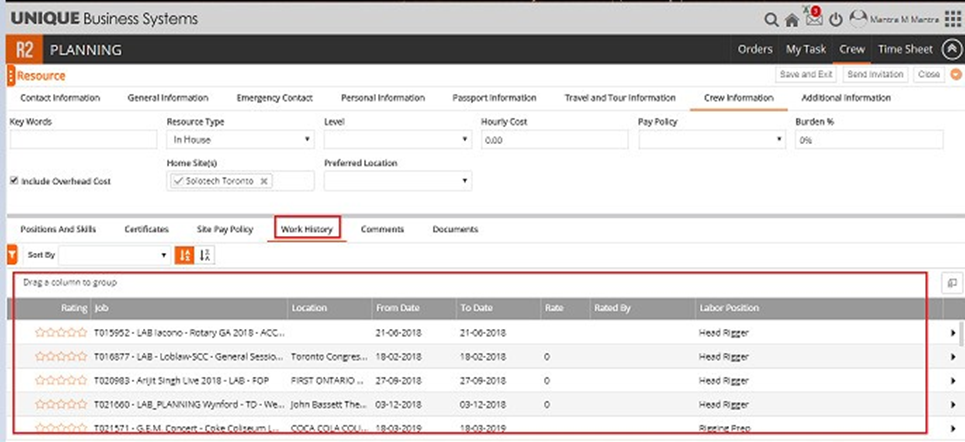
Work History
The work history is system generated and is based on jobs that this resource has previously completed while using Labor Planning. Planners can view all jobs or choose to filter using selected criteria. Additionally, this grid information can be copied and pasted into Excel.
Comments
Any specific comments corresponding to the resource can be entered as shown in the image below. This will help the planner to quickly view the crew information or update. User can also mark comments as priority and save
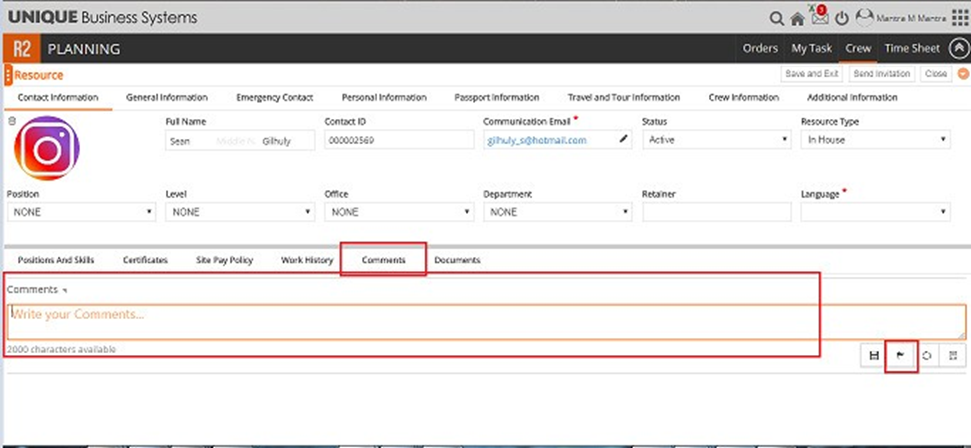
Note: The Priority checkbox displays the comments on the resource search screen rather than having to drill down to view comments.
Misc. Items
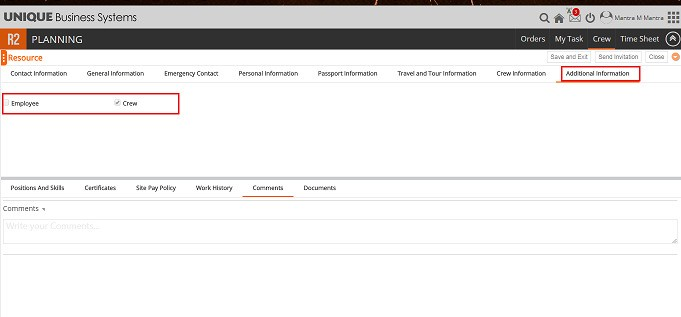
IS ACTIVE (CHECKED) – This is by default. It enables this resource to appear in Searches
IS ACTIVE (UNCHECKED) – Disables the resource from appearing in the Search
CALENDAR ICON –View the Resource’s Calendar
WORK HISTORY ICON – View the Work History without having to scroll
PROFILE PHOTO – Planner may upload a Resource profile photo
Ability to attach documents
Planner can upload resource concerned documents in the section shown below.
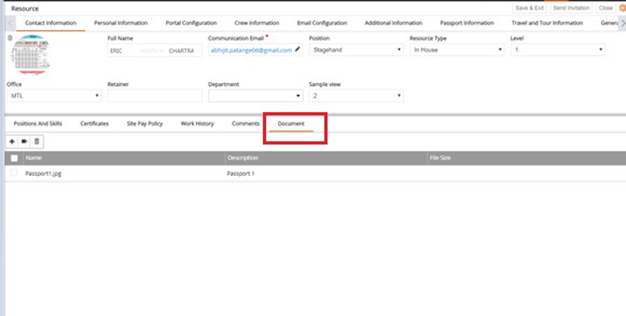
Select the Add Icon ![]()
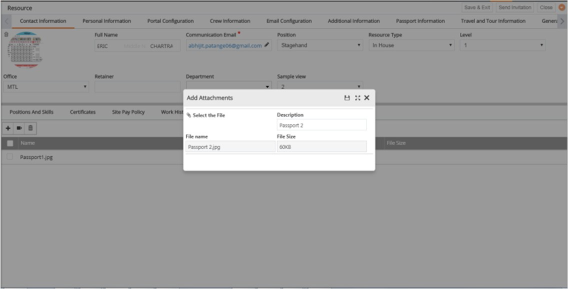
Selecting the on Add icon will Save Resource and display “Add Attachments” screen in window as displayed below
Selecting the “Save the file” will open file chooser to select a file
Selecting the Save will save the file and close the modal window.
Document grid will display the added details in the Grid.
View Icon ![]()
Select an Attachment and click on view => selected file will be downloaded on to your machine.
Delete Icon ![]()
Select an Attachment and click on delete=> selected record will be deleted permanently
UDF Support
Supported User defined field in Crew edit screen to store for Example "Valid working permit". This value to be used to display, in sort and filters while assigning the Resource in the Planning order OR Whiteboard
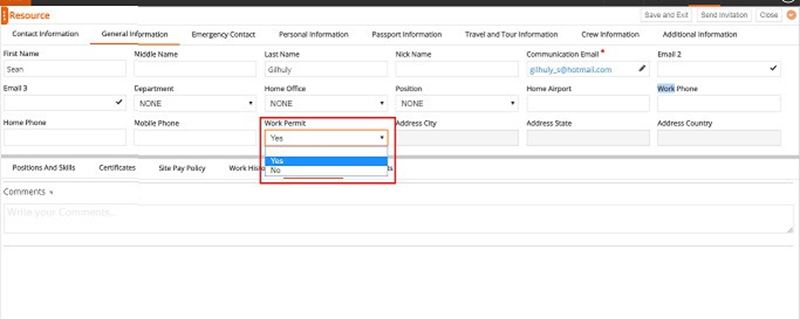
As shown in the image, the field has Yes/No Option. Work permit field is available in crew information in crew edit. As shown below.
Filter maybe applied in Resource search screens as shown below.

Add Events to Resource Calendar
Add Events to Resource Calendar
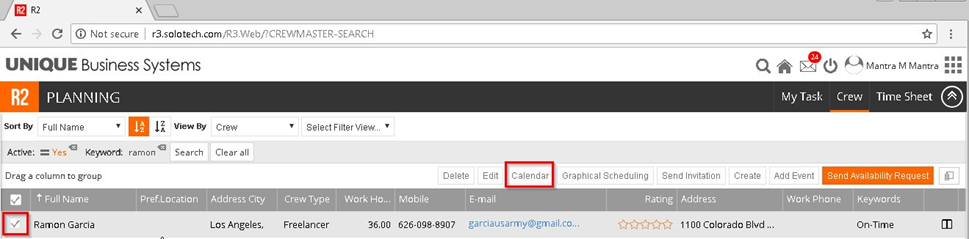
Select the resource (using checkbox) and click the CALENDAR menu item
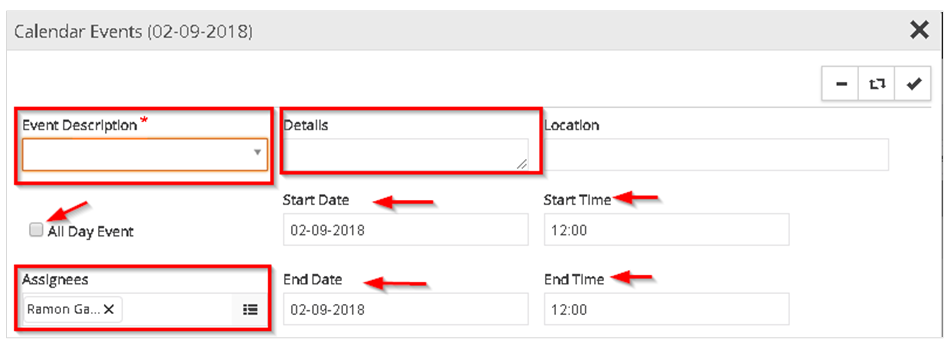
On the Calendar view choose a day you would like to create a Calendar Event on. Double click on this day. A modal window appears for inputting the Event details.
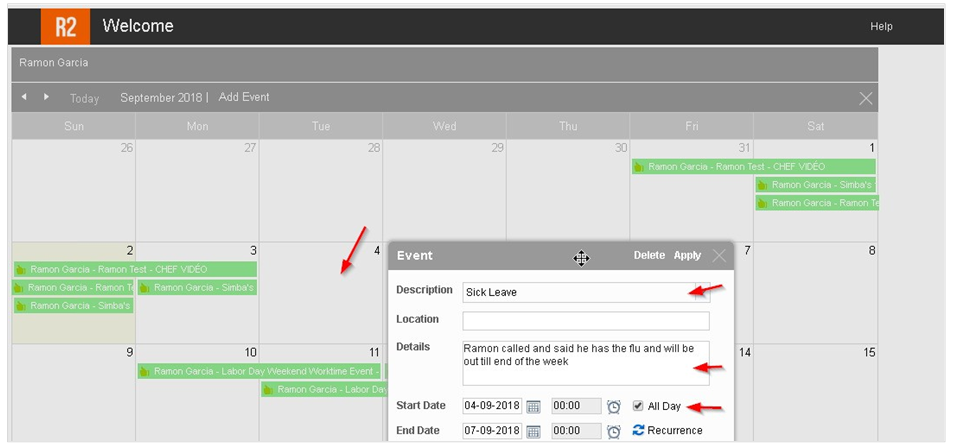
Note: Planner can specify Start and End times or select the ALL DAY checkbox.

Add Events to Resource Calendar (Alternate Method)
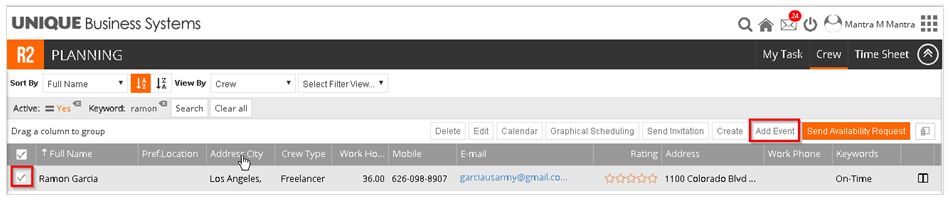
Instead of going thru the Calendar menu, the Planner can also enter events by going to the ADD EVENT menu button
Enter the Event details
Availability Request from Crew Menu
Sending an Availability Request
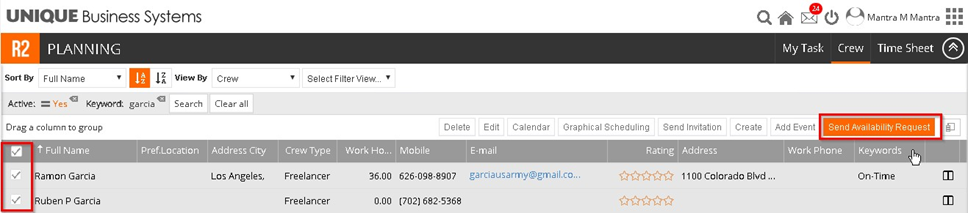
Select the resource and click the Send Availability Request button
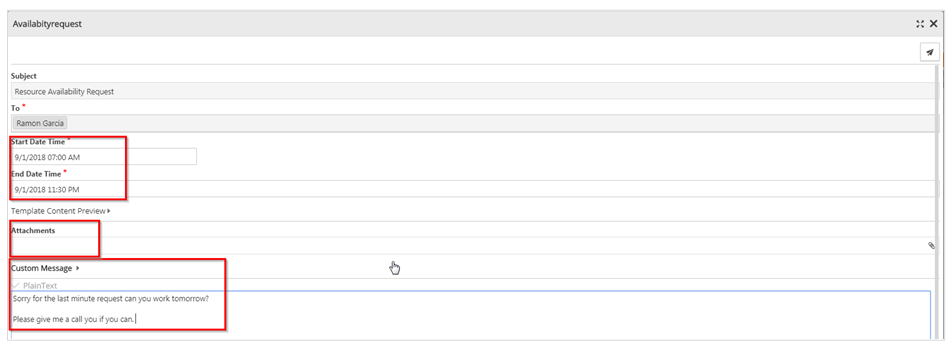
Enter in the Availability Request details. Add Attachments and a custom message if needed.
Note: Sending the Availability Request from here is for convenience. To complete the process you have to be within the job and follow the process of assigning the resource and completing the process as described in Section 2.
Graphical Resource Schedule
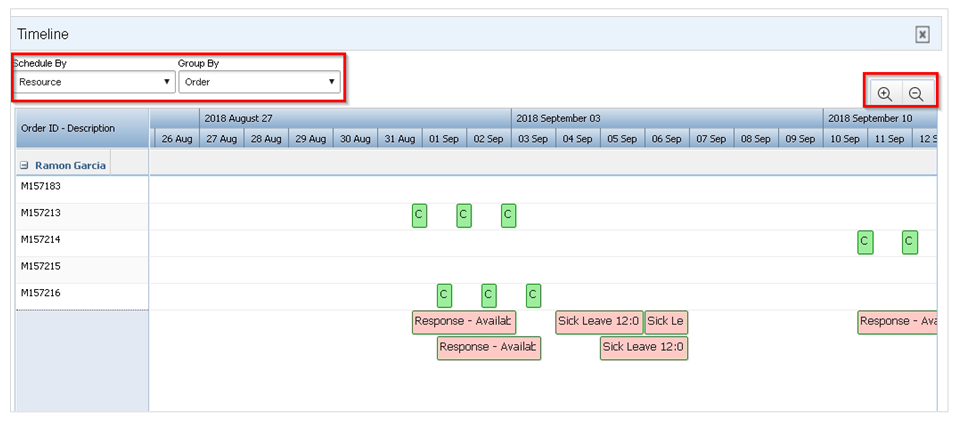
Select the Resource(s) and click the GRAPHICAL SCHEDULING button

The Planner can click on the Zoom in/Zoom Out icon, filter by the Schedule By and Group By option. The Planner can also click on the booking details and open the Planning Screen.
Send Invitation to allow Resource Login for Crew Portal application.
Send Invitation to one Resource
The user may send invitation to a Resource to access R2 Labor only if the resource already exists as a crew. The invitation comprises the URL and the other required details to login to R2Labor.
The Send Inviation icon is displayed on the Resource Edit screen and Resource Search screen only if the logged-in user is an Approver
Select Planning > Resource.
Select Create.
Enter the details in the required fields.
Select Send Inviation as show in the image below
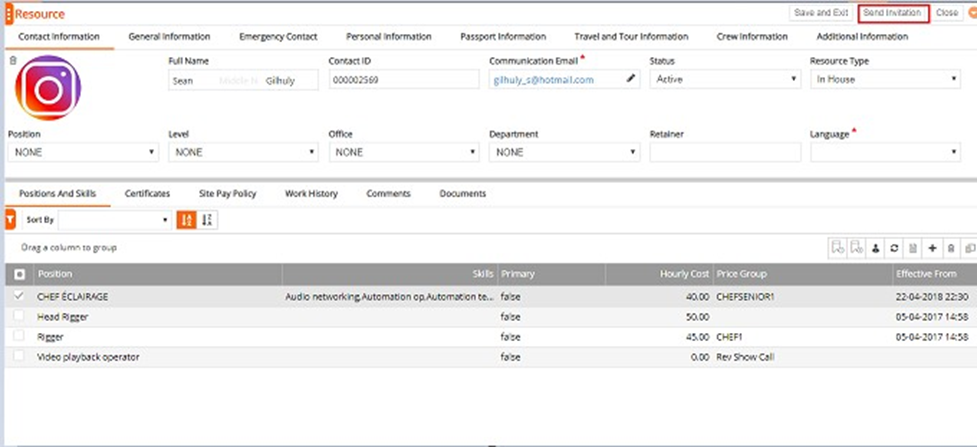
The invitation to access R2Labor is sent using the Resource's Communication Email.
Note: System provides an option to configure the Invitation email template.
Send Invitation to multiple Resources
Invitations may be sent simultaneously to multiple Resources. The invitation comprises the URL and the other required details to login to R2Labor. The e-mail template can be configured under Setting > Email Templates > Invitation.
The send invitation icon ![]() will be displayed in the Resource search screen only if the logged-in user is an Approver
will be displayed in the Resource search screen only if the logged-in user is an Approver
Select Planning > Resource.
Filter Resource(s), as needed.
Select check box(s) against the Resource(s).
Select the Send Invitation action icon
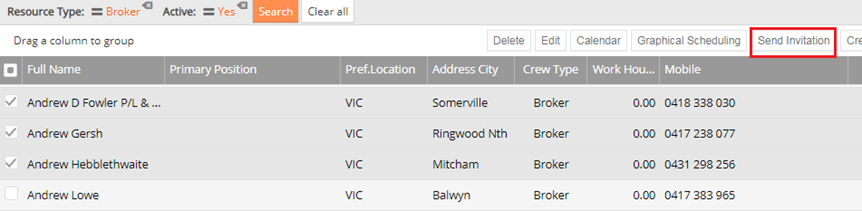
The application prompts the message as 'Invitation sent successfully!’
Logging in to R2LABOR for the first time As a Resource
Once the Approver sends the invitation to access R2LABOR, then the Resource will receive an Invitation e-mail to his/her communication e-mail ID.
Click URL link provided in the e-mail to access R2LABOR for the first time. Resource will be re-directed to Email Verification page and the Username will be defaulted in Username/Email field in read-only mode.
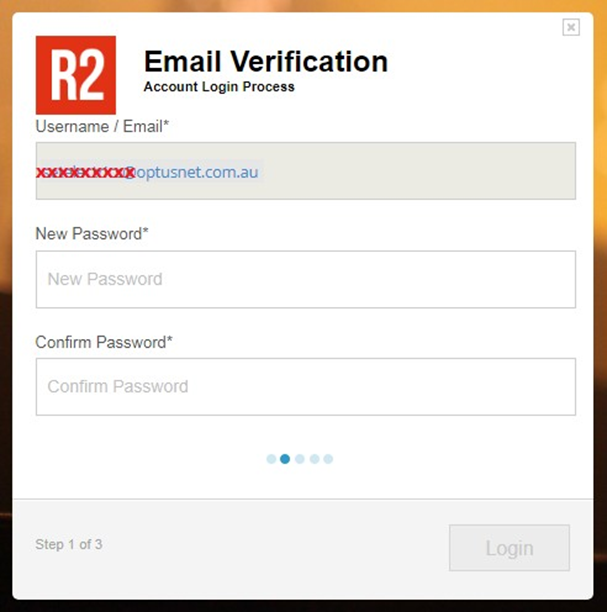
Enter password of your choice.
Confirm Password
Click Login.
Resource will be able to successfully log in to R2labor and Welcome page is displayed.
Note: When a Resource clicks Login, then the Complete your work profile page is displayed which defaults the details entered by the Approver. The Resource can complete the login wizard by using the Next option or click Skip to access R2LABOR Welcome page.