(06.23.11-00) Integration with a 3rd Party RFID reader
The Asset Manager App now can be integrated to a 3rd party RFID reader and is capable of reading RFID tags.
Reader installed at every gate/portal can be linked to a specific instance of Asset Manager App to bulk receive items/assets by processing RFID tags.
You can use this feature in the Asset Manager App on both Order Check-in/Check-out and Transfer-In/Transfer-Out operations.
The enhancement is briefly explained with the following scenario.
You are a warehouse manager and a large container carrying a number of Items/Assets is being dispatched to a client.
Instead of having to scan each Item or Asset separately, using this feature you now can simply pass the container through a RFID gate.
The RFID reader installed at the gate will read all RFID tags associated with the items and share the list of RFID tags directly to the configured Asset Manager App. which further can perform a bulk Check-Out/Check-In of items that are fed.
Subsequently, you can select an Order/Transfer Order on which the items have to be Check-in/Check-out, and click on Submit to process the batch.
At this point, once submitted the R2 will check-in/Check-out the submitted Items/Assets just as if they were physically scanned barcodes.
The App facilitates adding items/assets which were not a part of the selected Order.
Once you have submitted a list of Items/Assets in an Order for processing, the system generates a log. If you want system to automatically display the log, then the selected flag must be enabled.
Figure 1.0 Show results after submit checkbox

When the asset is due for service, and you try to Fill by RFID (Fill Option or Fill Ship Option), Fill fails with the exception Message “Asset is Due for service/will be due for service before return date”.
When the asset is due for service, and you try to Fill by RFID (Fill Option or Fill Ship Option), Fill fails with the exception Message “Asset is Due for service/will be due for service before return date”.
Pre-requisites
Since this implementation involves the App. to read incoming information specifically from 3rd party RFID readers, there are few important steps to be ensured.
An instance of Asset Manager App should be mapped to a specific gate /portal from which the RFID information is supposed to be received. To know how to map an app instance to a specific gate, Please refer here.
The associated Asset Manager App. instance should have Check-in/Check-out or Transfer-in/Transfer-out page open and active on the App in listening mode at the gate.
The Order information for which the Items/Assets are to be dispatched or received is kept ready with you.
Sample Workflow
Login to Asset Manager App.Figure 1.1: Asset Manager Home Page
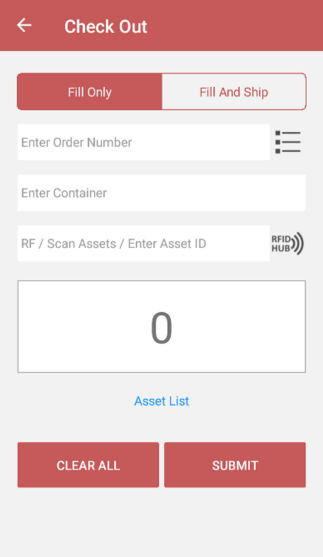
Select Check-Out button. Then in the Check-out page, select Fill Only button.
Click the button to browse for Order Number.
Figure 1.2 Check Out window in the Asset Manager
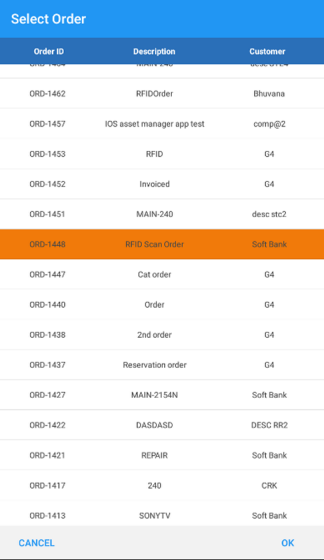
Click on the desired Order Number to select it.
Figure 1.3 List of Order Numbers
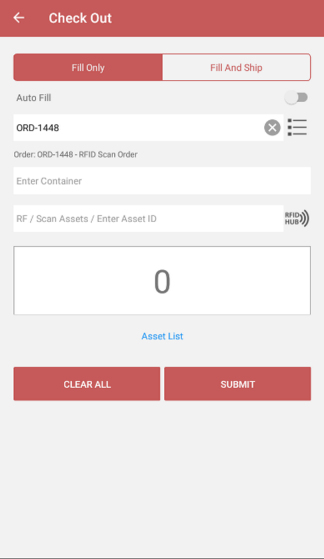
Enter the Container Information.
Ensure that RFID Hub icon is active.
Figure 1.4: Container Information
Use the 3rd party RFID reader to feed Items/Asset (needed to be checked-out) information to the Asset Manager App.
The Check-out page shows the count of Items/Assets checked-out (as shown in the figure below).
Figure 1.5: Check-out page showing count of Items/Assets Checked-Out

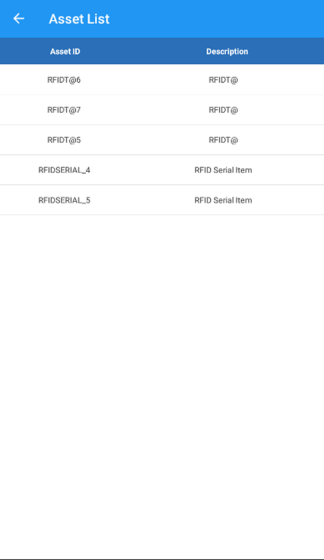
At this point, if you want to review the list of Items/Assets that have been scanned. Then click 'Asset List'.
Figure 1.6: List of Items/Assets Checked-Out
If you want to clear the list of Items/Assets scanned, click on 'Clear'.
You can also remove an item from the Asset List directly, by clicking on the Asset Line, then on 'Remove'.
Figure 1.7 Removing an Items/Assets from the List of Checked-Out

Click on Submit button to process the Check-out for Items/Assets that have been scanned.
Click the to view generated Batch Log.
The following window shows that the Item was successfully scanned and Checked-out.
Figure 1.8: Batch Log window displaying the 'Status' of the batch

In the above window, if you want to know the status of each scanned Item/Asset individually, then click the number below the heading count 'Count'.
Figure 1.9 Batch Log window displaying the 'Status' of each scanned Item/Asset

If you list only the Items/Assets that failed to get Checked-in, click 'Failed Only'.
To manually add any item with status 'Failed', click on the item line and click on 'Submit Tagged'.
If more than one item needs to be tagged, click 'Tag All' then click 'Submit Tagged'.
Figure 1.10: Manually adding a failed item to the Order

When prompted for a confirmation, click 'Yes'.
Figure 1.11: Confirm manually adding a failed item to the Order

Batch details window shows that item was successfully added manually.
Figure 1.12 Tagged item added to Order successfully

At this step, if we open the same Order [ORD-1448] in R2, it shows that item RFIDSerial_5 was manually added at the item of Order filling..
Figure 1.13 Order [ORD-1448] in R2 showing Item RFIDSerial_5

Similarly, the app can perform a Check-in operation where a list of assets are returned on a Order.
If the Asset is 'Out' on order of Site A, RFID Return operation from Site-B returns the asset to its current location (Site-B) only.
Also, RFID Asset Update is allowed for Assets with 'IN' Status,'UnRetired,' 'Not locked to Kit' and it should be UNIQUE (duplicates not allowed)