-
In Dashboard, under Bookings, go to the schedule (last week or this week) for which you want to log time.
-
Select the assignment for which you want to log time.
The screen shows list of days for which you can log time for the selected assignment.
-
Tap on the date for which you want to log time.

-
Tap on the Çlock In' button to create a blank row, and start logging your In/Out time.
-
The app by-defaults picks the current system time as 'In' time, where if required you can manually modify the 'In' and 'Out' time as shown in Figure 6.0
-

-
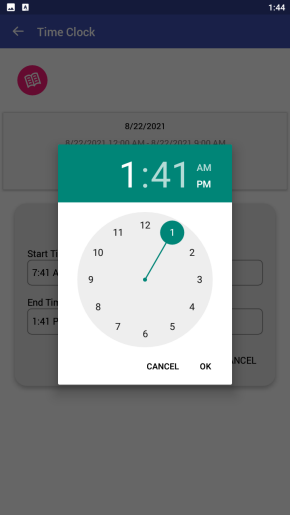
Tap on Start Time and use the Clock Wheel, to pick the desired time, Tap Ok on the clock wheel when done.
-
Similarly, Tap on End Time and pick time using the Clock Wheel. Tap Save button.

|

|
|
-
Once saved the list of time entries for a day (with possible multiple entries in a single day), will look like Figure 1.4
-
To Close the time entry use back arrow to go back to previous screen.

-
To Add Comment to your time entry, Tap on the pen icon in the row. (As highlighted in Figure 1.5)
-
Add comment and Tap on the Save.

You can log your time in parts. Each new time entry for the day is displayed as a separate row. (See Figure 1.6)
