With a simple tap, you can easily clock in at the start of your day and clock out when you're finished.
The streamlined clock in/out feature ensures your time is recorded accurately and effortlessly, whether you're beginning or ending your shift.
These time logs will be visible to the Planner when creating timesheets.
Access Points
You can Clock In/Out from following ways:
-
Dashboard > Current> Clock In/Out button in the job tile
-
Dashboard > Current > View All> Clock In/Out button in the job tile
-
Dashboard >

-
Calendar > Tap on Current date job > Job Details> Clock In/Out button
How to clock In/Out
-
Access Clock In window
-
Open your current job and open the Clock In window using any of the method mentioned above.
-
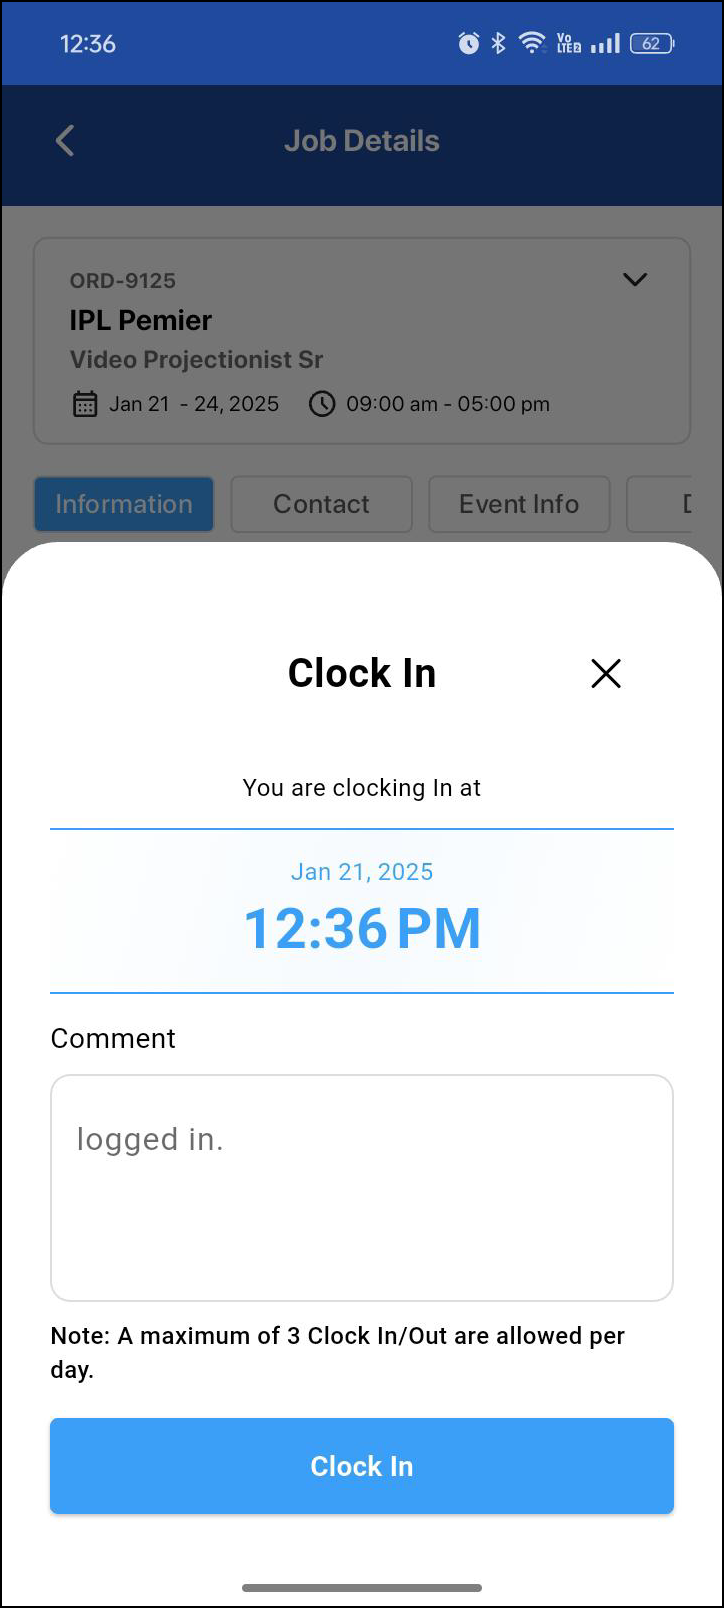
The system will display the current date and time.
-
Clock In/Clock Out button will be enabled two hours before the scheduled start time and up to 12 hours after the scheduled end time.
-
Clock In Process
-
Review the displayed date and time.
-
Add any necessary comments in the provided field (optional).
-
Select the "Clock In" button to start your work session.
-
-
Managing breaks / Clock Out
-
To take breaks in between your job or to close your day, you must clock out. To do that,
-
Return to Current Job screen.
-
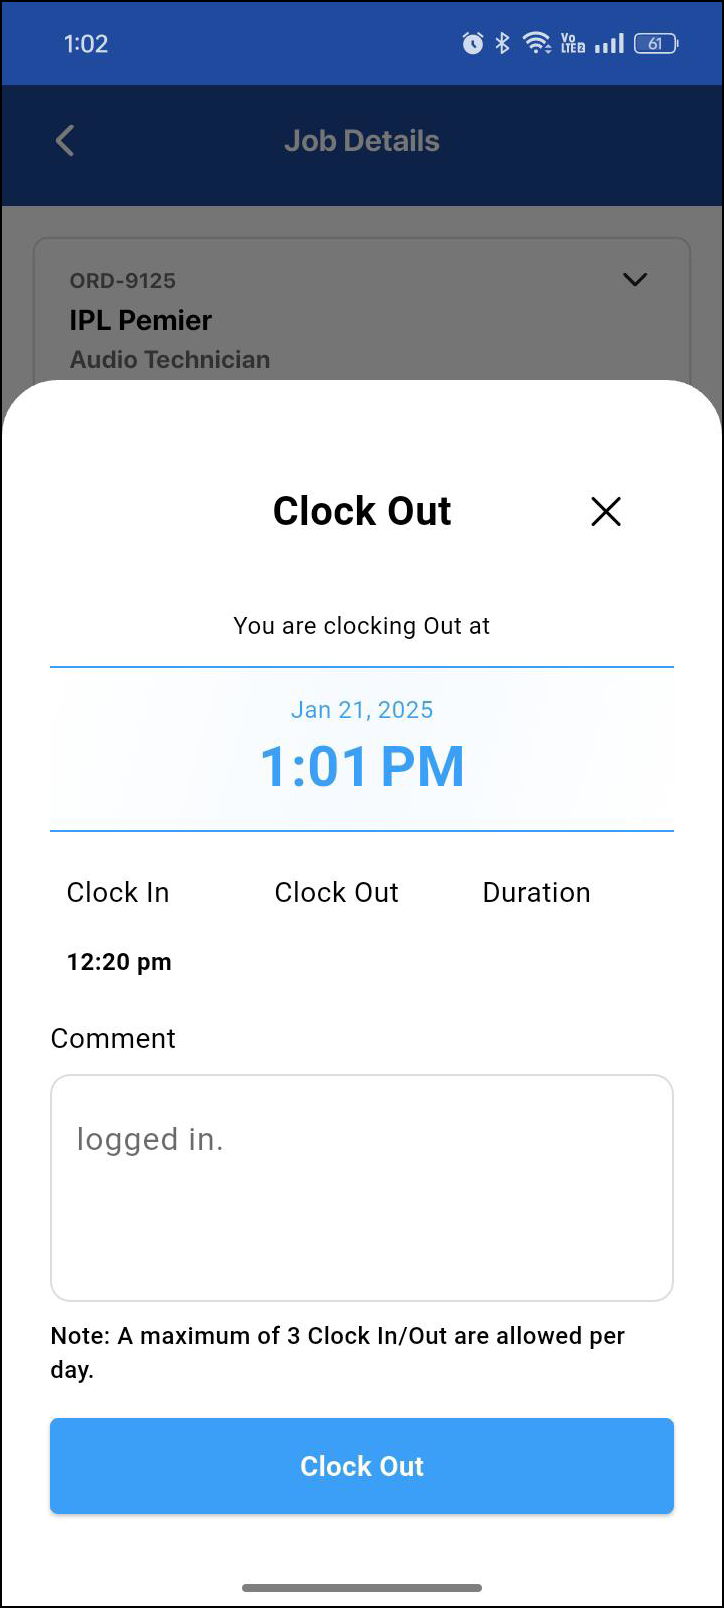
Select the Clock In/Out button. The screen will now show a "Clock Out" option with current time as shown below.
-
Tap "Clock Out".
-
-
-
Time log
-
After clocking out, the system displays time log showing:
-
Your Clock In time
-
Your Clock Out time
-
Total duration worked
-
There is a daily limit of 3 Clock In/Out cycles. Once this limit is reached, the Clock In function will be automatically disabled for the remaining of the day.
