(06.24.01-00) Changes in restricting the Custom Billing Order Amount to go below the Posted Amount and showing Error Indicators while posting again
Reference No: R2-69 28435 28805 27751 29688 R2-282 R2-261 R2-301
Prior to Version 06.00.01-00
Earlier, on the Customer Billing Order, the system allowed you to modify the Order Amount below the posted value without showing any indicators, the Invoice generated further was incorrect.
With Effect from Version 06.00.01-00
Now, support for showing the error indicators when the Order Amount goes below the Posted Amount but the system allowed you to modify the Order Amount below the posted value. When the Pay At drop-down is selected as Custom.
If the Order Amount goes below the Posted Amount, then the system restrict to post the open invoices.
The details are explained in the sample workflow given below:
Sample Workflow
Select the Account module.
Create an Order [ORD-1149] > add the Items [MOTO E3] and [MOTO G5 PLUS] with Unit Price as 100, as shown in Figure 1.0.
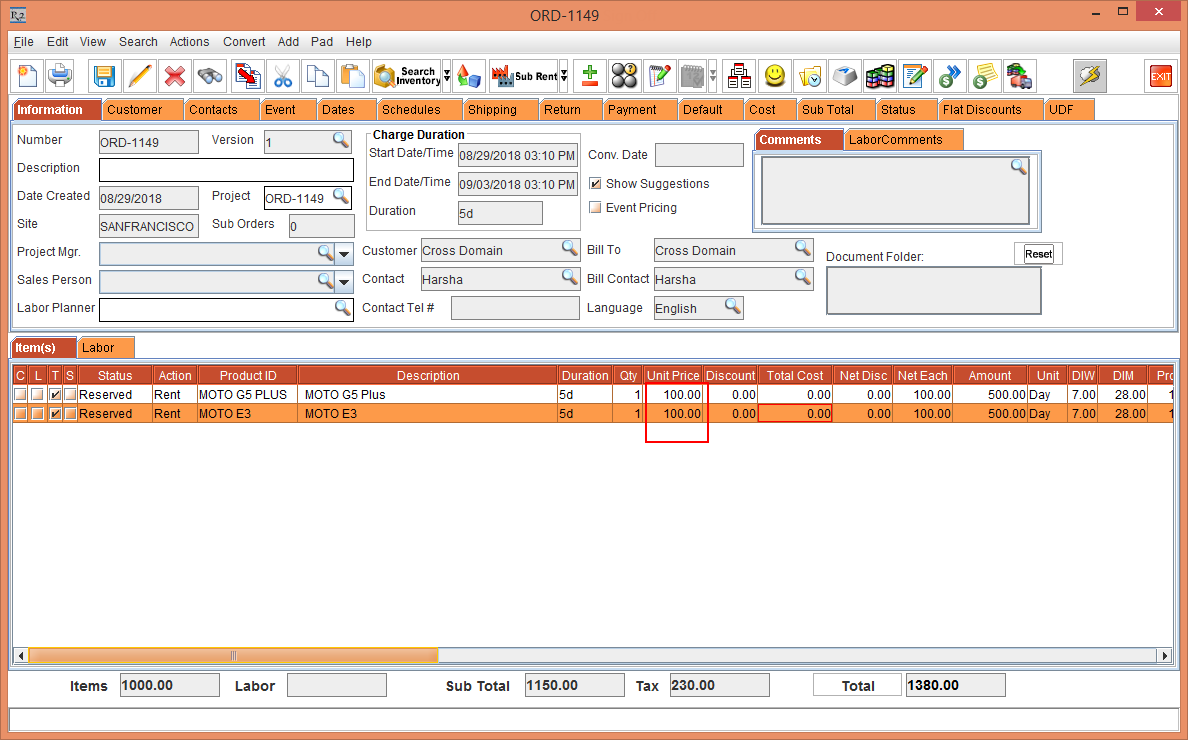
Figure 1.0 Order with Items [MOTO E3] and [MOTO G5 PLUS] with Unit Price as 100
Select the Payment tab > select the Pay At drop-down as Custom as shown in Figure 1.1.
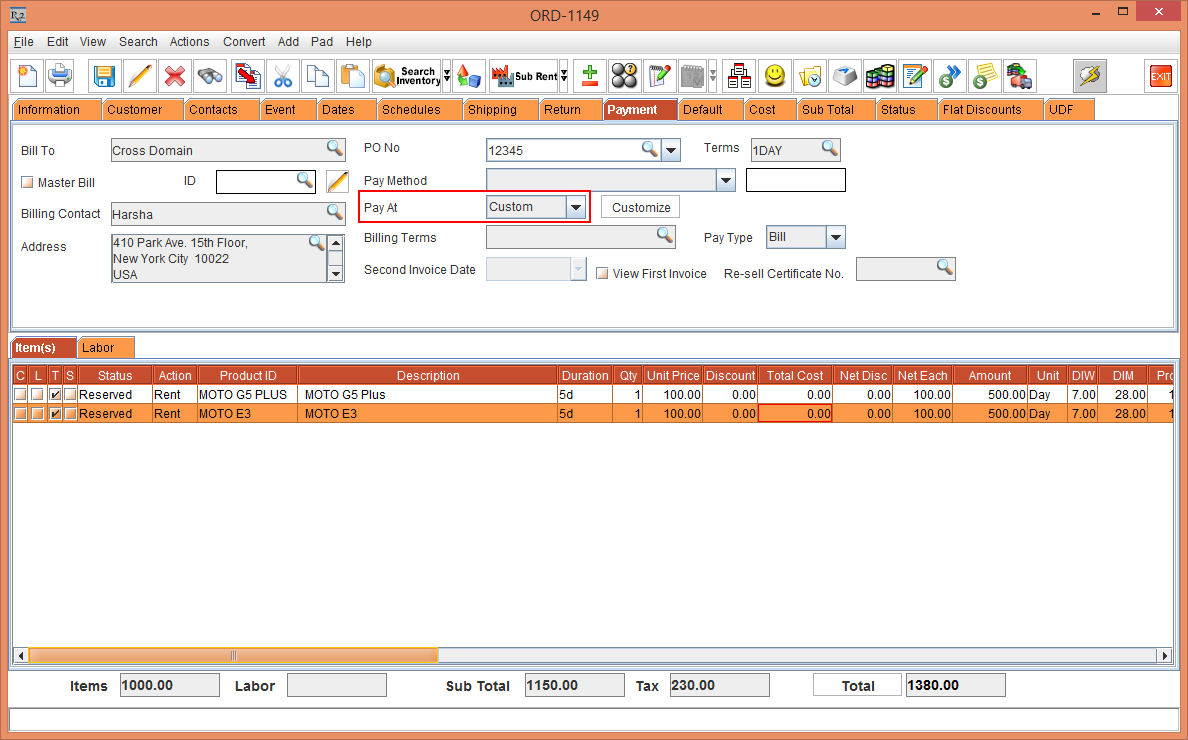
Figure 1.1 Selecting Pay At drop-down as Custom
Select the Sub Total tab > enter the Damage Waiver Percentage as 5, Service Charge Percentage as 5 and Consumable Percentage as 5., as shown in Figure 1.2.
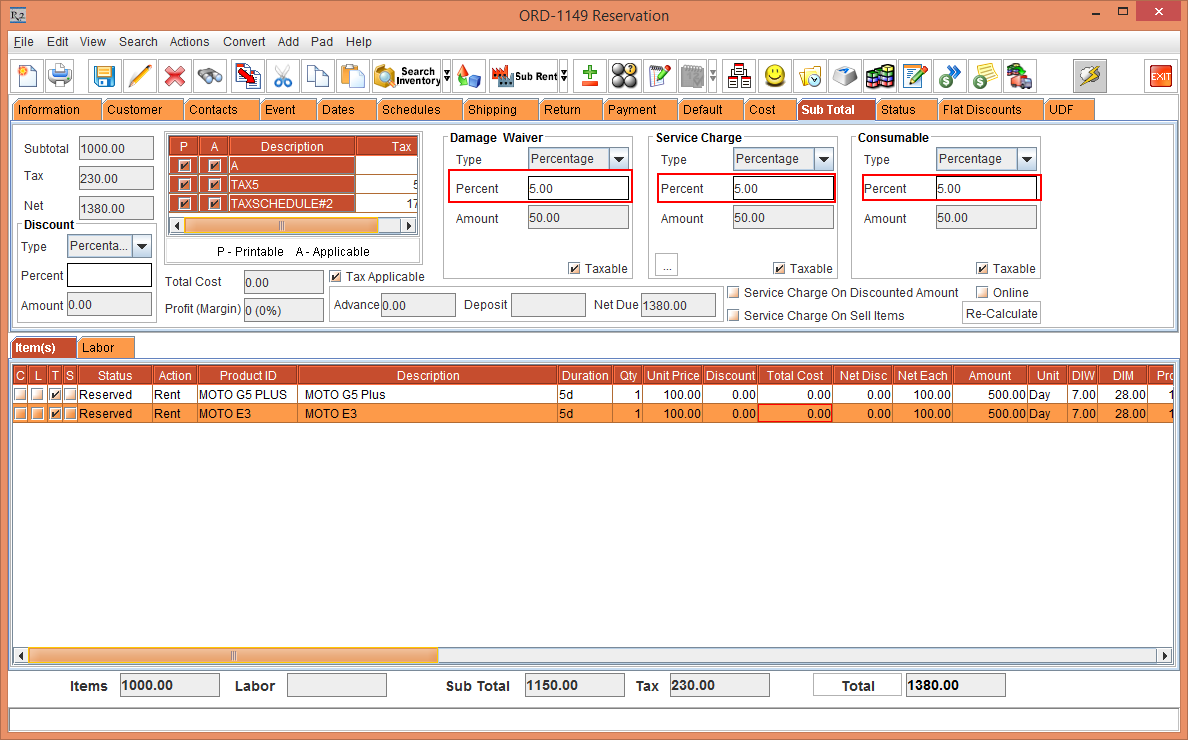
Figure 1.2 Entering Damage Waiver, Service Charge and Consumable Percentage as 5
Click the Customize button > the Customize Payment Schedules window appears > create 5 Schedules, as shown in Figure 1.3.
NOTE: The Bill Date should be unique for all the Payment Schedules.
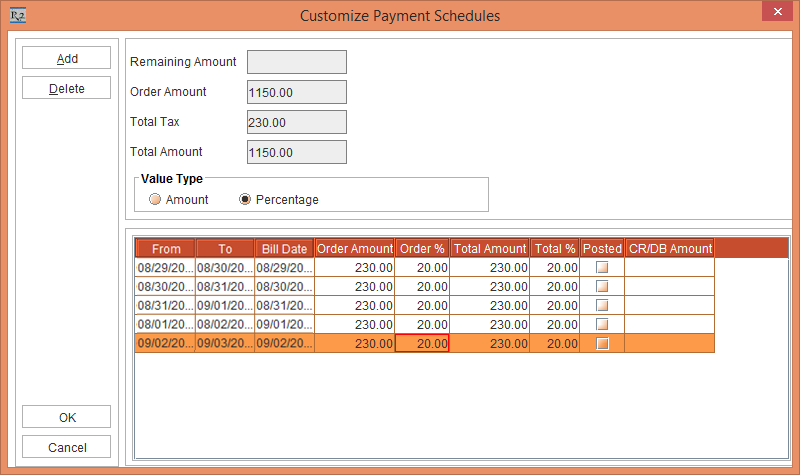
Figure 1.3 Creating Customized Payment Schedules
Click the OK button.
Generate the Invoice for the Order.
Select the Invoicing module > click the New button > the Invoice Batch window appears, as shown in Figure 1.4.
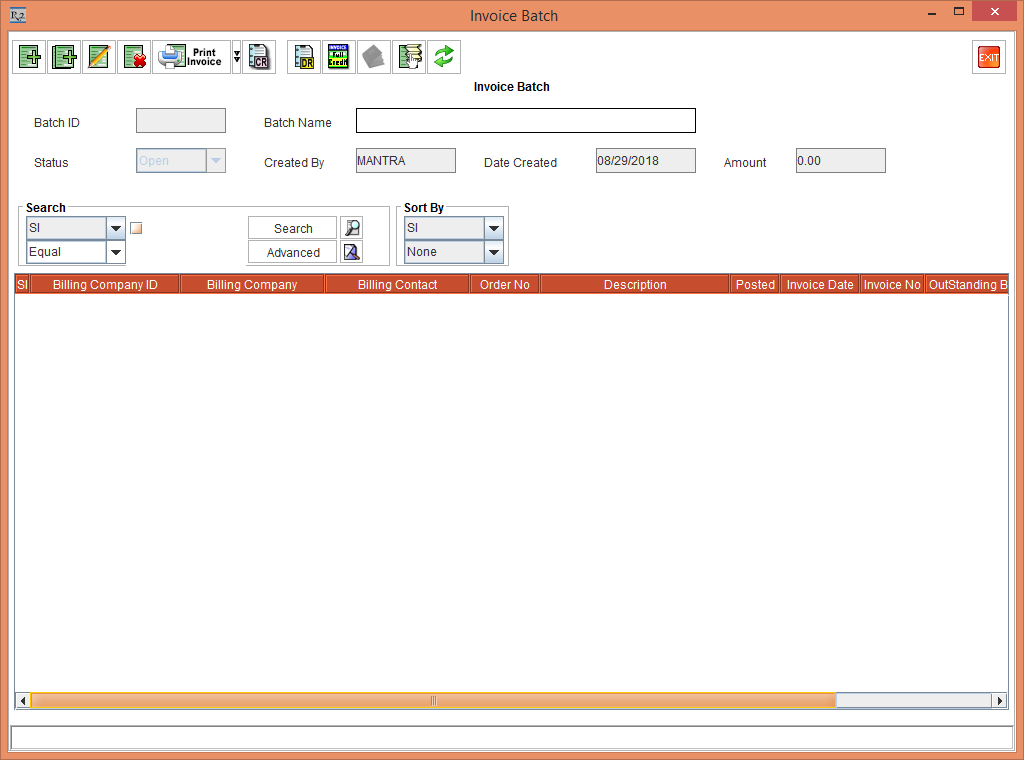
Figure 1.4 Invoice Batch window
Click the Add Invoice button > the Invoice List window appears > select the first 4 Invoices, as shown in Figure 1.5.
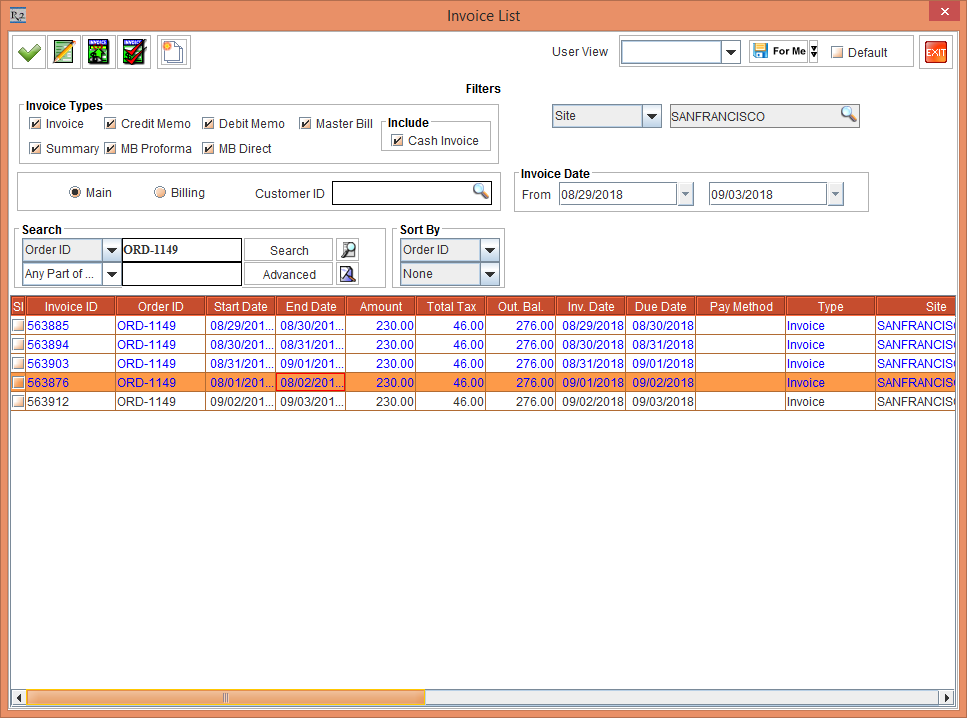
Figure 1.5 Selecting the Invoice from Invoice Batch
Click the OK button > exit the Invoice Batch window.
Select Actions > Post Batch > the Post Batch window appears, as shown in Figure 1.6.
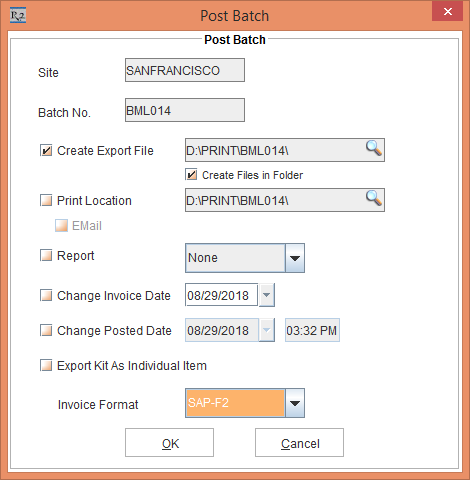
Figure 1.6 Posting the Invoice Batch
Click the OK button.
Exit the Invoicing module.
Select the Account Module > search and open the Order [ORD-1149].
Select the Payment tab.
Enter the Discount for Item [ MOTO E3] as 30 > click the Total button.
The system change the Amount color to Yellow and clicking the Amount the tool tip is displayed, as shown in Figure 1.7.
NOTE: The Customize button color change to Red as the Order amount goes below the Posted amount and after exiting the Order its Type changes to SignOff from Reservation.
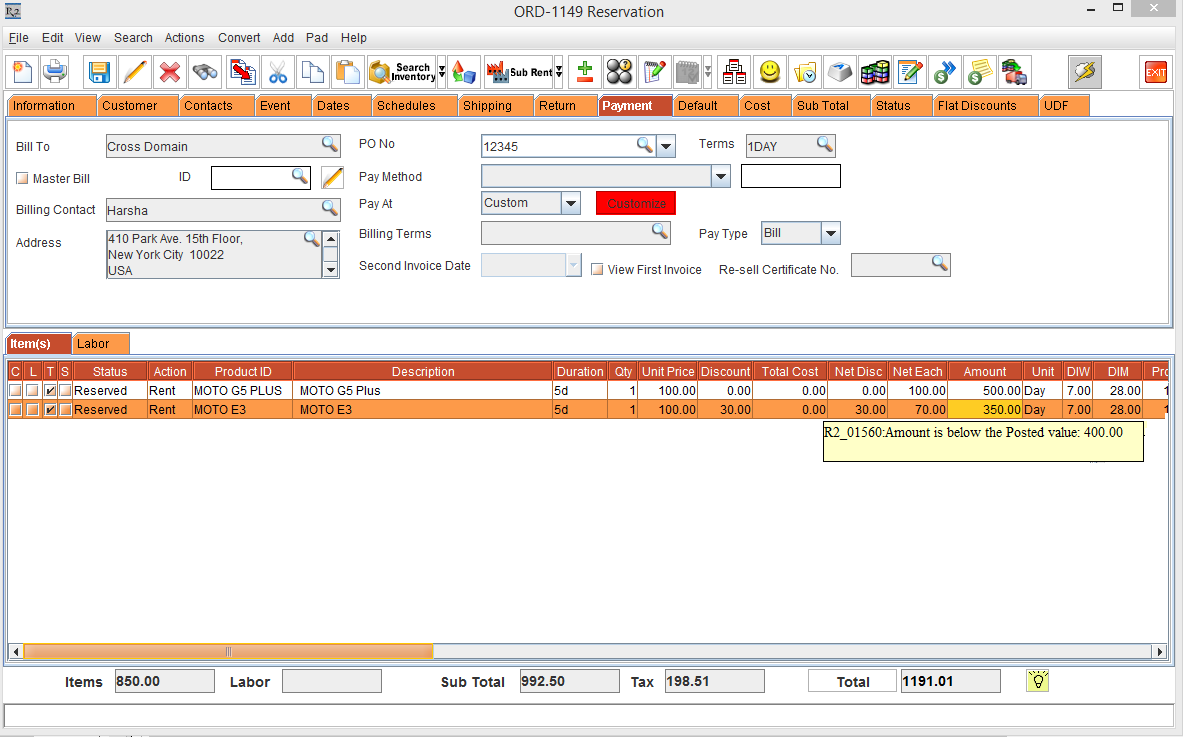
Figure 1.7 Adding Line Discount for the Posted Order
On mouse over to then the system display error messages, as shown in Figure 1.8.
Figure 1.8 Error Messages

Click the Save button, the system display the error message, as shown in Figure 1.9.
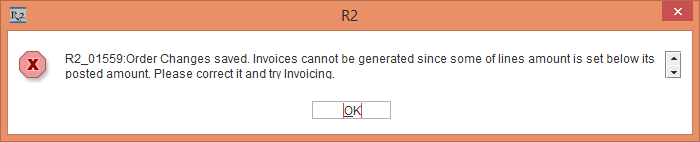
Figure 1.9 Error Message on saving the Order
Click the OK button, the system allows to save the changes in the order, as shown in Figure 1.10.
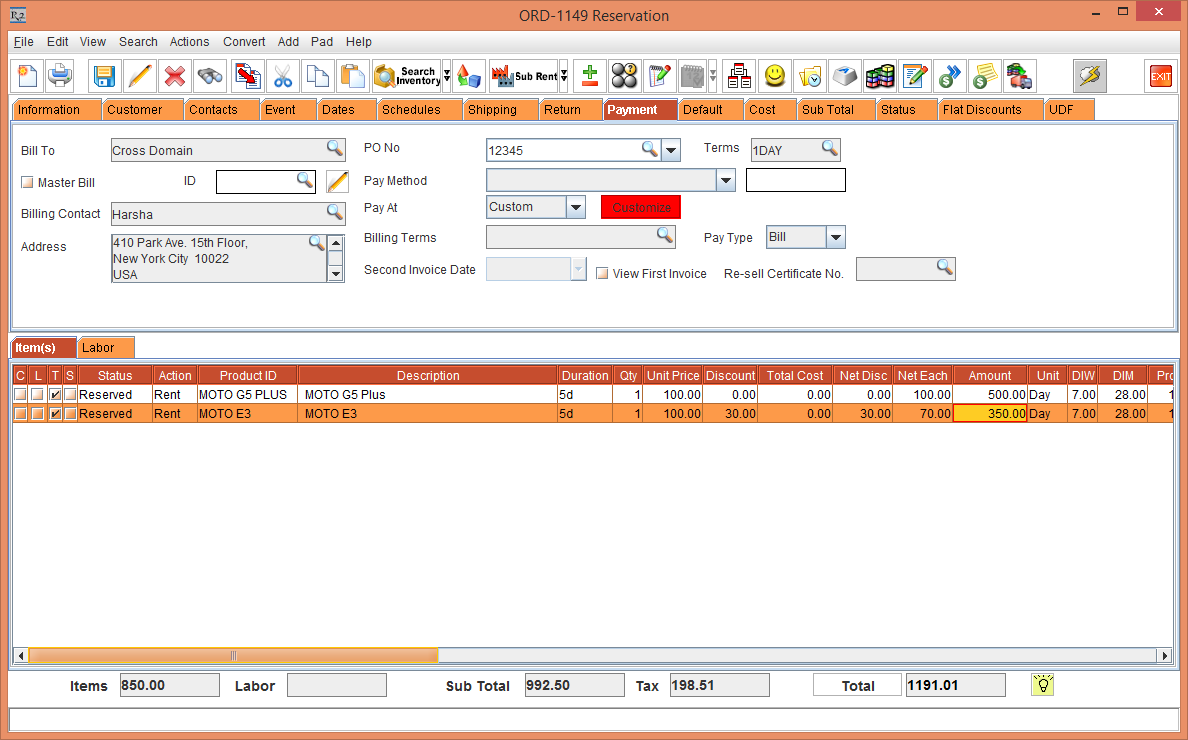
Figure 1.10 Saved Order after changes
Invoice the Order [ORD-1149] again the system display the error message, as shown in Figure 1.11.
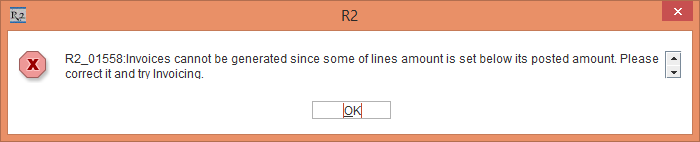
Figure 1.11 Invoice error message
Click the OK button.
Exit the Order [ORD-1149].
Select the Invoicing module > click the New button > the Invoice Batch window appears.
Click the Add Invoice button > the Invoice List window appears > select the Invoice, as shown in Figure 1.12.
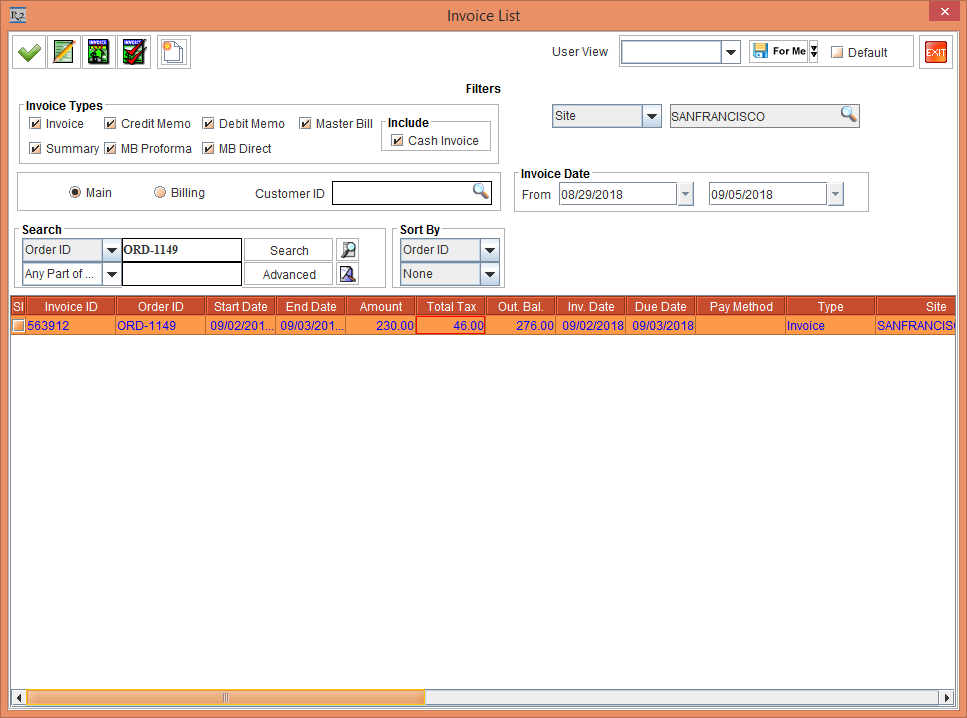
Figure 1.12 Selecting the Invoice from Invoice Batch
Click the OK button > exit the Invoice Batch window.
Select Actions > Post Batch > the Post Batch window appears.
Click the OK button. The system display the error message, as shown in Figure 1.13.
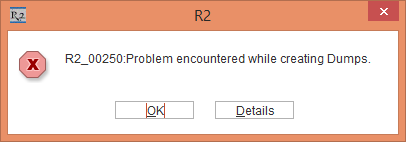
Figure 1.13 Error Message on Posting the Batch
Click the Details button. The system display the R2 - Details window with error message, as shown in Figure 1.14.
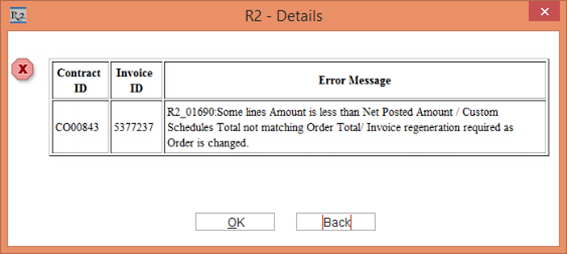
Figure 1.14 Error Message on clicking Details button
If the Sub-Order have Variance then, the system display R2 - Details window with error message, as shown in Figure 1.15.
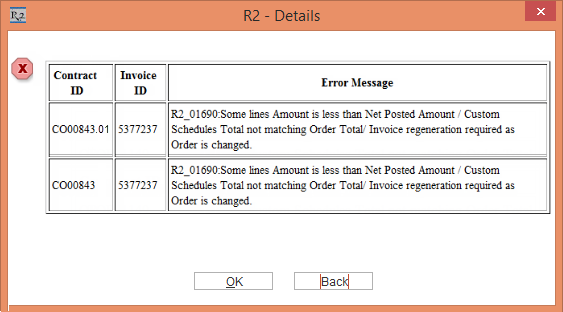
Figure 1.15 Error Message on clicking Details button with Sub-Order Variance
When a swap is performed on an out asset, the Returned or Repair line charge end date and Filled line charge start date gets updated as the current date, to maintain the Order total amount.
If the Customize button is in red color, as shown in Figure 1.7. or the Order is in Red SignOff then the invoices are not allowed to post.
The fixed flat price limits the discount for the posted lines to stay at a posted value only for the Custom billing orders.
To continue further you have to manually change the Order Amount to equal or greater than the Posted amount.
Known Issues
When there is single item line with multiple Qty with 'OUT' status, performing Swap operation and Return operation for the line in the same instance from Return order window the Charge dates for the Returned or Repair lines are not getting updated properly.
1. Exceptional Scenario
Issue Reference: | R2-256 |
|---|---|
Issue Description: | The system display the difference in Amount for Invoice Header and Invoice line for Un-Posted Invoices. |
Issue Details: | The issue has been simulated in the following scenario: |
Scenario:
Create an Order [ORDER#1] and add the Item [ITEM#1] with Unit Price as 100.00.
Enter the Header Discount as 50%, the system display the Amount as 50.00.
Create the Customize Payment for 50.00 in 2 lines with 30.00 and 20.00 respectively.
Invoice the Order and Post the Invoice.
Search and open the Order [ORDER#1] > add the Item [ITEM#2] with Unit Price as 200.00.
Edit the Header Discount from 50% to 10% for both the lines. The Item lines Amount gets updated as shown below:
Action | SKU | Price | Discount | Amount |
Rent | ITEM#1 | 100.00 | 10 | 90 |
Rent | ITEM#2 | 200.00 | 10 | 180 |
Add 2 more Schedules for remaining Amount i.e. 110.
Invoice the Order and verify the Un-Posted Invoice details Amount.
The system display the Invoice Amount as 110 and Invoice line detail display as below for both Un-Posted Invoices.
ProductID | Amount |
ITEM#2 | 99 |
The issue has been addressed. Now, in the above scenario, the system display the Invoice Amount as 110 and Invoice line detail display as below for both Un-Posted Invoices.
ProductID | Amount |
ITEM#1 | 20 |
ITEM#2 | 90 |
Exceptional Scenario
Issue Reference: | R2-299 |
|---|---|
Issue Description: | The system displays the Negative Invoice Amount for the Open Invoices. |
Issue Details: | The issue has been simulated in the following scenario: |
Scenario:
Create an Order [ORDER#1] for 5 Days.
Add the Item [ITEM#1] with Price as shown below.
Action | SKU | Price | Discount | Amount |
Rent | ITEM#1 | 200.00 | 0 | 1000 |
Select Actions > Flat Price.
The system display the Flat Price window > enter the Amount as 500.00 > select the Fixed check box.
The Amount and Discount gets adjusted based on Flat Price in the Order as below,
Action | SKU | Price | Discount | Amount |
Rent | ITEM#1 | 200.00 | 50 | 500 |
Select the Payment tab > select the Pay At as Custom > add 3 Schedules of 100, 200, and 200.
Generate the Invoice and post the first two Invoice.
Select the Account module > open the Order [ORDER#1] > change the Unit Price as 100 > the Amount will change to 375 and display the yellow color.
Click the Total button, the system will adjust the Discount and set the Amount as 500.
Regenerate the Invoice, open the Order [ORDER#1] > verify the 3rd Invoice.
The system display the 3rd Invoice Amount as -400.
The issue has been addressed. Now, in the above scenario, Since the Order Amount is reduced to keep the order total at the fixed value i.e. 500, the discount% is adjusted to 0.00 for the line. Hence, when the 3rd invoice is posted reversal entries will be sent for Undiscounted Amount of -100 and Discount Amount of -300, so that the Net Amount is adjusted to {-100-(-300)}=200.