Creating a Standalone Invoice
You can create a new Standalone Invoice from different locations of R2 listed below, by using the New Standalone Invoice Icon.
Locations from where new Standalone Invoice can be created
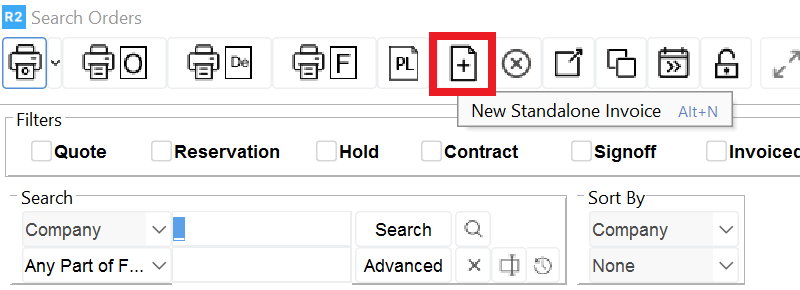
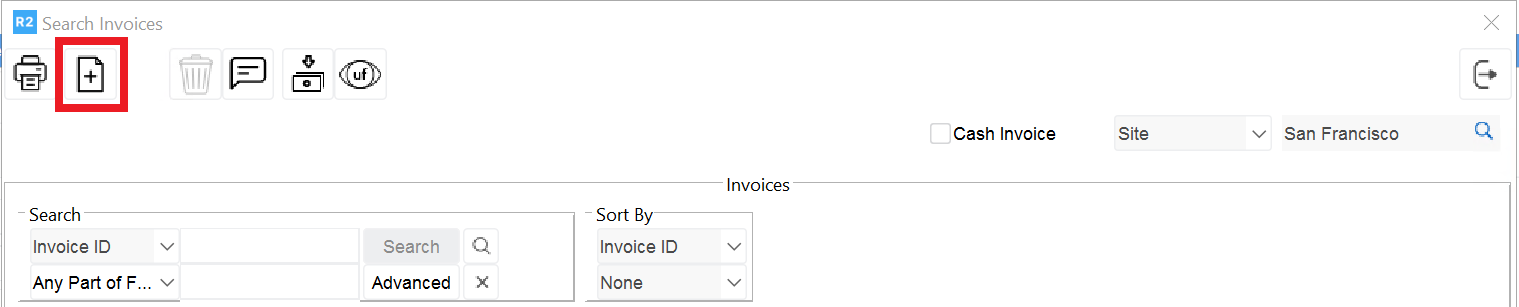
o Invoicing Main Window.

o Search Orders Window.
o Invoice List Window (Accessed from Order Window >View Menu > Invoices option).
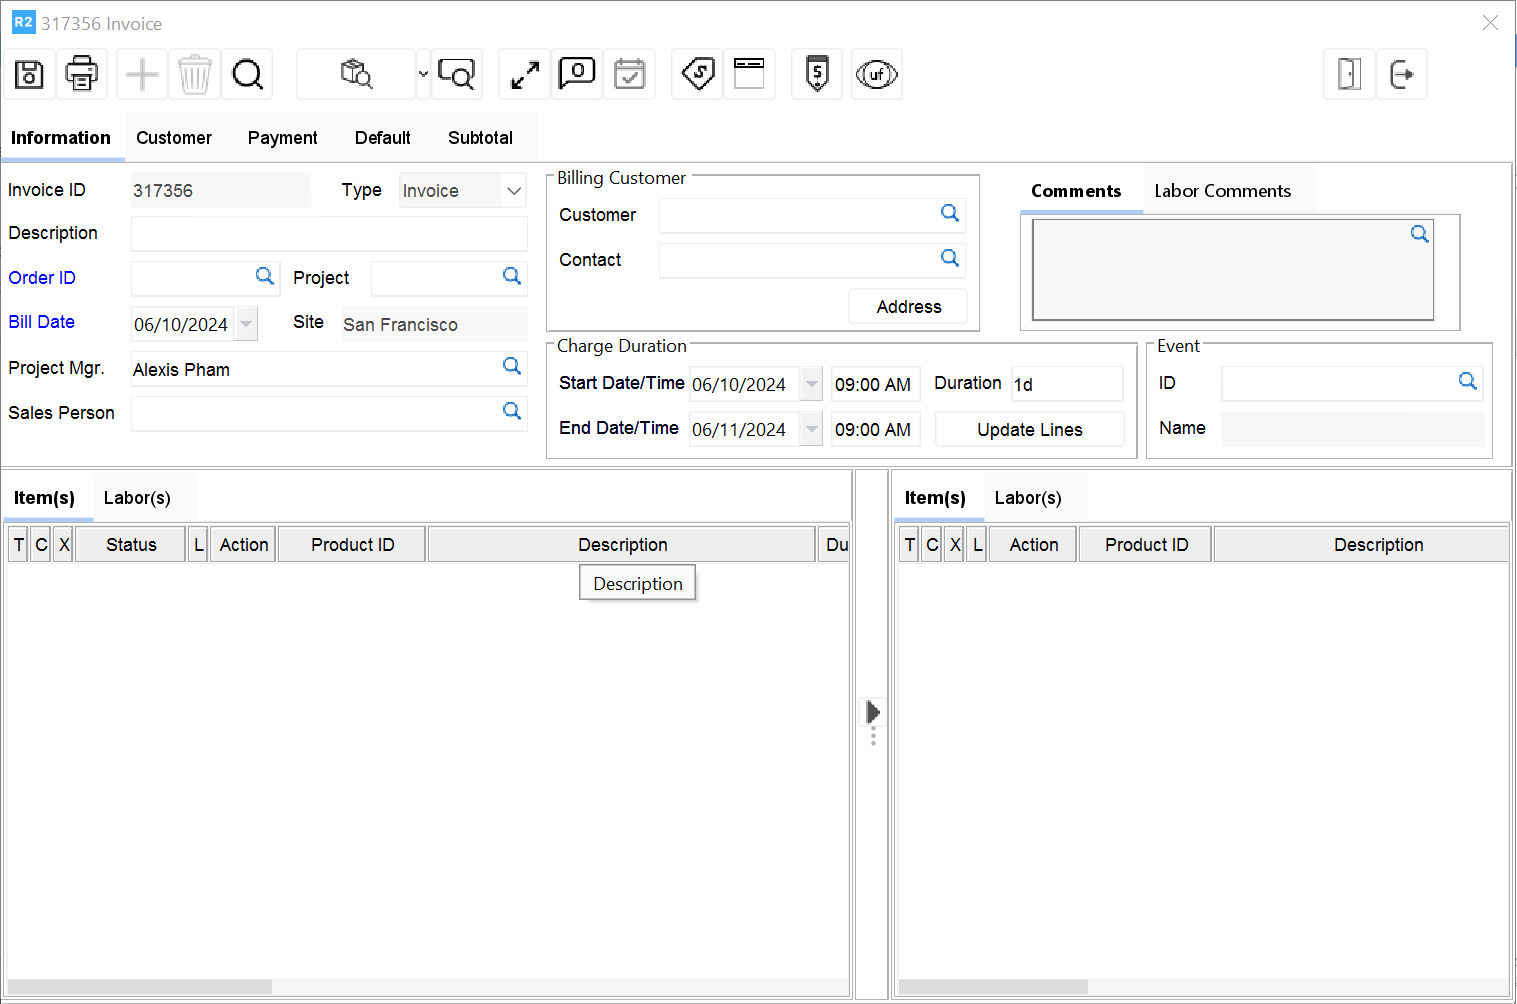
On selecting the new Standalone Invoice from any of the locations listed above, system will display the Standalone Invoice window as shown in Figure 1.0. You can use this window to create or edit a standalone invoice.
On selecting the new Standalone Invoice from any of the locations listed above, system will display the Standalone Invoice window as shown in Figure 1.0. You can use this window to create or edit a standalone invoice.
Figure 1.0 Stand alone Invoice Window
-
When a new standalone invoice is created, system will automatically populate the below listed fields which are present under the Information Tab, with relevant values shown in Table 1.0.
Table 1.0 Values defaulted to fields in Standalone Invoice Window
|
Field |
Value |
|
Bill Date |
Current System Date |
|
Start Date |
Current System Date |
|
End Date |
Current System Date + 1 day |
-
In addition to the above said fields, the Order ID will also get pre-populated if the Standalone Invoice is created from an Order. The product lines from within the Order will also get populated into the Order Display window.
-
On creating a new Standalone Invoice, a Temporary ID generated by the system will be assigned for the invoice. On posting the Invoice, the temporary id will be replaced with the next available IDS value for Invoice Type (IDS defined in Maintenance module of type 'Invoice #').
-
System will allow to create any number of Manual Standalone Invoices for an order irrespective of the start date and end date.
-
When a new Standalone Invoice is created from within Order Window > Invoice List or by highlighting an order in Order Search window, system will default the ID of the order to the Order ID field in Standalone Invoice window. The list of Items and labor positions will also be displayed under the Order section of Standalone Invoice.
-
On changing billing customer in an order, system will update the billing customer in all the linked standalone invoices, which are not posted.
Importing Items from Order to a Standalone Invoice
You can import items from an order to the Standalone Invoice by tagging the ID of the Order in the Order ID field, and then selecting the items by using the 'Copy to Invoice' Icon . For more details, refer below steps.
Note : When a new Standalone Invoice is created from within an Order, system will automatically populate the ID of the order in the Order ID field, with list of items currently present in the order.
Steps to import Order items into a Standalone Invoice are:
-
Click Standalone Invoice Icon from any of the locations listed in Creating Standalone Invoices section.
-
Click Import button present in the Order ID field. (You can skip this step, if you are creating Standalone Invoice from within an order). System displays Search Orders window.
-
Search and tag an Order. The ID of the selected Order will be now displayed in the Order ID field, and items present on the order will be displayed in the Order Items section.
-
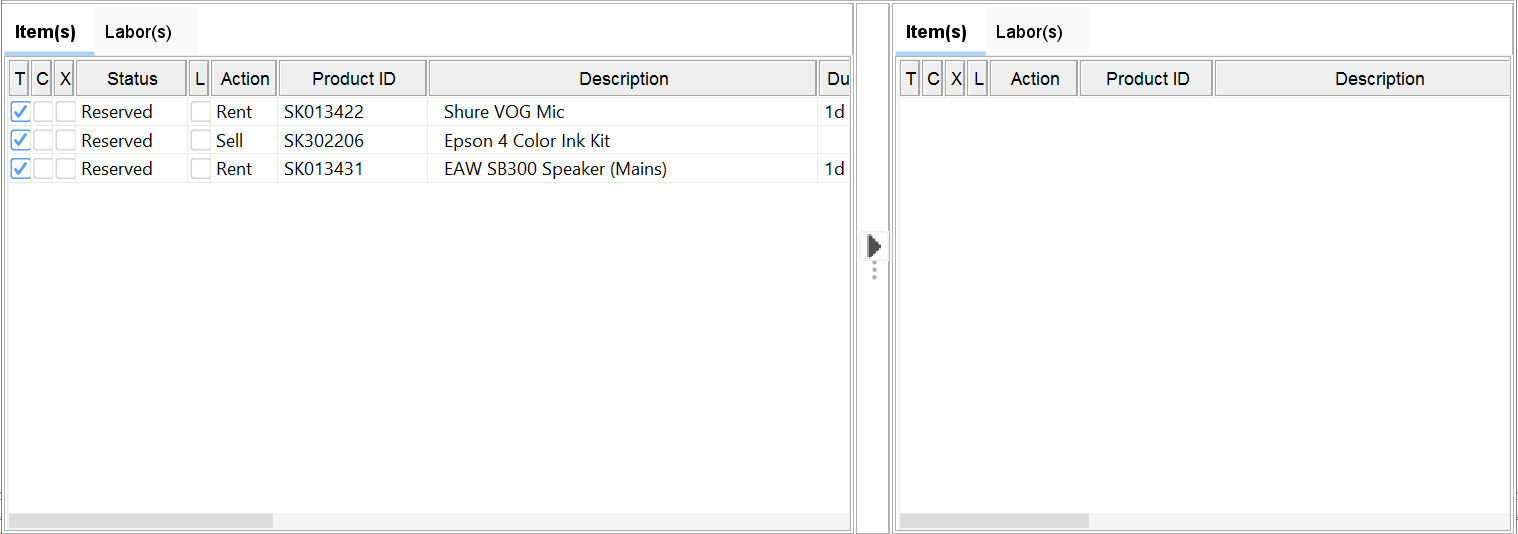
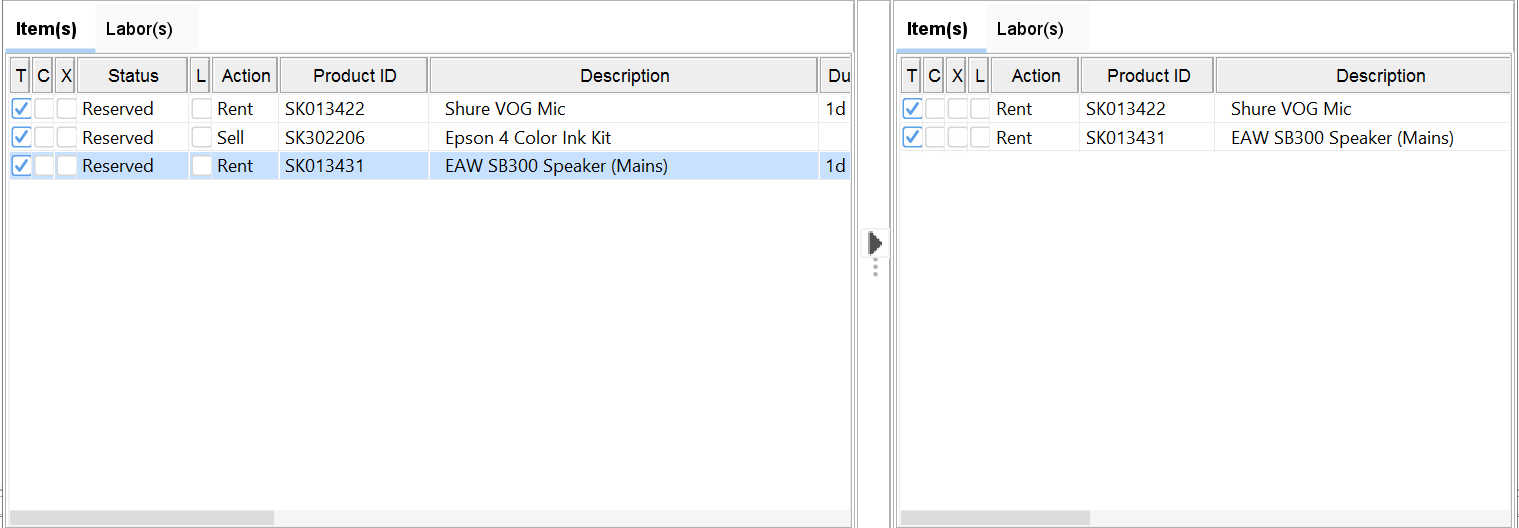
Highlight the items listed in the Order Items section and click 'Copy to Invoice' Icon . Refer Figure 2.0 for illustration.
Figure 2.0 Adding Items from Order to Standalone Invoice
-
Upon clicking the 'Copy to Invoice' Icon, the selected items will be displayed under the Invoice Section as shown in Figure 2.1.
Figure 2.1 Items Selected from Order in Standalone Invoice Window
-
Click Save Icon to save the changes.
Adding Additional Items to a Standalone Invoice
You can add items in addition to the items which are added from the order to a Standalone Invoice. This can be done by searching items using the search features available, and selecting the items accordingly. For more details, refer below steps.
Steps to add additional items to a Standalone Invoice are:
-
From within Standalone Invoice window, select any of the search features from the tool bar such as Search Inventory, Search Assets and so on.
-
System displays the relevant search window. (For example, Search Items window will be displayed when you select 'Search Items' option for search).
-
Perform search for the items that need to be added to Standalone Invoice window.
-
Tag the items and click Select Icon.
-
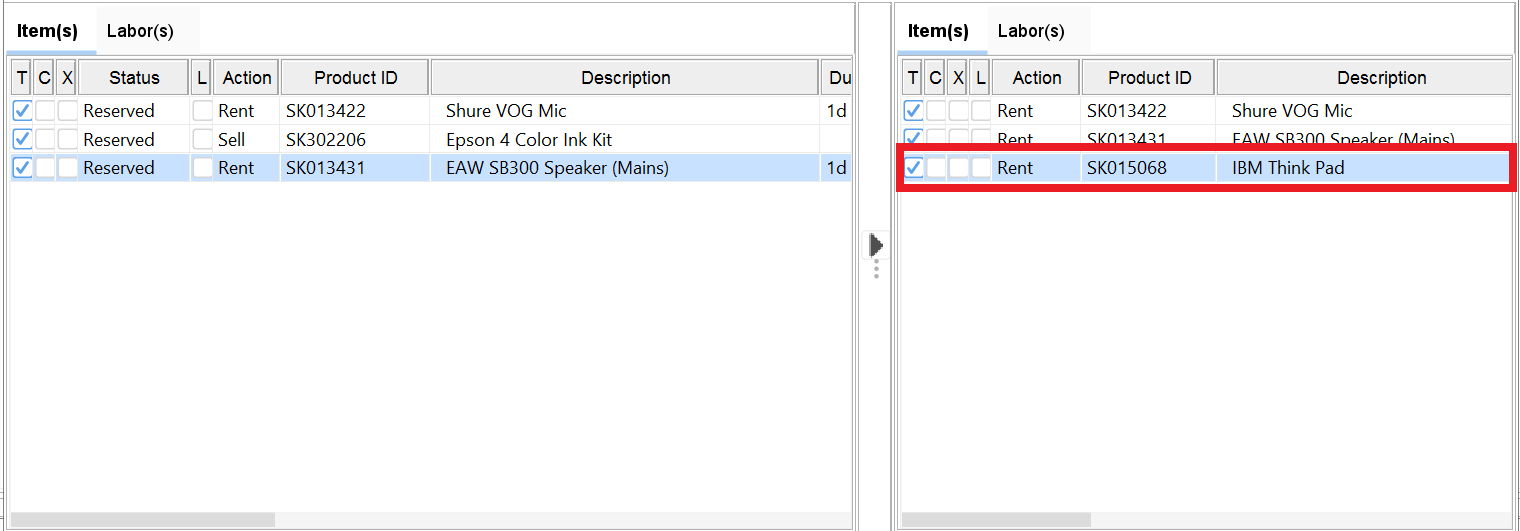
The selected items will be now displayed under the Invoice section of the Standalone Invoice window. Refer Figure 3.0 for illustration.
Figure 3.0 Additional Items added to a Standalone Invoice
-
Click Save Icon to save the changes.
Posting a Standalone Invoice
You can post a Standalone Invoice by following the same method which is used for posting the regular invoices. For more details, refer below steps.
Steps to post a Standalone Invoice are:
-
Access Invoicing Module.
-
Set the Receivables tab as the current tab.
-
Create a new Invoice batch by following the below steps.
-
Click New icon to create a new invoice batch.
-
System displays Invoice Batch window.
-
Enter a description for the new batch.
-
Click Add Invoices icon.
-
System displays the Invoice List window.
-
Search and tag the invoices.
-
Note : In Invoice List window, you can distinguish the Standalone Invoices from regular invoices by using the check box column 'SI'. The column 'SI' will be displayed as selected for Standalone Invoices, and will be displayed as de- selected for the regular invoices.
-
Click OK icon .
-
The standalone invoices which are selected will be now displayed in Invoice Batch window.
-
Exit from Invoice batch window. If prompted to save the changes, select 'Yes'.
-
-
From within Invoicing Main window, highlight the newly created batch and select Actions Menu > Post batch.
-
System displays Post Batch window.
-
Set the option 'Create Export File' as true, if you need to create the export files.
-
Select the Invoice Format and click OK.
Note : System will not allow to modify a standalone invoice once it is posted.