Table of Contents
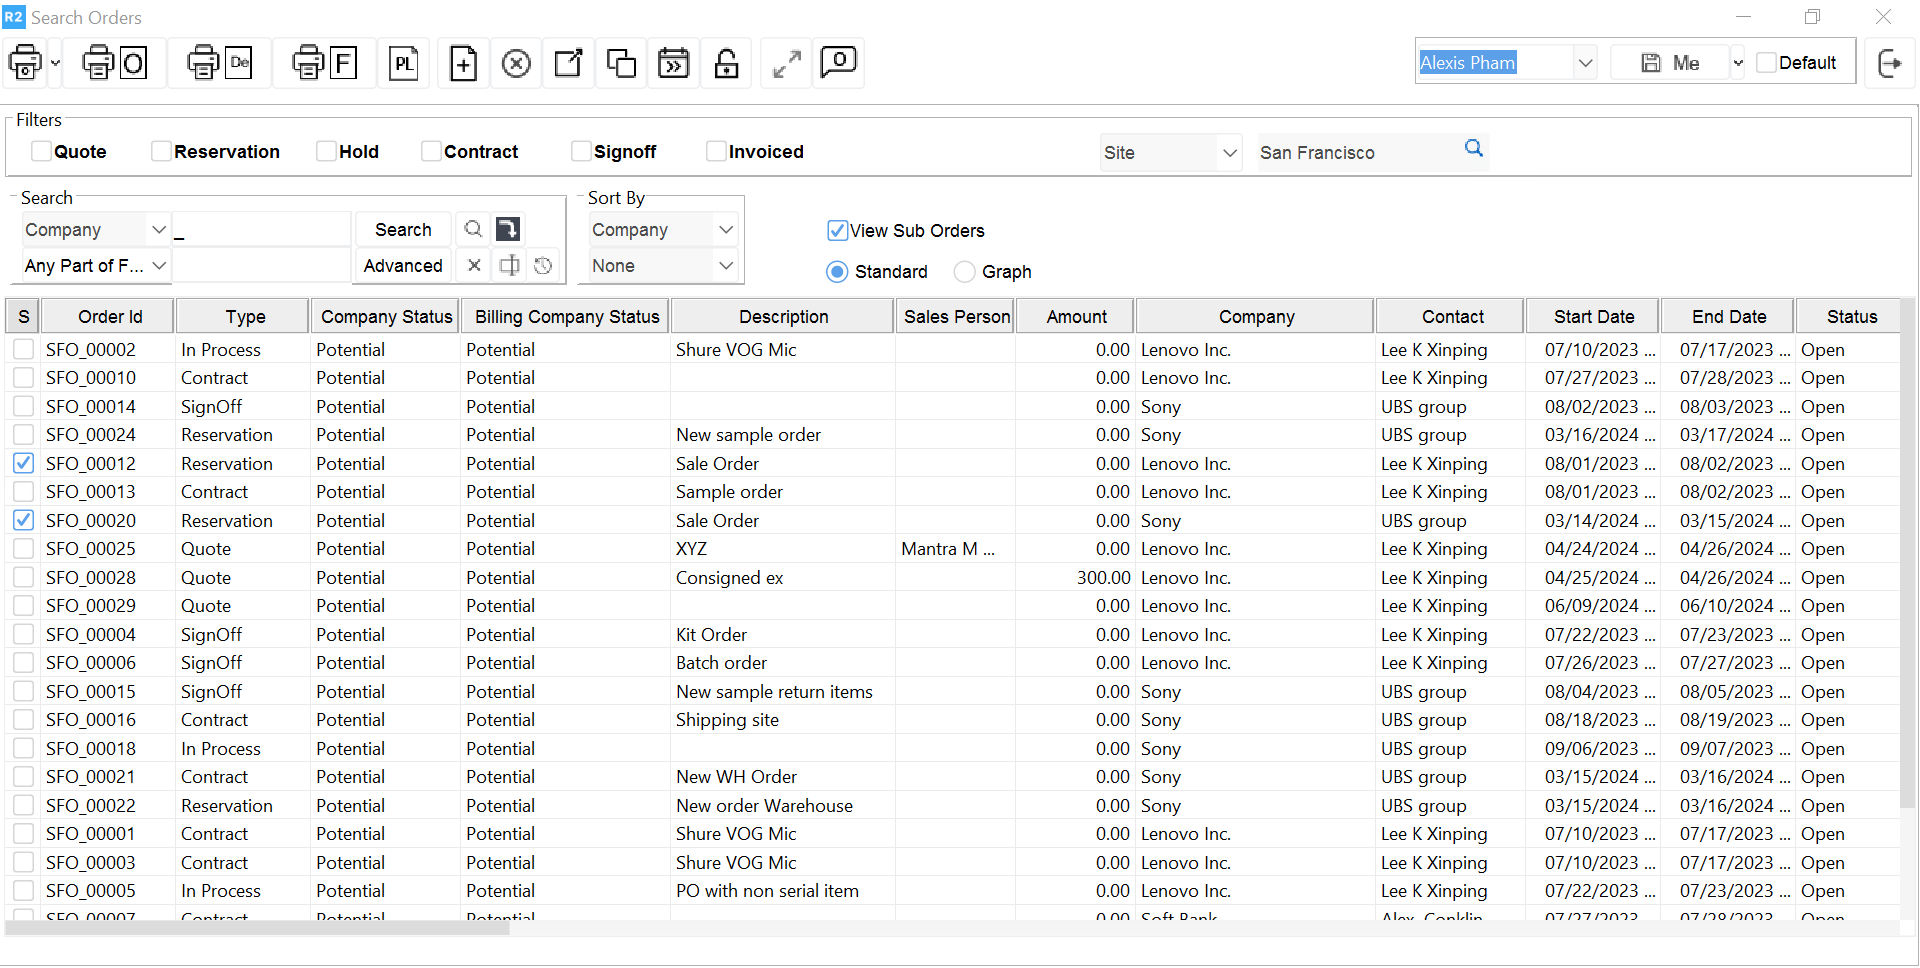
A custom view per Sales Person will be defined in the Search Orders screen to provide efficiency during the signoff process. Signoffs will be done daily by each sales person. To begin the signoff process, follow the next steps:
-
Select your custom view from the View dropdown list.
-
Your orders in Signoff status will be displayed
-
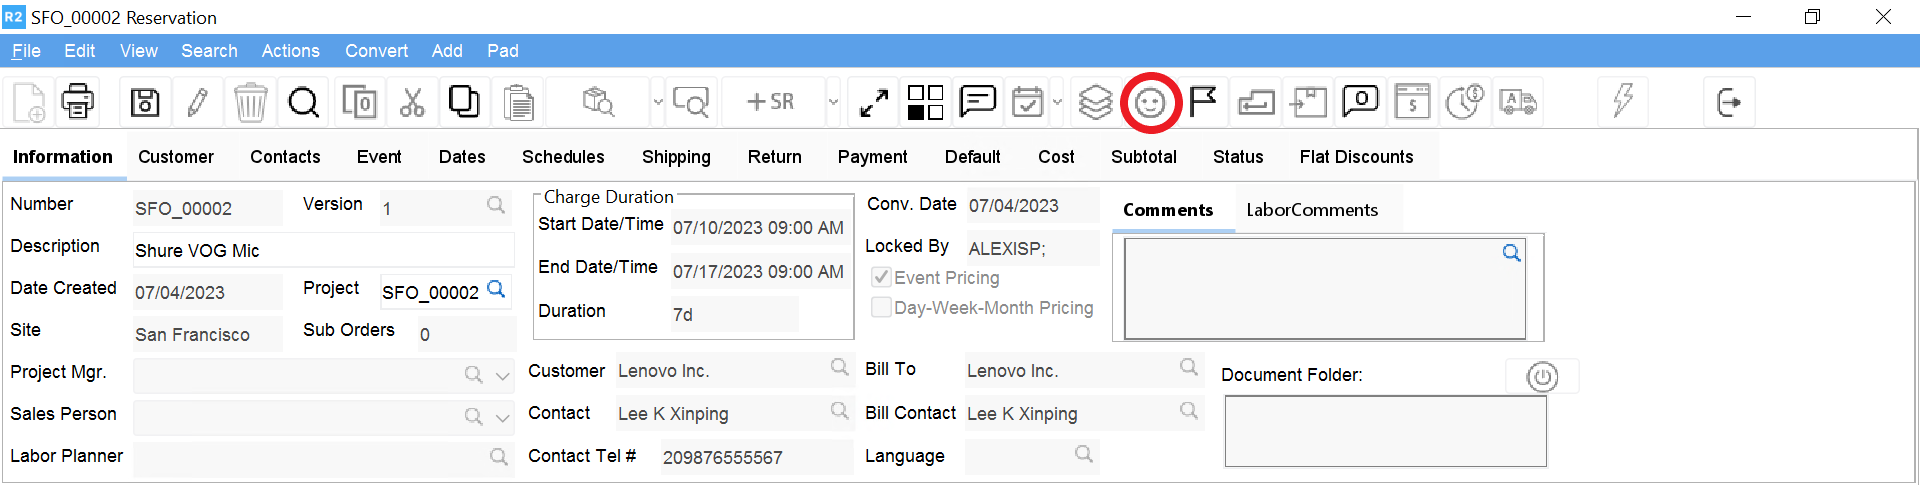
Open each order and signoff on it by clicking on the Done

-
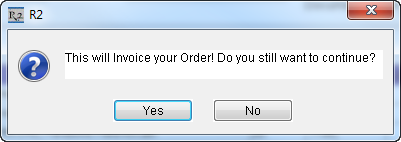
The prompt “This will Invoice your order. Do you want to continue?” will be displayed.
-
Click Yes on the button to continue.
-
The prompt “Invoice Generated Successfully” will be displayed.
-
Click OK to continue.
-
A pro-forma invoice will be generated.
-
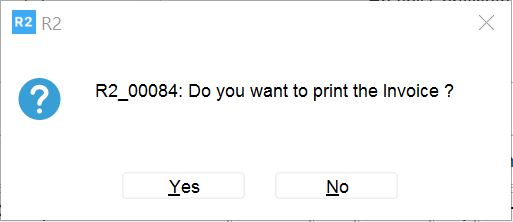
Another prompt will be displayed asking if you want to print the order. Select Yes if you want to print the contract. Otherwise select No.
-
The order will close and take you back to the search order screen.
-
Repeat the above steps for each order in Signoff status.
-
The charge end date will be set as the invoice date.
-
The invoice will be posted on the invoice date.
-
The order status will change to Contract.
Pro-forma Invoices Posted
Pro-forma invoices are given a temporary invoice ID number. This number will be replaced during posting with an actual Invoice ID number. On a daily basis, Admin will post existing pro-forma invoices based on their invoice date. Only posted invoices are to be given to customers.
Collected & Returned Orders
After orders are collected and the equipment is returned to R2, the orders will change back to Signoff status for final signoff. At this point orders should be reviewed for “Returned” status, correct totals, invoiced amount and lost and damaged items.
Lost & Damage
If lost and/or damaged items exist, find out if the costs will be internal or billed to customer. If the costs will be billed to customer, an LR invoice will be created. LR stands for Lost & Repair.
![]()
Billed to Customer - LR Invoice
To generate an LR invoice for an order with Lost and/or Repair items follow the next steps:
-
Open the order
-
Select Actions from the menu bar and select the Generate Lost and Repair Invoices option.
-
Actions>Generate Lost and Repair Invoices
-
-
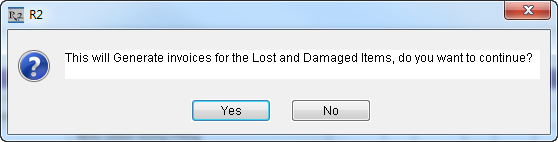
Click Yes on the prompt “This will Generate invoices for the Lost and Damaged items, do you want to continue?”
-
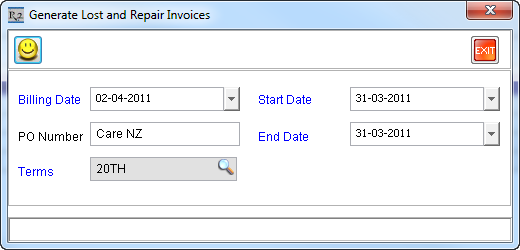
The “Generate Lost and Repair Invoices” dialog window will be displayed.
-
Billing Date = current system date. This will be the Invoice date.
-
Start Date & End Date = to order dates.
-
PO Number = Order PO. The system will use the PO for the order. You can update this field if a PO for the charges was provided by the customer.
-
Terms = Order Terms. You can update the terms from here if different terms apply for these charges.
-
Click on the Done

-
-
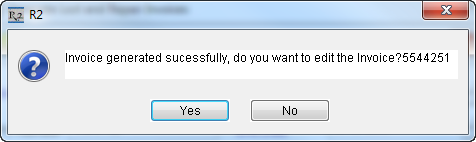
The “Invoice generated successfully, do you want to edit the invoice?” prompt will be displayed.
-
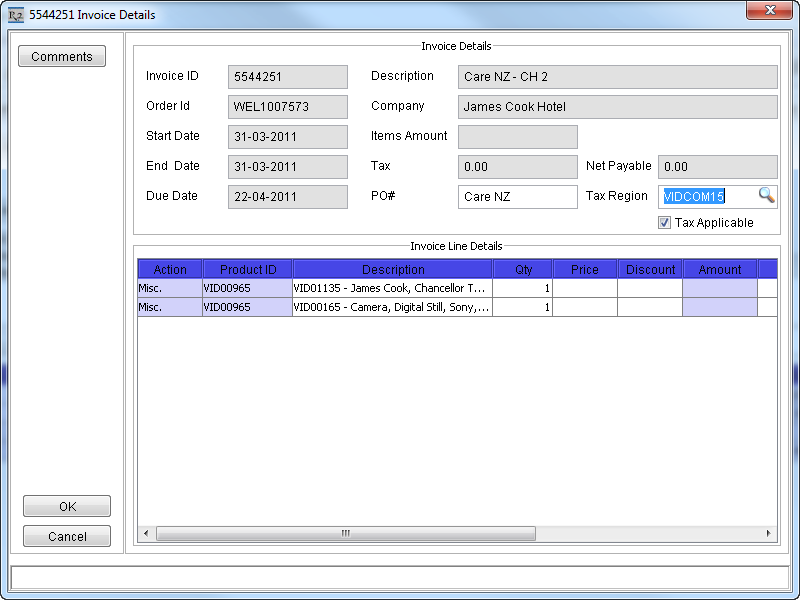
The replacement cost will be used on the invoice for both lost and damaged items. If the replacement cost doesn’t exist for the item, the Price will be blank.
-
Click on Yes if you want to edit the invoice to enter and verify the charges.
-
Click on No if you prefer to edit the invoice at a later date if you don’t know the amount of the damaged charges.
-
The warehouse manager will provide the damaged charges amount.
-
Once you have the amount, to edit the LR Invoice, follow the same steps as above and click Yes on the prompt in step 5.
-
-
The LR Invoice will be created.
Internal Cost
If the cost is internal, continue with the normal signoff process.
Final Signoff
After reviewing and generating necessary LR invoices, the orders are ready for final signoff.
-
Open the order if not already opened.
-
Click on the Done

-
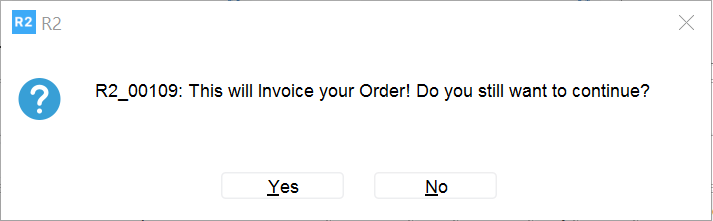
Click Yes on the “This will Invoice your Order! Do you still want to continue?” prompt.
-
If any previously generated pro-forma invoice, including LR invoices, haven’t been posted and/or additional charges were added to the order, the prompt “Invoice Generated Successfully” will be displayed. The order will remain in Contract status. Once outstanding invoices are posted, the order will close and it will change to Invoiced status.
-
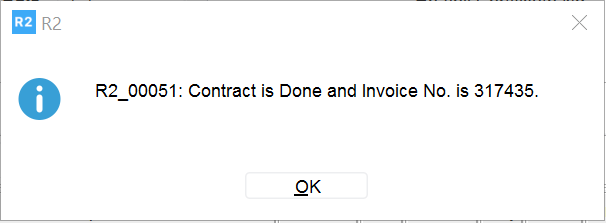
If an LR invoice exists and the previously generated pro-forma invoice has been posted and no additional charges were added to the order the “Contract is Done and no Invoice Generated” prompt will be displayed. The order will remain in Contract status. After the LR invoice is posted, the order will close and change to Invoiced status.
-
If the existing pro-forma invoice has been posted and no additional charges were added to the order the “Contract is Done and no Invoice Generated” prompt will be displayed. The order will close and change to Invoiced status.