Table of Contents
After approving the Purchase Orders, accounting will create the vouchers, post them in R2 and integrate them to your accounting system.
Creating Vouchers
-
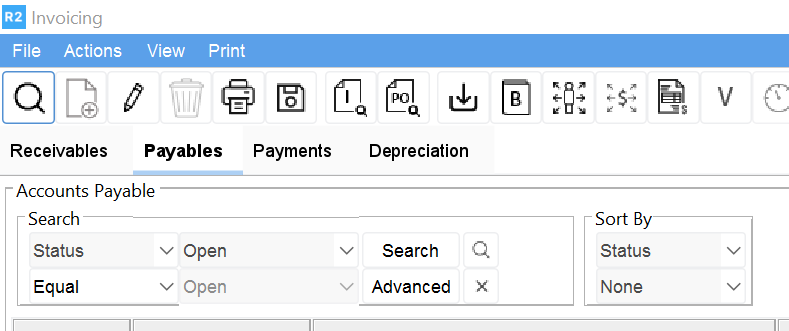
In the Invoicing module click on Payables tab.
-
Click on the New Voucher icon.
-
The Voucher screen will be displayed.
-
Click on the Defaults tab.
-
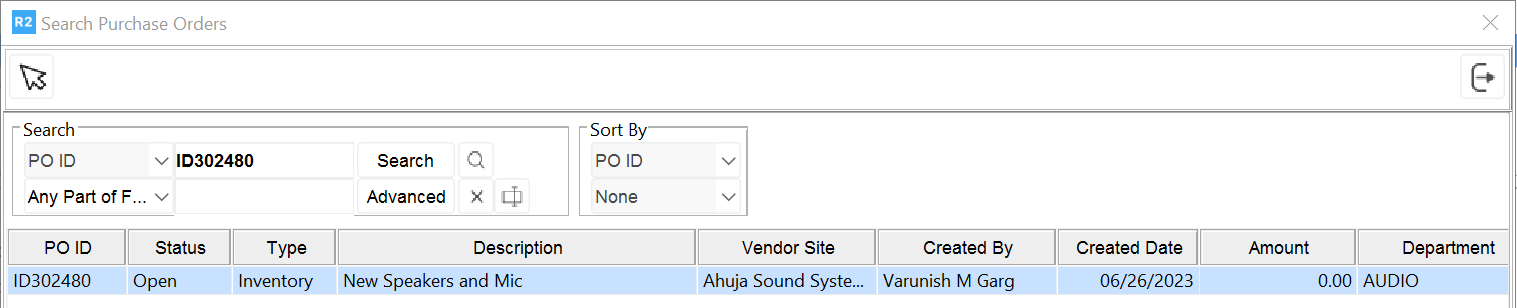
Click on the magnifying glass next to PO# and search for your PO.
-
Double-click on the PO to select it.
-
-
Select the individual items you will be paying for, or click on the Import All button.
Note: some of the items may not turn blue, or become tagged when you click on Import All. This is because they have not been approved, as described in the first part of this document. This can be manually overridden, see below:
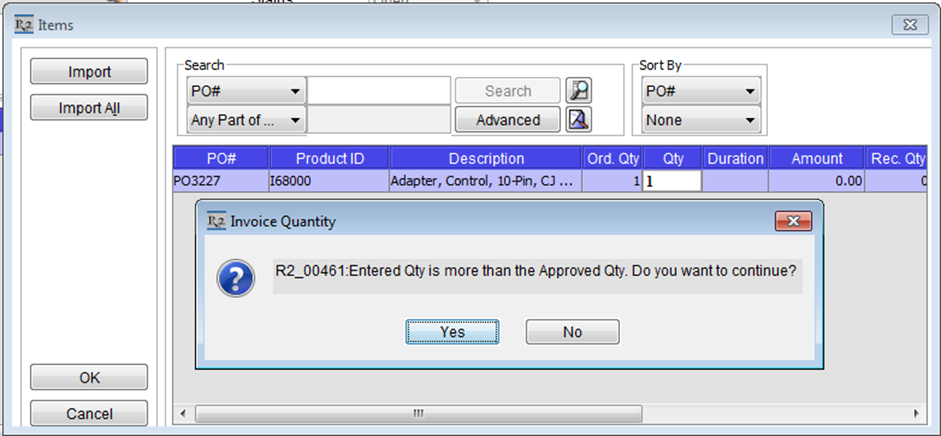
By typing the number of items to import in the QTY field, R2 will prompt you.
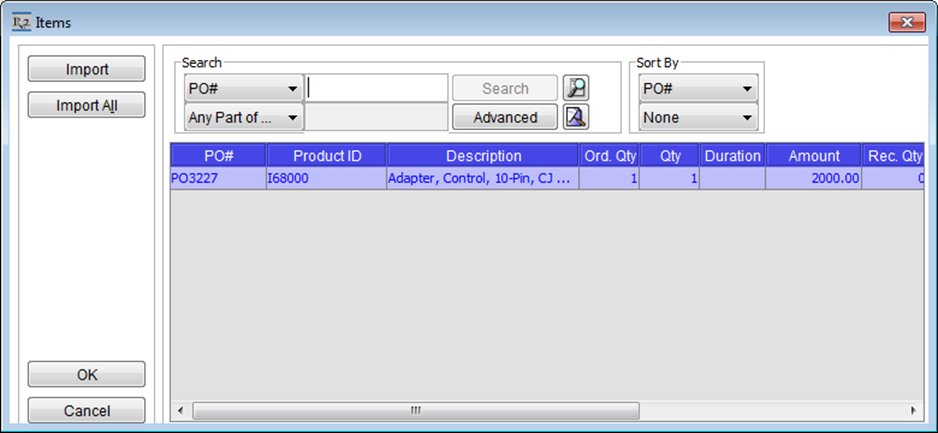
The manually approved item(s) will turn blue. Click OK to import these items.
-
If necessary, type in the Price field to override any prices to match the vendor invoice.
-
Ensure the correct GL Code is set per line. Accounting integrations will fail if the GL Code is incorrect or missing from this field.
-
Click on the Import Items

-
Use the search criteria to identify, tag and add those items or charges onto the voucher.
-
Items or charges added directly to a voucher will not have a default price. Type the dollar amount into the Price field.
-
-
Click on the Information tab:
-
Enter the Vendor invoice number in the Vendor Inv. No. field.
-
Enter the Vendor Invoice date in the Vendor inv. Date field.
-
Select the payable terms in the Terms field (may already be defaulted by vendor).
-
Posting Vouchers
Once the vouchers are created, they will be posted and integrated to your accounting system.
-
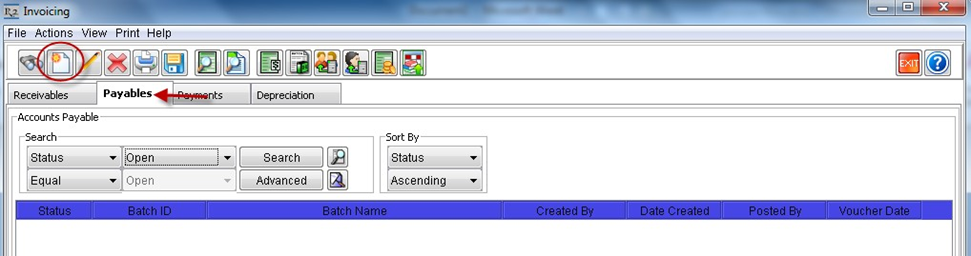
In the INVOICING module, select the Payables tab.
-
Click the New icon to create a new batch.
-
The Voucher Batch screen will be created.
-
Enter a name in the Batch Name.
-
Click on the Add button to selectively add vouchers to the batch, or click on the Add All button to add all un-posted vouchers to the batch.

-
Exit the batch, the new batch will be listed from the Invoicing screen, Payables tab.
-
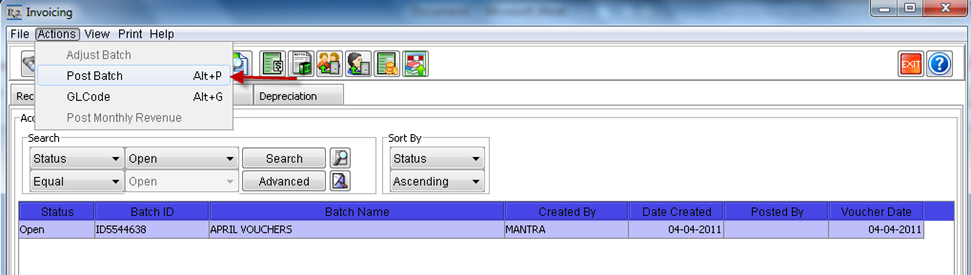
Highlight the batch by clicking on it once.
-
Select Actions from the menu bar and select the Post Batch option
-
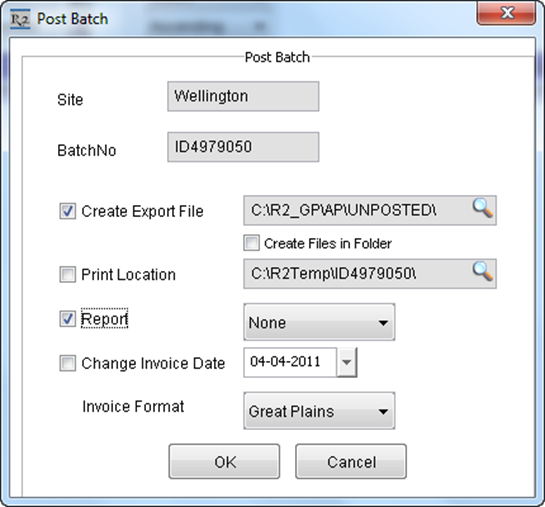
The Post Batch dialog window will be displayed.
-
Check the Create Export File box.
-
Check the Report box.
-
Click the OK button to post the batch.
-
Integrate the files to your accounting system.