Table of Contents
Min / Max Quantity
Begin by logging into R2, then open the Account module.
PARTS
-
Click on Search → Parts.
-
Click on the New Part


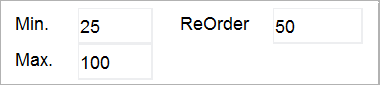
Min Quantity: When stock falls to or below this level, the Reorder Worksheet will prompt a reorder for this part.
Max Quantity: A quantity that should not be exceeded during reordering.
Reorder: A “good order” quantity that falls between the Min and Max quantities. The reorder quantity must be greater than or equal to the Min Quantity and less than the Max Quantity.
ITEMS
-
Click on Search → Items.
-
Click on the New Item


-
Click on the ALL SITE DETAILS button:
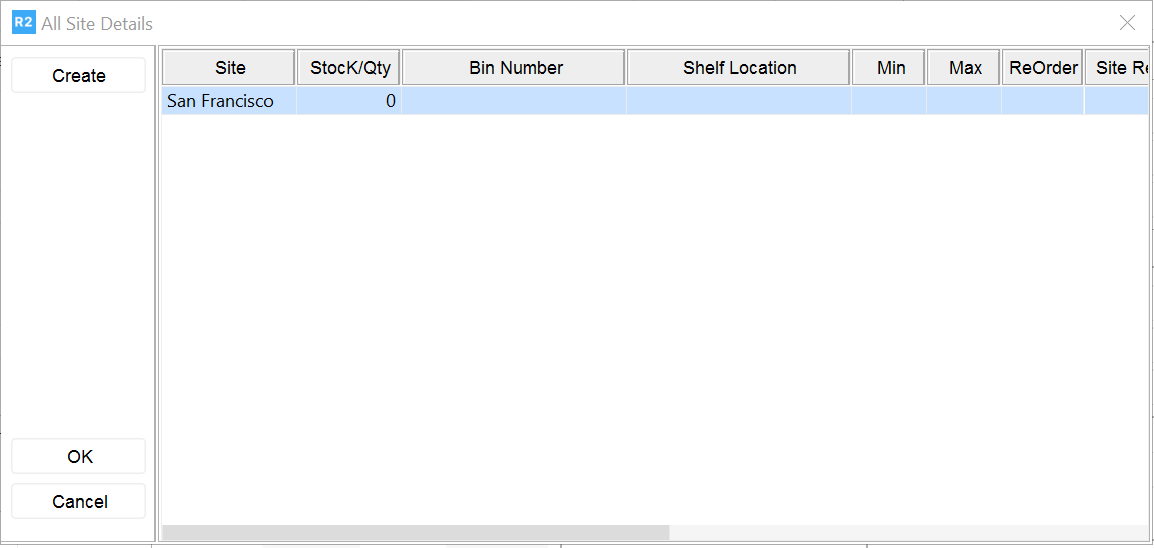
-
Enter the Min, Max, and Reorder quantity, as described above under the parts section.
Reorder Worksheet
Begin by logging into R2, then open the Account module.
-
Click on View → Purchase Order
-
Click on the New Worksheet

-
Begin by clicking on the Reorder Items button.
-
From the screen that appears, enter a % symbol and click on the Search button. This will display all items whose current stock level has reached or fallen below the Min Quantity entered for that item.
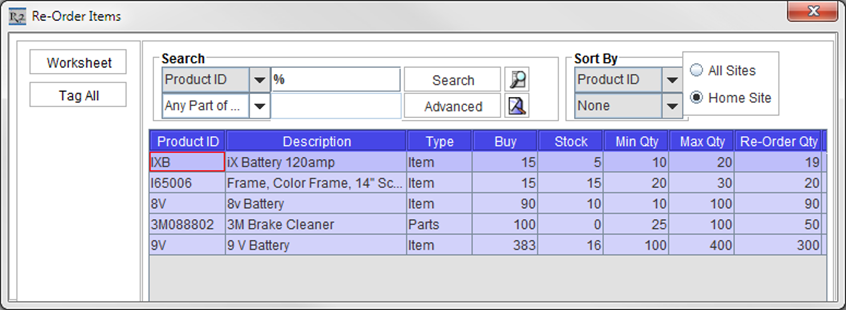
The Min and Max quantity are displayed for each item, as well as the Reorder Quantity.
The Buy column displays how many R2 thinks you need to purchase to get back to a safe Max Quantity.
-
Double-click on each item to tag it back to the worksheet. Each line will turn blue in text when tagging.
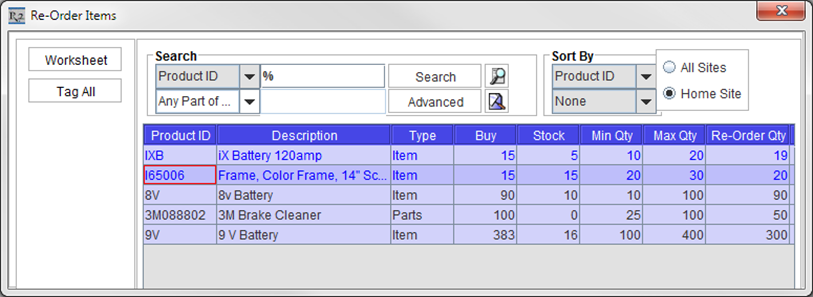
-
Click on the Worksheet button to add the tagged items onto the worksheet.
-
You can override the Quantity to be purchased, as well as the unit cost (Price) by typing in the appropriate fields on each line.

-
Highlight one or more lines and click on the Select Vendor button. A vendor search screen will appear. After tagging a vendor, you’ll see the vendor next to each item:

-
Once a vendor has been assigned to all items on the worksheet, again highlight one or more items (must all be of the same Vendor) and click on the Create PO button. Once this is done, a PO number will appear in the PO field of the worksheet next to each item:
-
Assign a Vendor and a PO to each of the remaining items on the worksheet. It is OK to leave some items un-purchased as they will simply appear the next time you create a reorder worksheet.
-
To close a worksheet (permanently) click on the Close checkbox and then close the worksheet.