Table of Contents
To create a new purchase order
Click the New PO button ![]()
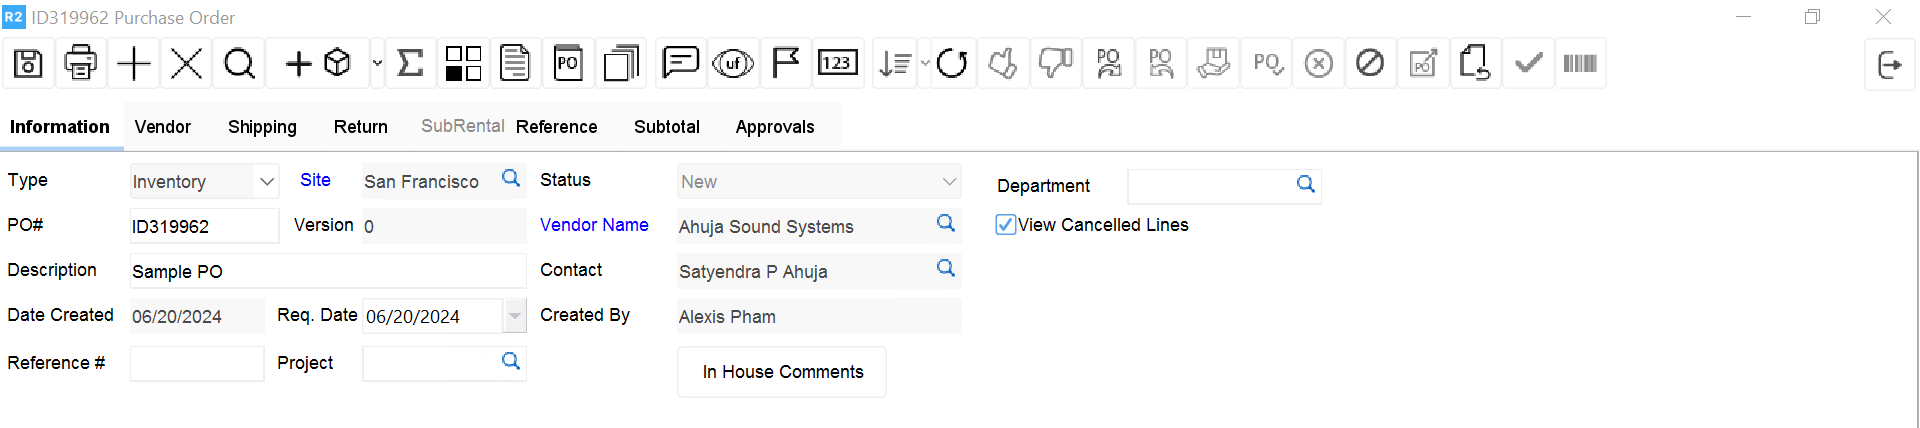
Select the PO type to create in the information tab
.png?cb=9d668a1731566461397faaa22b182c59)
Select a vendor from the search list in the Vendor Name field
The PO number will be auto generated by R2 upon saving the purchase order.
Enter a short description about the purchase order in the Description field
Link the purchase order to an existing project by selecting it from the list in the Project field.
Enter internal comments related to the purchase order by clicking the In House Comments button.
Select a Req. Date. By default the system date will be populated.
Save the purchase order by clicking the Save button ![]()
By default the PO will be created in the current site. But can be switched to another site if desired prior to purchase order release.
To add items to the purchase order
Click the Add Items button ![]()
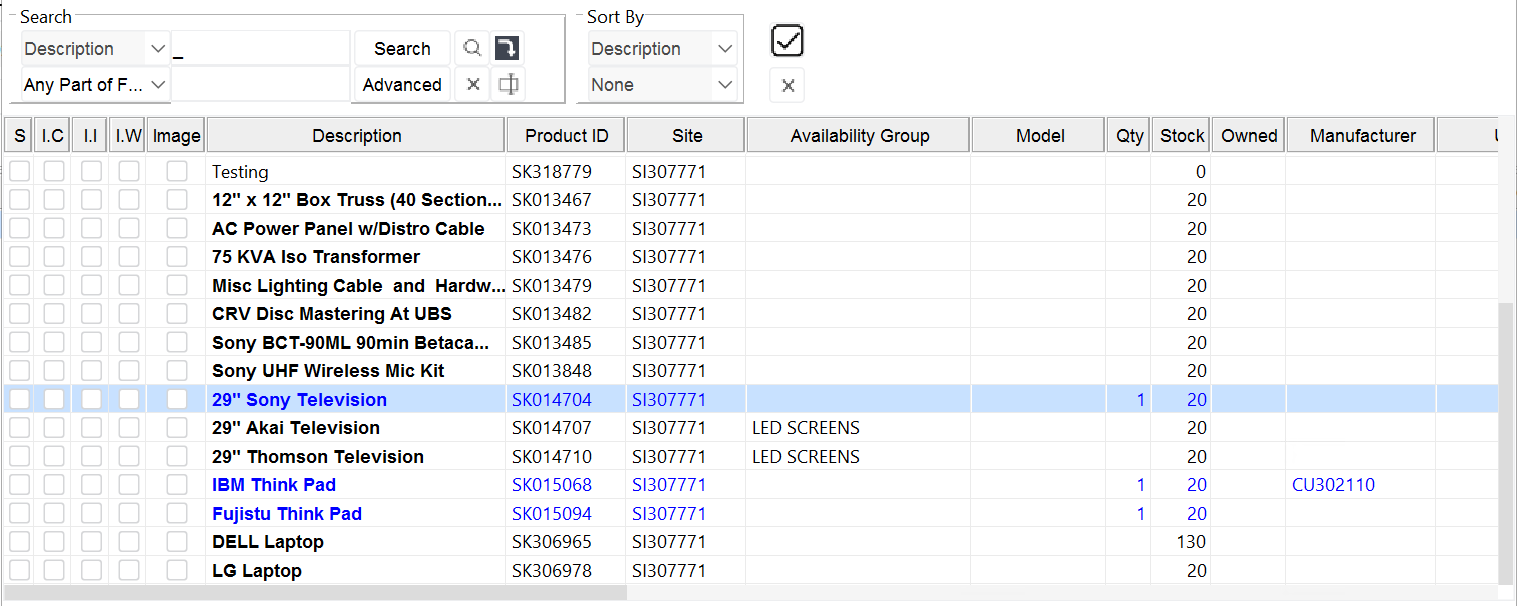
Search for the equipment needed
Double click on the items to tag them
When done selecting items, click the Select button ![]()
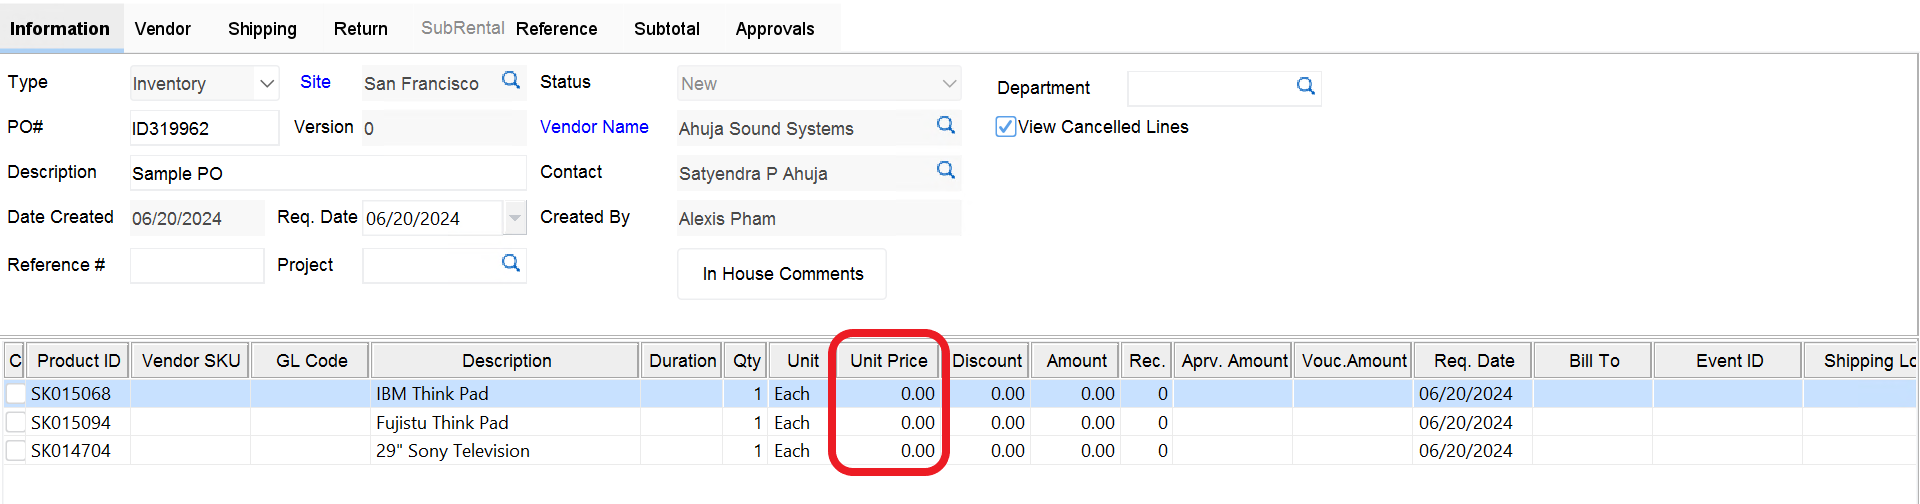
If the items have not been set up with vendor pricing, the price be populated with “0.00”. Enter the vendor price in the Price column.
The purchase order status will be “New” when first created. Once it is released it will change to “Open” status.
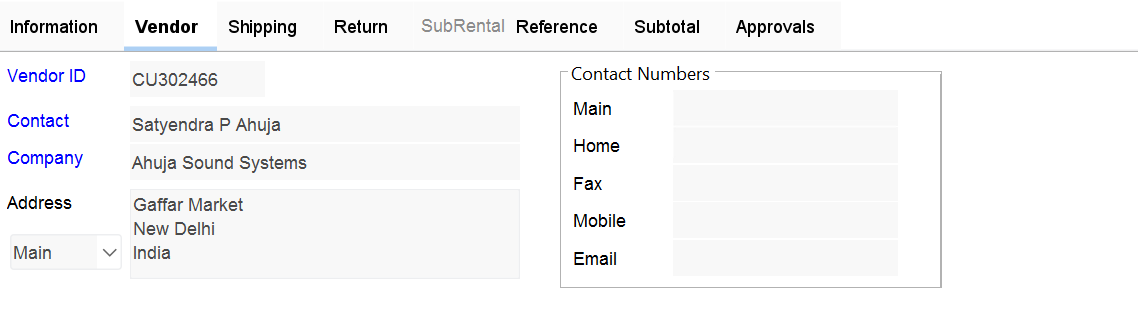
The Vendor tab displays vendor information
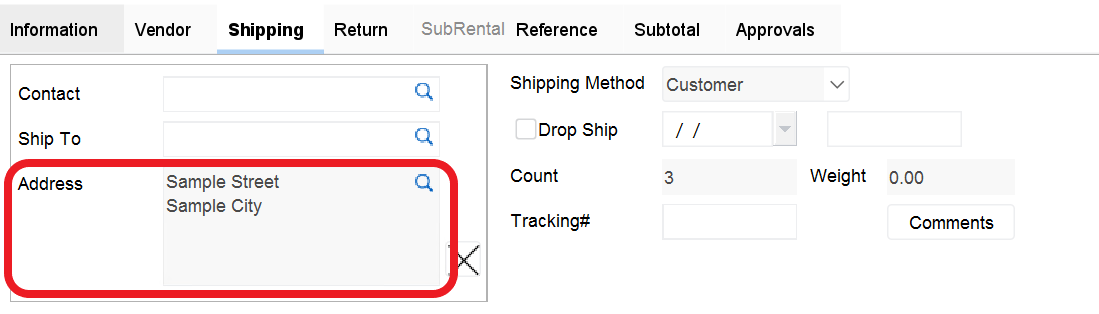
The Shipping tab displays shipping details. By default the site’s address in which the purchase order was created will be used. The address can be changed by clicking the button in the address area
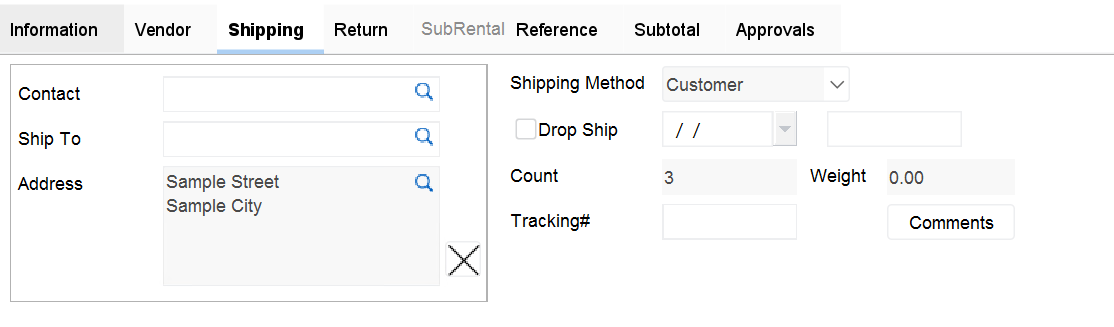
A location can also be chosen in the Ship To field. The location’s address will be populated upon selection.
A shipping contact can be entered or selected from the data base in the Contact field.
The shipping method will be populated based on the vendor’s defaults or it can be selected from the Shipping Method dropdown list.
.png?cb=c1670d51eb38883622beba8a2ecfcf2a)
Enter the courier’s tracking# if available.
Drop Ship and Pick-Up are options that can be selected if the equipment must be drop shipped at an event or show and picked up from the same location by the vendor. This applies mainly to sub rental orders. But can be used for inventory purchases as well.
For inventory purchase orders the Sub Rental tab will be disabled. This tab displays the dates for which the equipment is required. If the Drop Ship and Pick-Up options are selected, the “Receive from Vendor” and “Return to Vendor” flags will be turned off.
The Reference tab lists the orders for which equipment is being sub-rented or purchased. It also references transfer orders for which a misc. purchase order was issued.
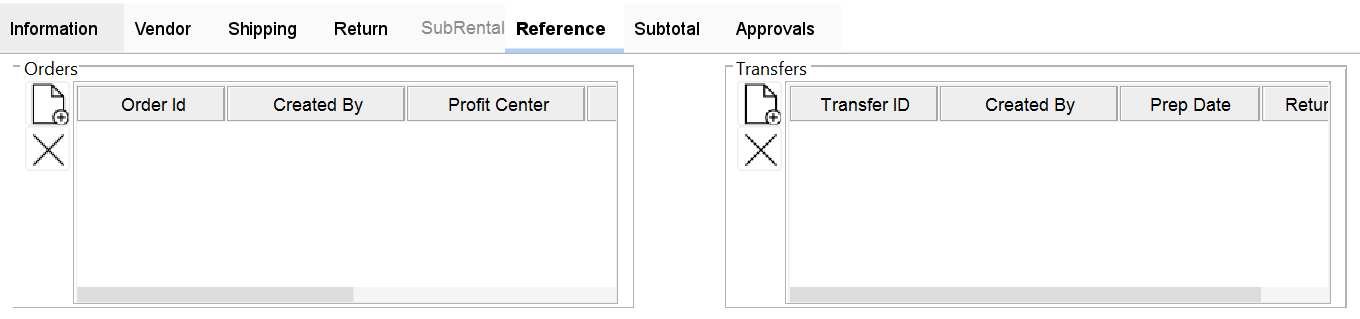
To reference more orders to the PO click the New button ![]()
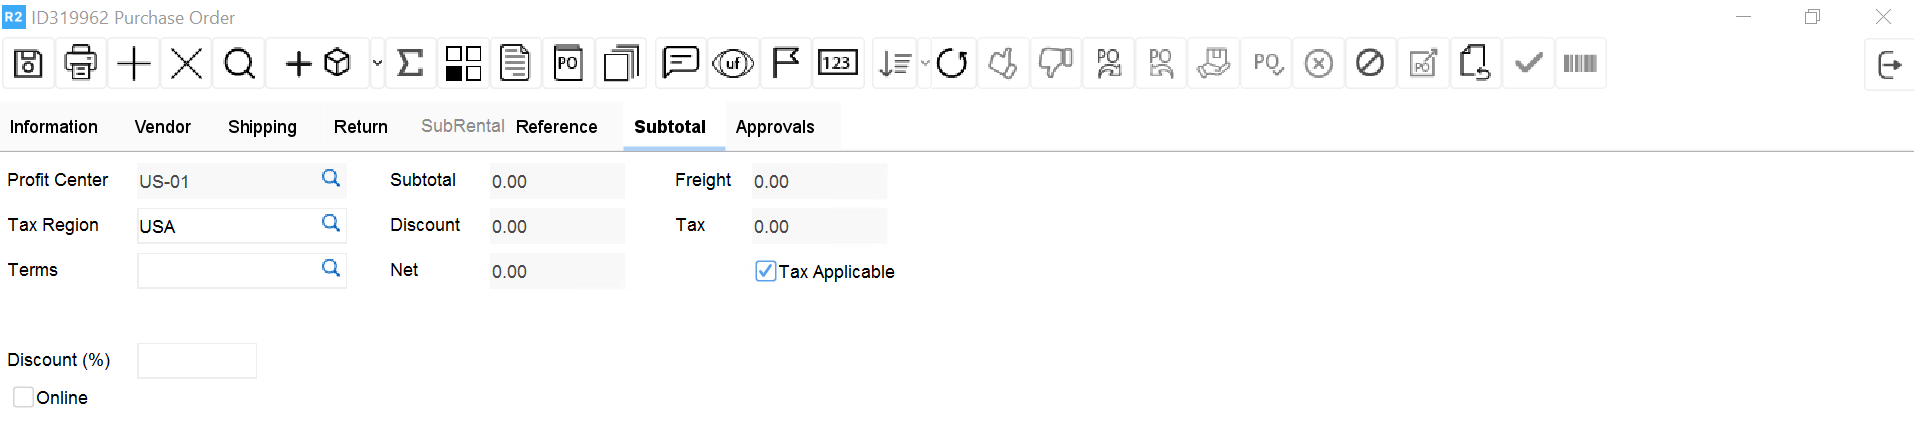
The Sub Total tab displays a summary of the total charges including tax if applicable. The tax region is not defaulted by the system. It must be selected by the user in order for taxes to calculate on the PO.
To define a profit centre for the purchase order, select it from the list by clicking the import button ![]()
If the vendor will issue a discount, enter the discount percentage in the Discount field.
When done, save the purchase order by clicking the Save button ![]()
To release the purchase order to send for approval click the Release ![]()
The verification prompt will be displayed. Select the Yes option to release the purchase order. Upon release the purchase order will change to “Open” status.
Select the No option to keep the purchase order as “New”.

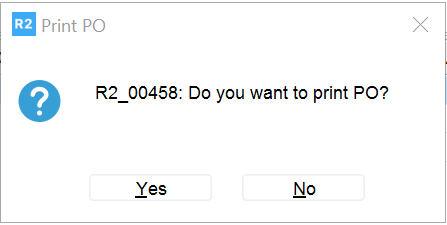
If the Yes option was selected the following prompt will be displayed. Select the desired option and continue.