This process document is intended to guide sales employees through the creation of transfer orders in the R2 software.
-
Begin in the customer reservation.
-
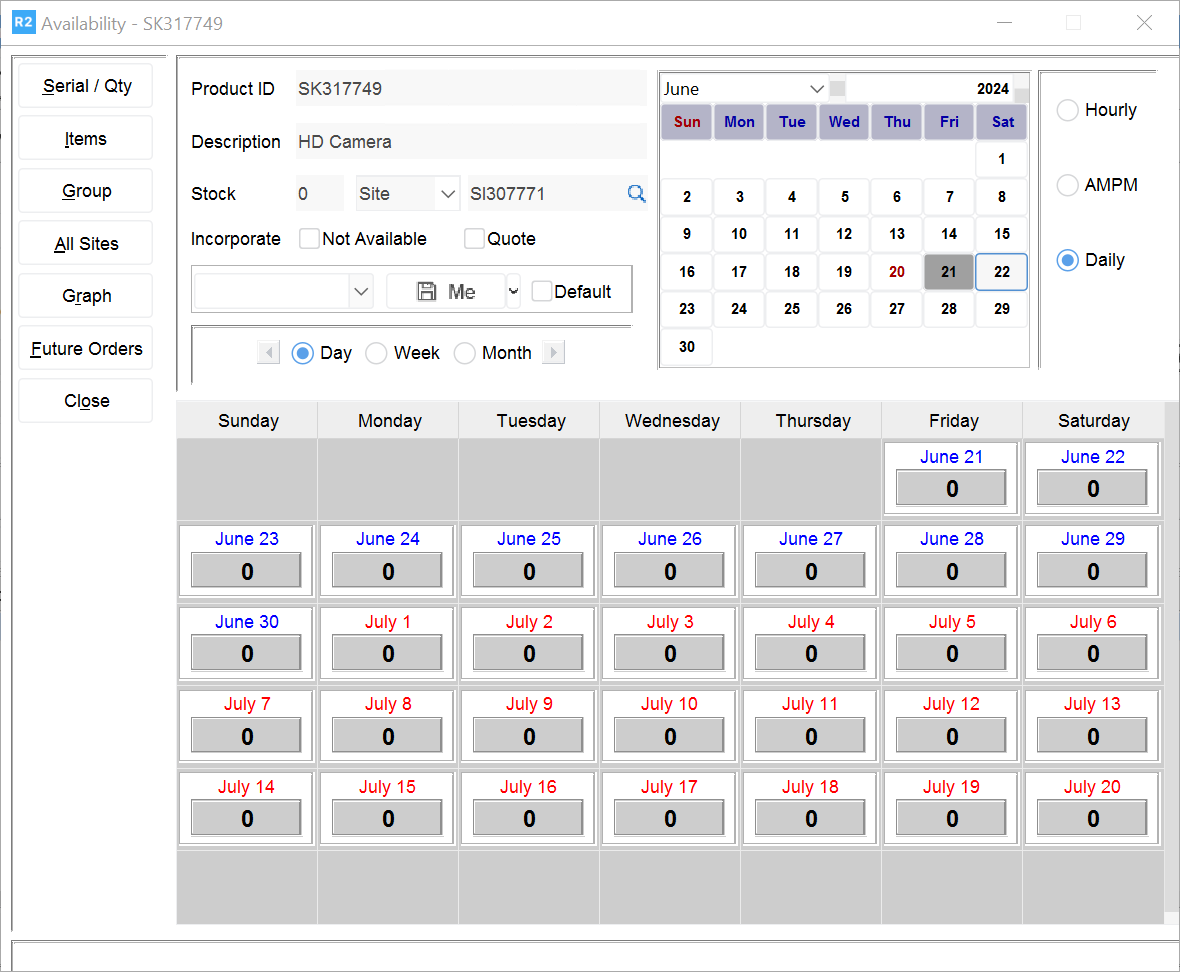
For an item that is Not Available, highlight the item and click on the Availability

-
Availability for the local site will be zero:
-
Click on the All Sites button to determine if any other sites have the item. If the zero changes to a positive number, you may be able to transfer it from that site.
-
Close the Availability screen and highlight the Not Available item.
-
Click on the two down-arrows next to the Sub Rent icon and select Transfer.
.png?cb=585e31c89a21b716047701d6d79c4aa1)
-
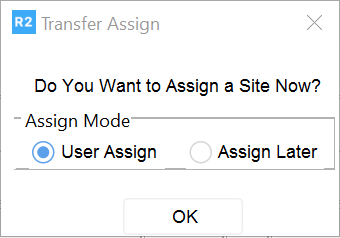
Select User Assign:
-
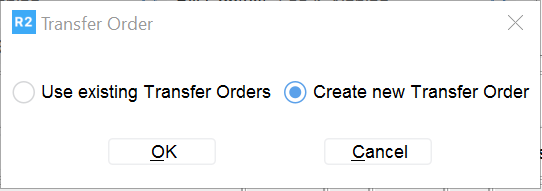
Select Create New Transfer Order:
-
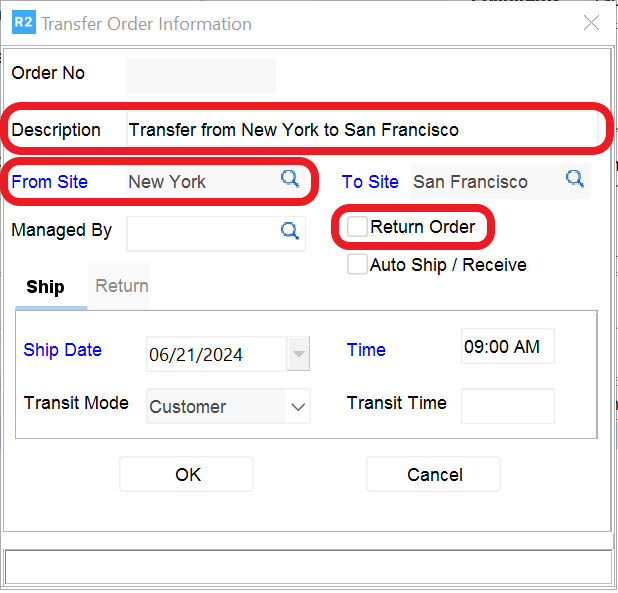
The Transfer Order Information screen will appear. Enter a Description and select the site you are requesting the equipment from in the From Site. If the transferred items should be returned to the originating site, click on Return Order. Click on the OK button to continue.
-
Enter any comments you wish printed in the Comments window of the transfer order.
-
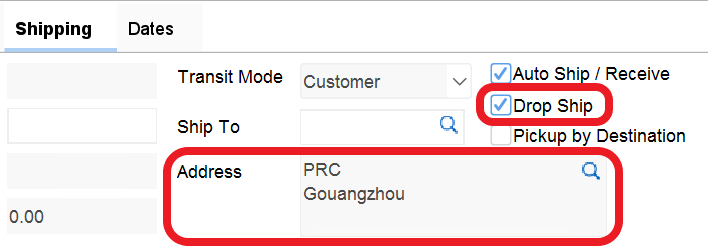
Click on the Shipping tab of the transfer order and click on the Drop Ship checkbox. The customer’s shipping address will appear in the Address field below. If this does not occur, it may be because the transfer was created before the shipping address of the order was entered. If this is the case, simply type the address here.
-
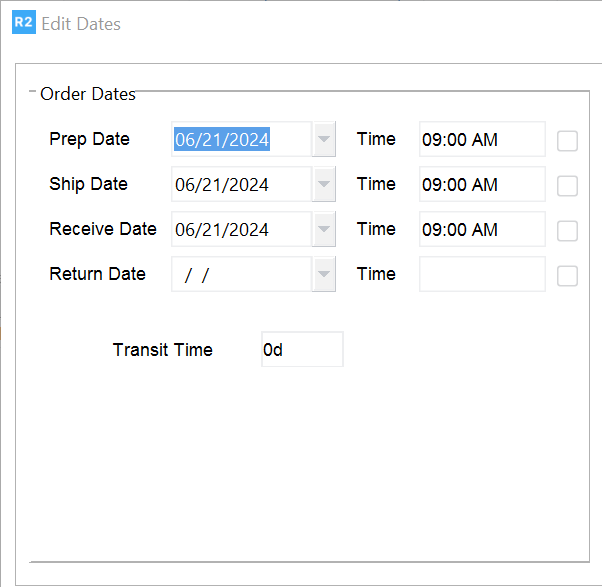
Click on the Dates tab and click on the Edit Dates button for the transfer out.
-
Enter a date the transfer should be prepped (pulled).
-
Enter a date the transfer should leave the warehouse (Ship Date).
-
Enter an estimated receive date (when the transfer should be at the customer event).
-
-
If the order is a return-transfer, edit the return dates:
-
Enter the Prep Date the return transfer will be prepped.
-
Enter the Ship Date the return transfer will be leaving your warehouse.
-
Enter the estimated date the transfer will be received at the receiving warehouse.
-

A return transfer will be used if you wish to utilize items from SITE-B for a show and have the requested items returned to SITE-B. If a return transfer is not created, the requested transfer items will be returned to SITE-A (the requesting site) and stay there. If a return transfer is not created it is viewed as a one-way transfer only.
-
Exit the transfer order and you will be returned to your customer order.
-
The item status on the line now shows T-RESERVED (reserved on a transfer).
