Table of Contents
QuickBooks Online Integration
R2 supports integrations with the following Desktop versions:
-
QuickBooks Pro
-
QuickBooks Premier
-
QuickBooks Enterprise
As well as with QuickBooks Online.
This guide describes the installation and use of the QuickBooks Online Integration.
R2 integrates the following objects with QuickBooks:
-
Accounts Receivable (Invoices)
-
Cash and Credit Card Payments
-
Customers
-
Accounts Payable (PO Payments)
-
Vendors
-
Depreciation
R2 can receive the following information back from QuickBooks:
-
Payments to Invoices
Introduction
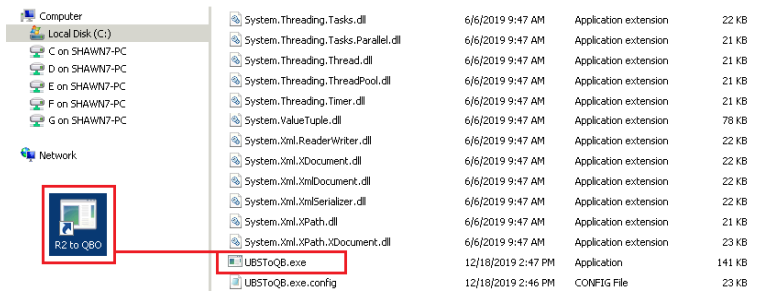
QuickBooks Accounting integration is accomplished thru a user-controlled Import/Export facility. The program is called UBSTOQB.EXE and resides in the default installation folder:
-
\Program Files\Unique Business Systems\UBSToQBOAuth2
Pre-requisites to integrating R2 A/R and A/P documents into QuickBooks include:
Installation package
-
UBSToQBOAuth2Setup.MSI
Data files from R2
The R2 posting files which are created during the R2 batch posting process:
-
A/R batches create the files Customer.CSV, Sales.CSV and General.CSV
-
A/P batches create the files Vendor.CSV and Purchase.CSV
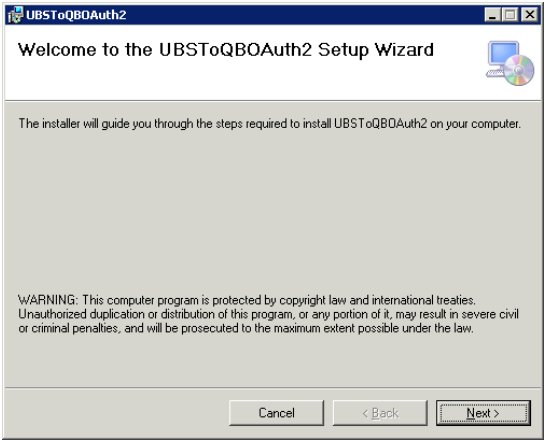
Installation
-
Begin by running UBSToQBSetup.MSI
-
Click on the Next button.
-
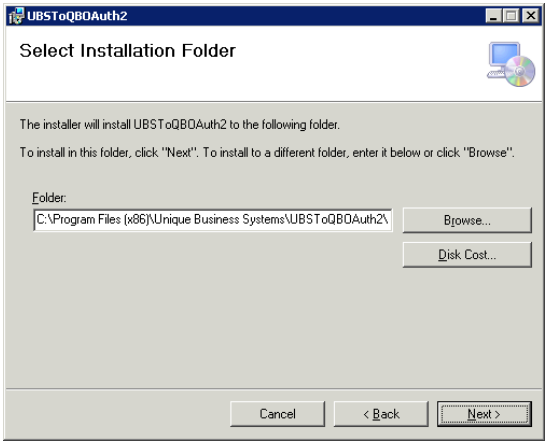
Select the folder for installation, or leave the default selection and click the Next button.
-
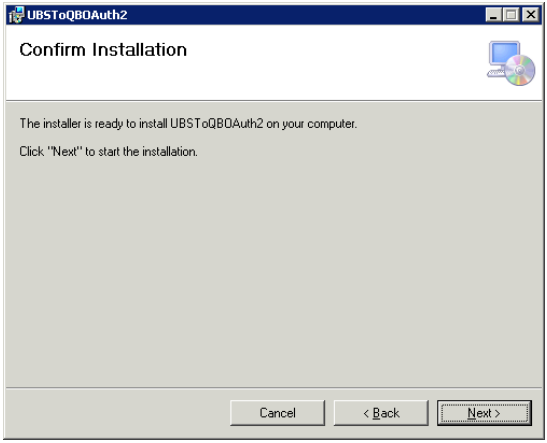
Click on the Next button to start the installation.
-
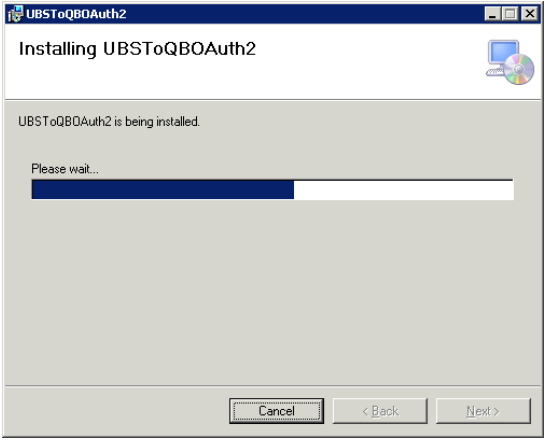
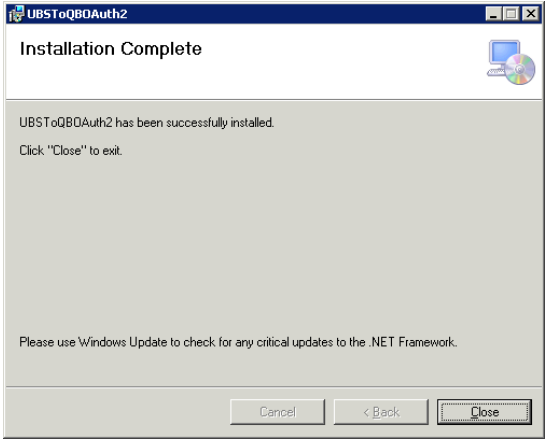
When the installation is complete click on the Next button.
-
To complete the installation, click on the Close button.
Configuration
The configuration for this program is in the form of a text file located in the installation folder:
\Program Files\Unique Business Systems\UBSToQBOAuth2\UBSTOQB.EXE.CONFIG
The configuration file is in XML format.
The following tags are available for modification in the configuration file:
|
XML Tag |
Function |
|---|---|
|
classProcessing |
Type: integer (0=‘None’, 1=’UDF1’, 2=’UDF1:UDF2 (Both Required)’, 3=’UDF2’, 4=’UDF2:UDF1 (Both Required)’, 5=’UDF1:UDF2’, 6=’UDF2:UDF1’) Required: false Default: 0 Description: Specifies the composition of the “class” field for integrating QB Bills, Credit Memos, Invoices, Journal Entries, Purchase Orders and Vendor Credits. “Both Required” specifies that both user defined fields must be populated; otherwise, the QB “class” field is empty. |
|
geckoBinDirectory |
Type: string Required: false (required if useGeckoBrowser is true) Default: “” Description: Specifies location of Firefox dlls (relative to application directory). If applicable, should be “Firefox”. |
|
isCR2 |
Type: boolean Required: false Default: “false” Description: Specifies if UBS application is CR2 (vs R2) |
|
logFileName |
Type: string Required: false Default: “c:\QBConsole\UBSToQB.log” Description: Specifies name of log file 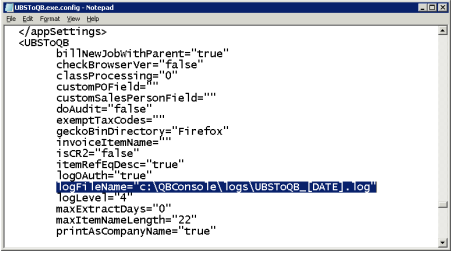
|
|
logLevel |
Type: integer (0=’None’, 1=’Exception’, 2=’Error’, 3=’Info’, 4=’Debug’) Required: false Default: “2” Description: Specifies logging detail level. |
|
maxExtractDays |
Type: integer Required: false Default: “0” Description: If not 0, specifies maximum days old for records included in QB extract files (i.e. data extracted from QB to integrate into R2) |
|
maxItemNameLength |
Type: integer Required: false Default: “15” Description: Maximum length for added / updated item names. QBO now allows up to 100 characters; default is 15 for backwards compatability is the suggested value for updating apps installed with the 15 character limit. |
|
processJobs |
Type: boolean Required: false Default: “false” Description: If true: UBSToQB will use customer jobs (“Customer ID”:”Project ID”) for customer references for invoices and credit memos; UBSToQB will look up customer job for bills and vendor credits (look up customer job where job matches extract’s project id). |
|
putNameInAddress |
Type: boolean Required: false Default: “true” Description: If true, R2’s cust/vendor name is included in QB address for customers & vendors; if false, name not included in QB address. |
|
qbEdition |
Type: string Required: false Default: “US” Description: Specifies the QB edition (e.g. “US”, “OE”, “CA”, “UK”, “AU”). |
|
qbToUBSDateFormat |
Type: string Required: false Default: “MM/dd/yyyy” Description: Format for writing dates in qb to ubs files. |
|
ubsToQBDateFormat |
Type: string Required: false Default: “MM/dd/yyyy” Description: Specifies expected date format in r2 / cr2 extract files. |
|
ubsDir |
Type: string Required: false Default: “c:\QBConsole” Description: Specifies the root directory for r2 / cr2 extract and import files. UBSToQB checks the Invoices\Pending sub directory for invoice batches (moving batches with no processing errors to Invoices\Processed, and moving batches with processing errors to Invoices\Failed), and writes QB data to the Payments sub directory. 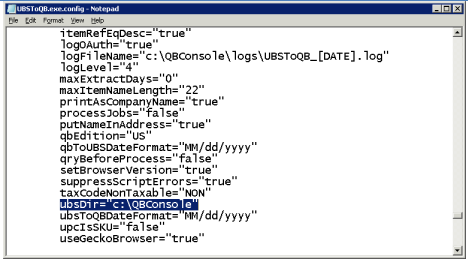
|
|
useSecondaryInvoiceNumber |
Type: boolean Required: false Default: “false” Description: Specifies if the secondary invoice number (if available) in the sales file is used for the sales invoice number. |
Pre-Launch
Create a desktop shortcut to the launch program:
\Program Files\Unique Business Systems\UBSToQBOAuth2\UBSTOQB.EXE
Upon running the program for the first time, the following folders will be created based on the ubsDir and logFileName setting in the Configuration section:
C:\QBConsole
C:\QBConsole\Invoices
C:\QBConsole\Invoices\Pending
C:\QBConsole\Invoices\Processed
C:\QBConsole\Invoices\Failed
C:\QBConsole\Payments
C:\QBConsole\Payments\Pending
C:\QBConsole\Payments\Processed
C:\QBConsole\Payments\Failed C:\QBConsole\Logs
Integration
Before integrating, it is important to have the expected files from R2. Inbound A/R and A/P integrations should be copied into C:\QBConsole\Invoices\Pending. The integration files should be created in a folder at the time of posting.
Run the program (double-click on the desktop icon that was just created in the step above.)
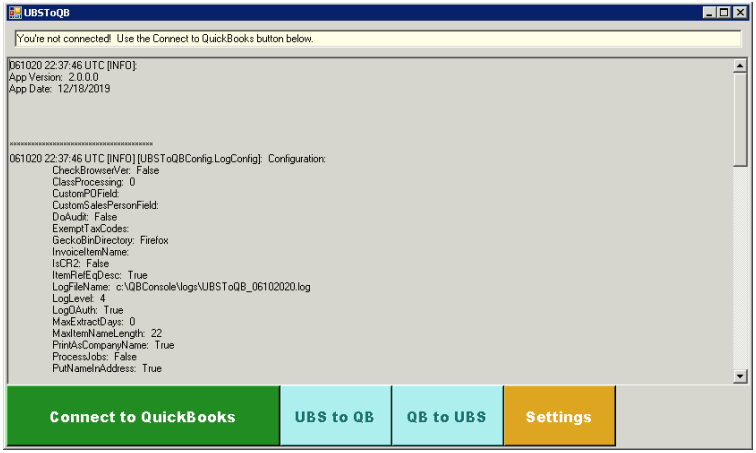
A running log file is visible directly in the center of the window. Along the bottom of the window are four buttons that control the integration:
|
Button |
Function |
|---|---|
|
Connect to QuickBooks |
The top of the screen initially shows that “You’re not connected! Use the Connect to QuickBooks button below.” Click on this button to launch the login screen for QuickBooks Online: 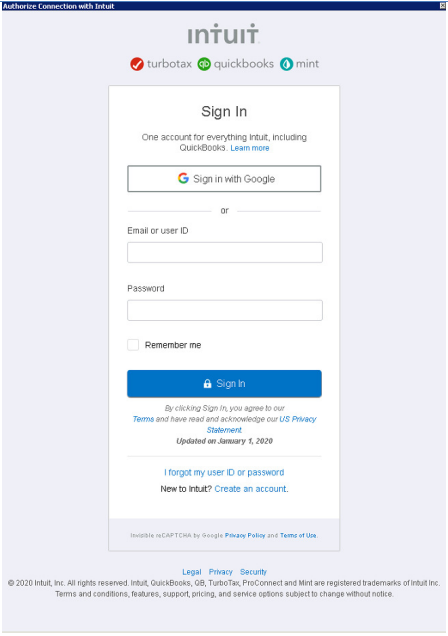
|
|
UBS to QB |
Click on UBS to QB to process R2 files into QuickBooks Online. |
|
QB to UBS |
Click on QB to UBS to export invoice payment detaills from QuickBooks. |
|
Settings |
Use the Settings button to change the Last Export Date. This is the last date upon which invoice payment details were exported to R2. If invoice payments are missing in R2, for example, it is useful to set this date to a point in the past, so the next time you run QB to UBS it will pull payment details since that date. |