Table of Contents
Set Up
-
The following items must match in both systems for a successful integration
-
GL accounts
-
Sales Person ID
-
Payment Terms
-
Tax Schedules
-
-
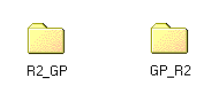
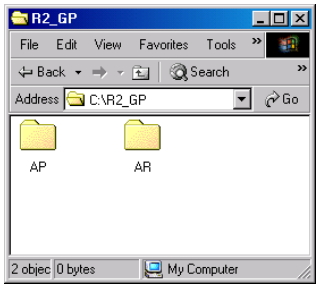
Create the following folders and subfolders on your network.
|
Level 1 |
R2_GP |
GP_R2 |
|||
|
Level 2 |
AR |
AP |
|
||
|
Level 3 |
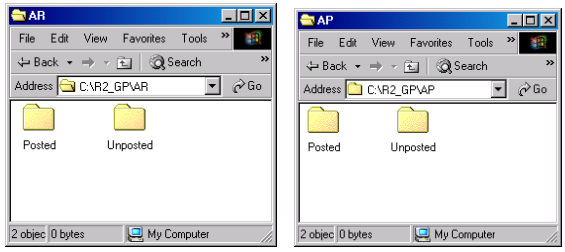
Unposted |
Posted |
Unposted |
Posted |
|
Level 1
Level 2
Level 3
-
. Import the following integrations from im.mdb

-
1-R2-Customers
-
2-R2-RM Transactions
-
3-R2-Vendors
-
4-R2-PM Integrations
-
Step 1
Open Integration Manager – Programs>Microsoft Business Solutions>Integration Manager 8.0>Integration Manager.
Step 2
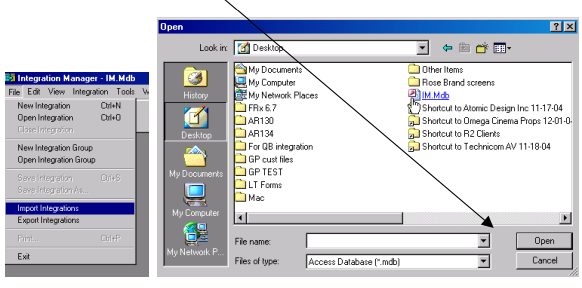
Go to File>Import Integrations, browse for the location of the IM.mdb file provided by UBS and click Open
Step 3
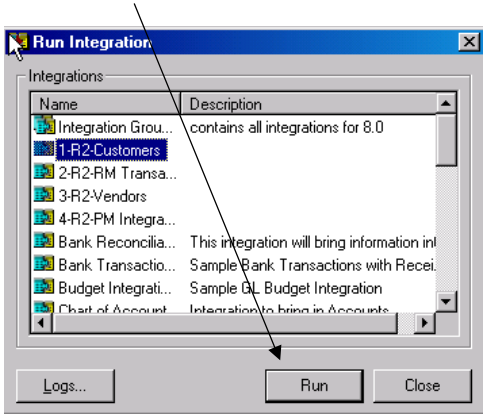
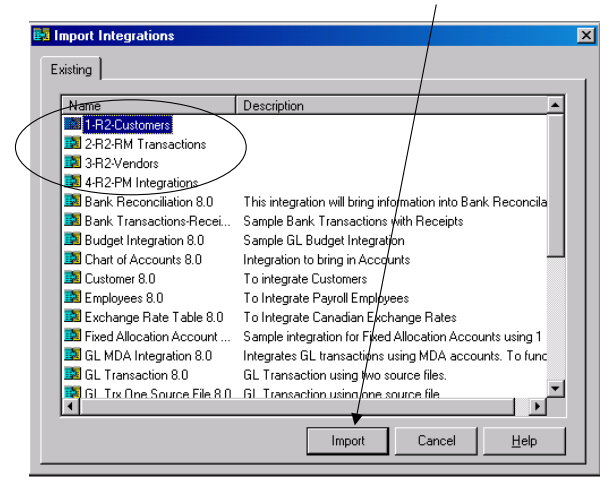
The following window will open. Select the integrations circled below. To select all four at the same time, select the first one then hold the shift key and select the last one. All four will become selected. Click on the import button.
-
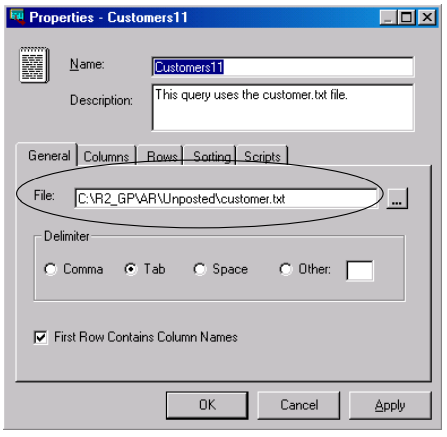
Change the file location on all of the source files above to the Unposted folder under level 3. Make sure that integration 1 and 2 are mapped under the Unposted folder of AR and integration 3 and 4 are mapped under the Unposted folder of AP.
Step 1
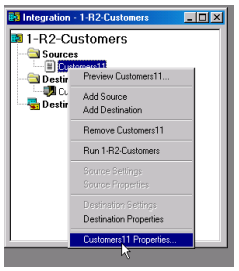
In Integration Manager, click on Open Integration icon and open 1-R2- Customers integration by double clicking on it.
Right click on customers 1 and open customer properties.
Repeat the steps above for the other three integrations.
-
R2 Export Reports Setup
Import the following reports from the r2report.dic (found in the r2report.zip file) to the main reports.dic of Great Plains
-
R2 Export – Invoices, Payments, Credit Memos and Debit memos
-
R2 Export – Payment/Invoice Apply
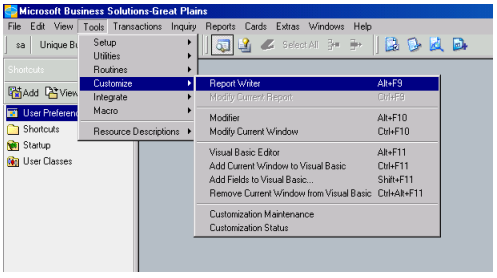
Step 1 – In Great Plains go to Tools > Customize > Report Writer
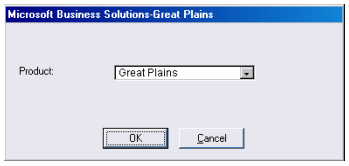
Step 2 – For Product choose Great Plains and click OK
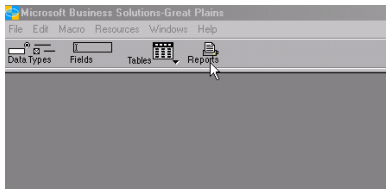
Step 3 – Click on Reports
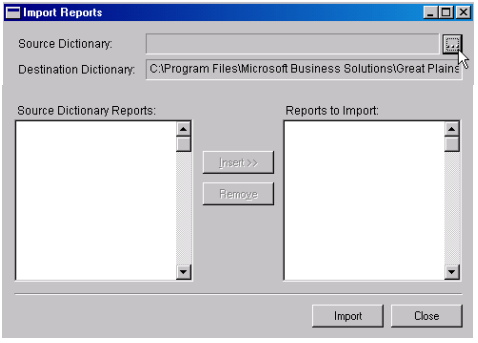
Step 4 – The Report Writer window will come up. Click on the Import button.
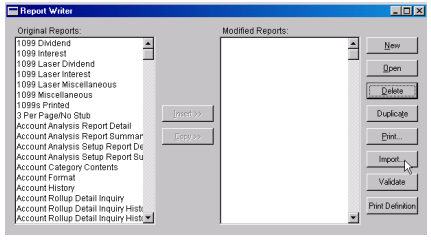
Step 5 – Click on the ellipse and point to the location of the r2report.dic. There will be four reports in the list.
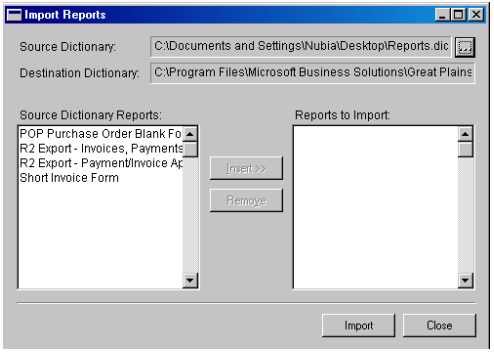
Step 6 – Select the R2Export – Invoices, Payments… and R2Export – Payment/Invoice… and click on the Insert>> button. You will see the reports move to the Reports to Import window. Click on the Import button.

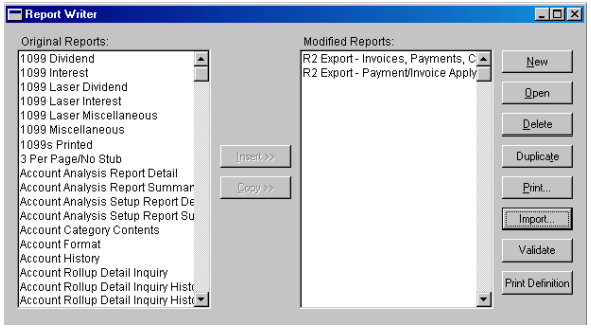
Step 7 – You will now see the reports under Report Writer in the Modified Reports section. Close the window by clicking on the X in the upper right corner.
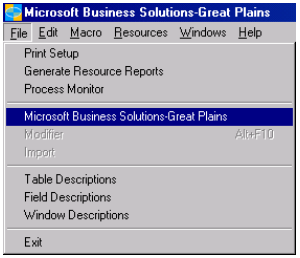
To go back to Great Plains do the following: Go to File > Microsoft Business Solutions Great Plains
-
Macros Setup
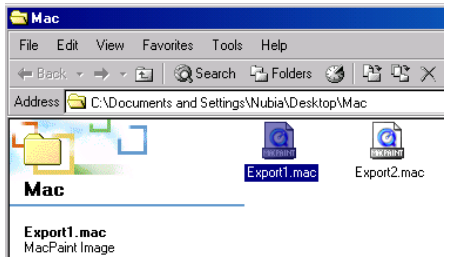
Step1 – Create a folder called Mac under the Great Plains folder per user and copy the following macros from mac.zip
-
Export1
-
Export2
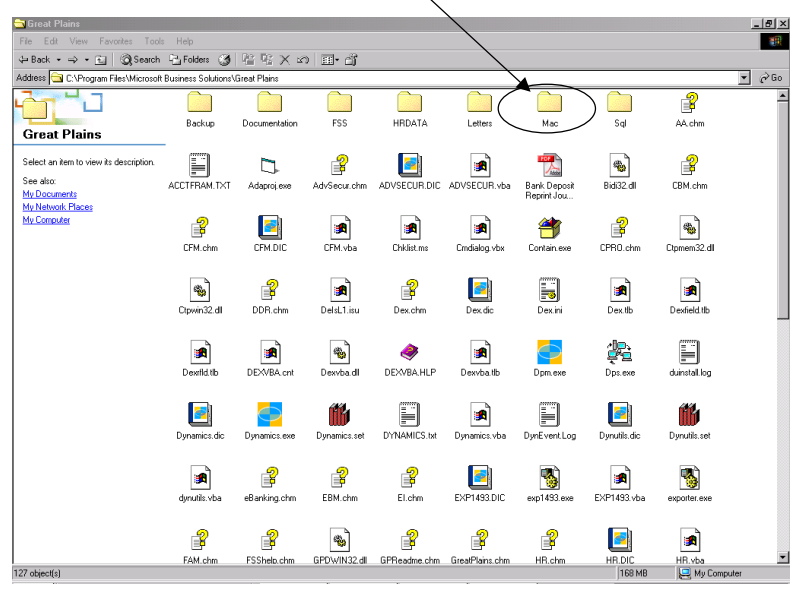
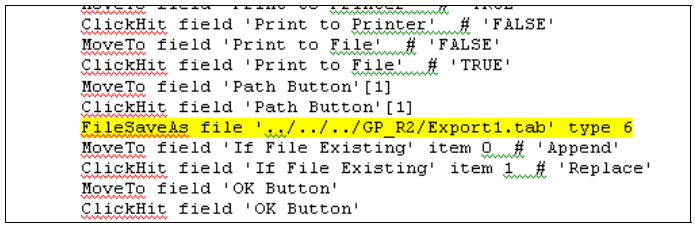
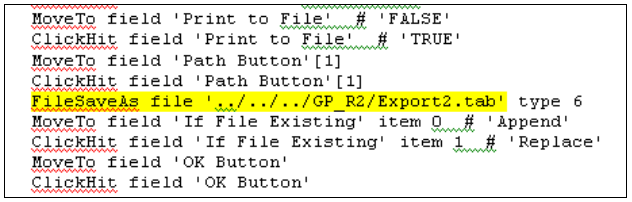
Step 2 – Update the path of the export files to GP_R2. To do this, right click on Export 1 and open with Word. Update the path that points to GP_R2 folder you created in Step b level 1. Then repeat the same steps for export 2.
Step 3 – Run the macros once to set up the short cuts in Great Plains for each user. Go to Tools>Macro>Play
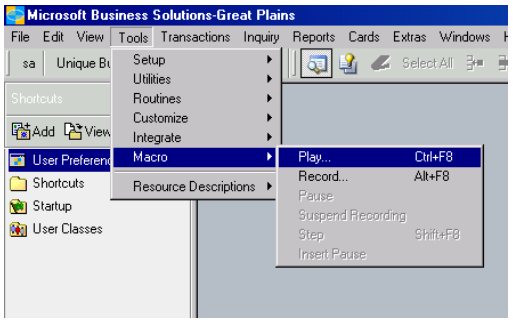
Step 4 – Find the location of the macros and click on one macro. The macro will run. Next time you run the macro it will default to that location.
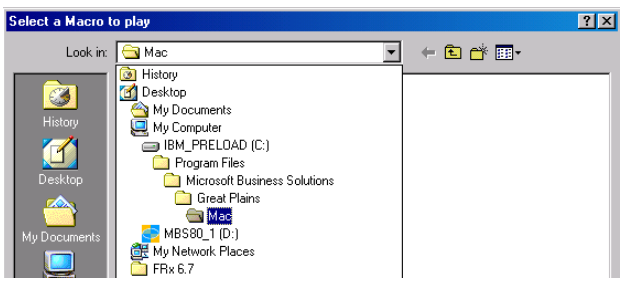
R2_GP
R2 will export two types of batches AR and AP. The AR batch should be exported to …R2_GP\AR\Unposted The AP batch should be exported to …R2_GP\AP\Unposted
GP_R2
Using the two macros GP will export two files under GP_R2 folder. Run the import tool from R2.
Running Integrations
In Great plains go to Tools>Integrate>Run Integration

The Run Integration window will open. Select the integration you want to run and click Run.