Table of Contents
RUN TIME SECURITY
Security Features in R2
R2 has a number of features designed to provide access control. The Run Time Security feature provides the ability to control access of screens, fields and buttons to groups of employees and at a global level.
But there are many aspects to Run Time Security:
-
Security Administrators
-
Levels of Security
-
System Security Access
-
Security Groups
-
Employee Assignment
-
Run Time Security
-
Security Access
-
How-to Apply Security
-
Security Reporting
Who Can Set Security?
Employees who have the Security Level of Administrator are entitled to the Run Time Security feature. See the Employee Management guide for further details.
Levels of Security
There are three levels or applications of security:
|
Level |
Description |
|
Screen |
Screen security applies to an entire screen: all fields and buttons. |
|
Global |
A common feature can be secured in all places it is found in R2 by securing it with a Global level setting. |
|
Local |
Local security only applies to the field on the screen being secured. |
System Security Access
System Security Access is setup in the Configuration module. Security changes made through this area apply to all system users. These security settings cannot be overridden.
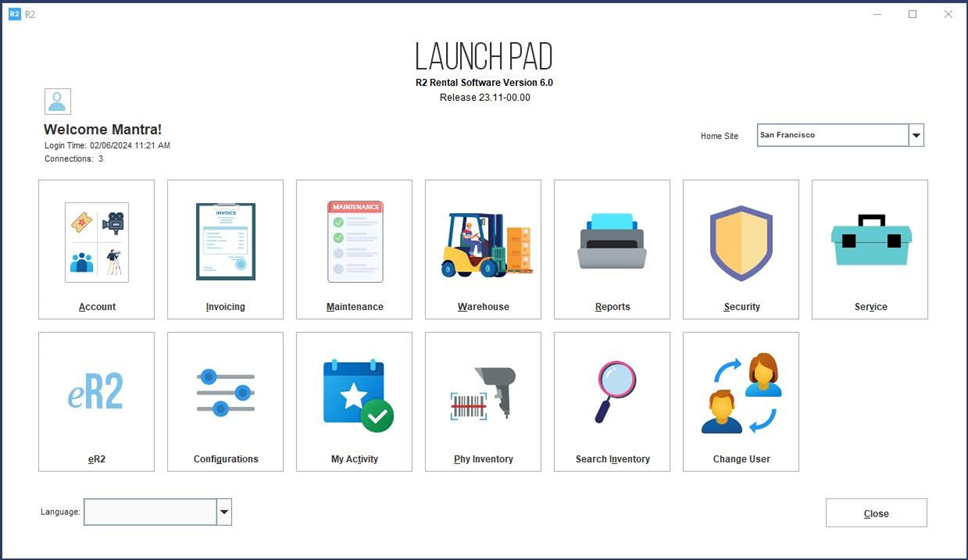
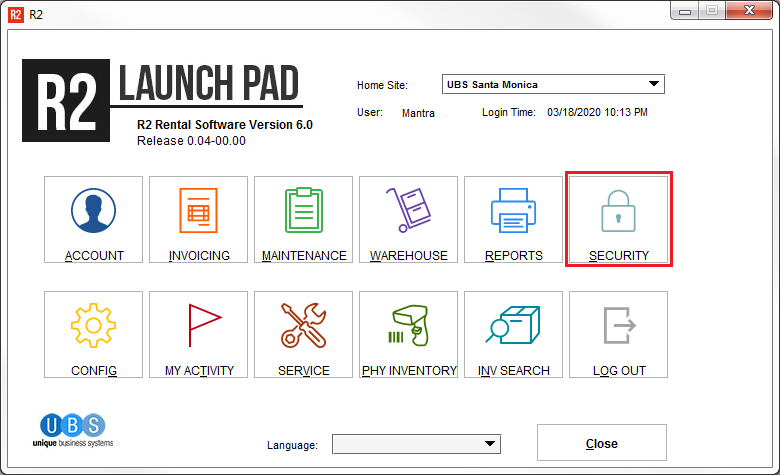
To access System level security, click on the Configuration button from the Launch Pad:
Click on the Security icon:

A security menu window will open:
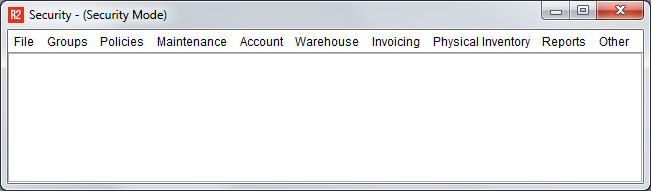
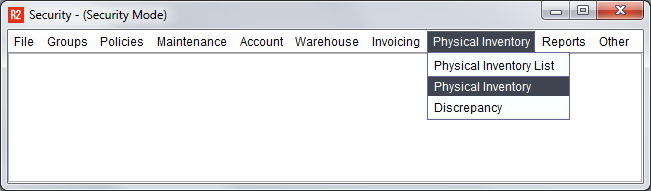
Unlike Run Time Security, System security is presented as a menu selection. A screen from R2 must be located in one of the menus and, upon selecting, will be displayed.
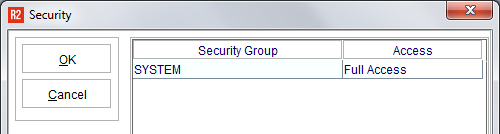
Upon securing any feature, the security group displayed is shown as SYSTEM:
See the Run Time Security and Security Access sections here for setting security.
Security Groups
Security Groups will be created that secure the actions of the employees assigned to them. To create new Security Groups, click on the Security button on the Launch Pad:
The Security Screen will open:
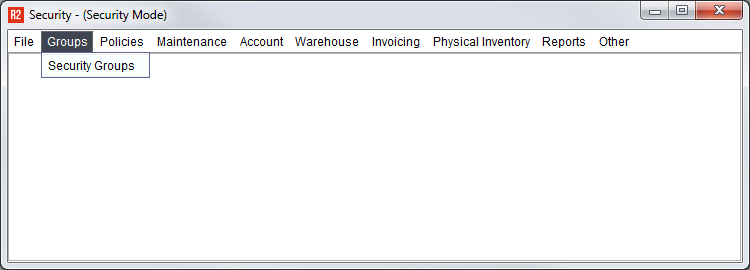
Click on Groups → Security Groups
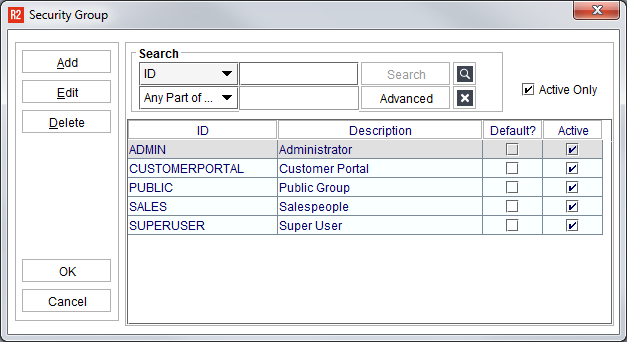
The Security Group screen will start with no groups. Click on the Add button to create a new group ID and Name:
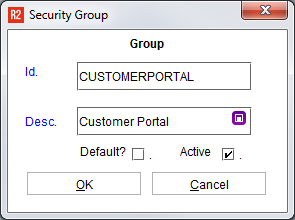
|
Field |
Description |
|
ID |
A unique identifier for the Security Group. This label is most often seen displayed in order, employee and search fields, so it should make sense. |
|
Description |
The full description of the security group. |
Copy/Paste Security Groups
Existing Security Groups can be copied to a new Security Group name. Begin at the Security Group screen then right-click on the Security Group you want to duplicate:
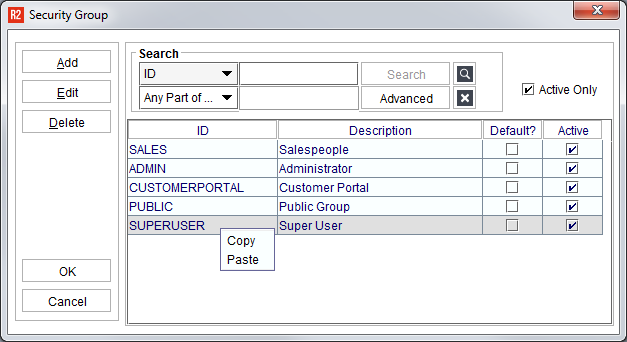
Select Copy. Next, right-click again and select Paste.
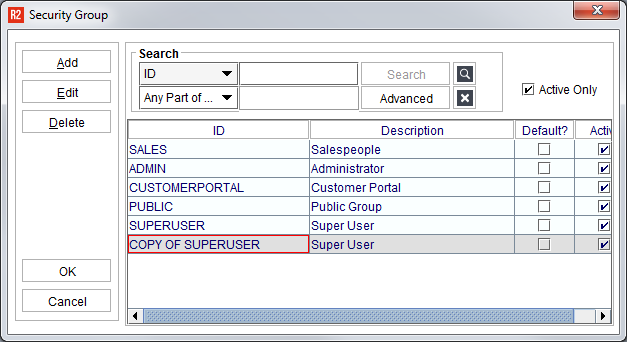
The copied group will appear in the grid. Highlight the new group name and click on the Edit button to change the details:
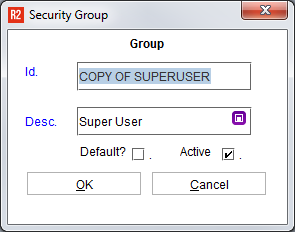
Note: all of the rules and restrictions of the copied Security Group will be given to the newly created Security Group.
Employee Assignment
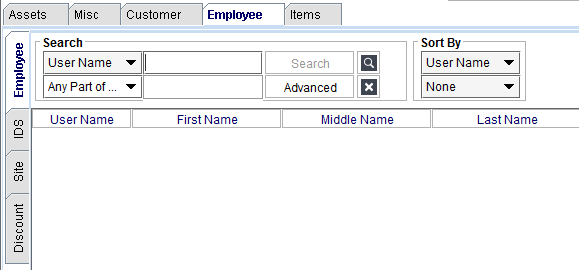
Once the Security Group names are created, employees can be assigned to them. To assign an employee to a Security Group, begin in the Maintenance module from the Launch Pad:

From the Maintenance module, click on the EMPLOYEE tab along the top of the search area, then click on the EMPLOYEE tab along the left side:
Editing Employees
To edit an employee record, begin by searching for the employee by using one of the search criteria and then entering your search value:

The drop-down list is the search criteria. These are the types of data that can be searched for.
Enter the search value into the field to the right of the search criteria.
Click on the Search button. There are two ways to edit:
-
Right-click to edit, or
-
Click the Edit icon
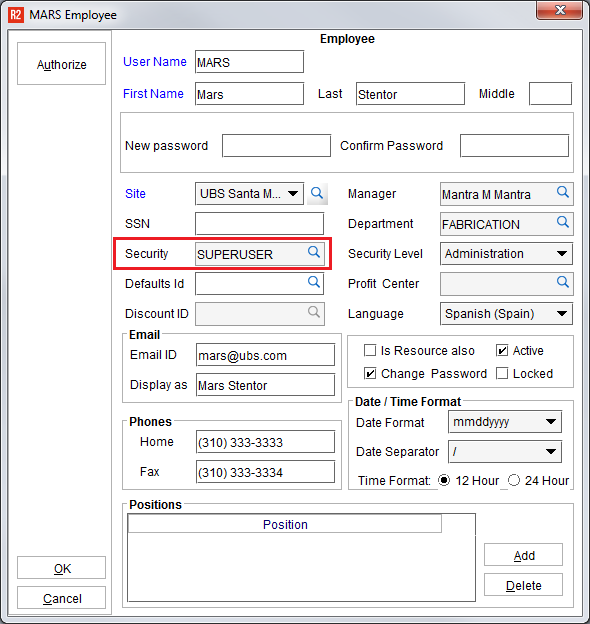
Click on the magnifying glass to select the Security group.
Double-click on the Security Group to which the employee should be assigned.
Run Time Security
Run Time Security means that the security feature can be started from any screen in the program. To begin, start at any screen for which security should be enabled.
Starting Security
To enable the security feature from any screen, click on the F6 button on your keyboard. Upon doing so, two things will happen:
-
R2 will show that the system is in Security Mode at the top left of the screen;
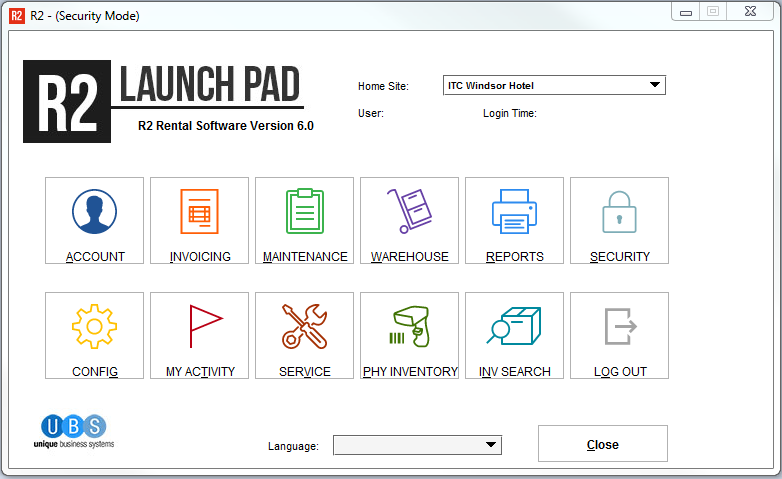
* R2 – (Security Mode) can be seen at the top left of the screen until Security Mode is disabled.
-
R2 will ask if you want to view security at the screen level.
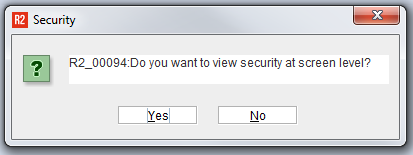
Screen Level Security
R2 asks this question first, because it wants to know if the entire screen should be secured, or if only some fields or buttons should be secured.
Example: Say you wanted to make an entire screen read-only for a Security Group of employees. When R2 asks if you want to view security at screen level, you would click on the Yes button. From there you could set the entire screen as read-only.
Component Level Security
If you do not want to secure the entire screen as described above, then click on the No button when R2 asks that question. After answering “No” to the question, R2 will allow you to click around in any other field, tab or button on the same screen so as to set security on the feature. This is called Component Security as each button or field is considered a component of the screen.
See the Security Access section below for more details on setting component security.
Stopping Security
To stop or disable Run Time Security, press the F7 button on your keyboard. The R2 screen will no longer show “Security Mode” at the top of the screen when it has been stopped.
Security Access
When in Component Security Mode, any field, button or tab that is clicked will show a list of security access options. Anything that is clicked will provide four access options for security the component:
-
Full Access
-
Read Only
-
No Access
-
View Only
Not every option is appropriate for a given security situation. See the details of each below:
|
Security Option |
Description |
|
Full Access |
The user has complete access to the feature. This is the default starting point of every feature in the program unless secured.
|
|
Read Only |
Buttons, fields or tabs secured in this way will show the user the details of a given tab or field, but does not allow any changes. Buttons secured as read only appear with a “greyed-out” look indicating it cannot be clicked.
|
|
No Access |
The field, button or tab is not accessible. If a button is set with No Access, it does not appear “greyed-out” but informs the user the features is not accessible when clicked.
|
|
View Only |
Selecting this access level opens the window or component in view-only mode, where the user will not be allowed to Add, Delete or Modify any contents displayed in that window. The user will be able to open any subsequent window which can be accessed from within the security applied window, however, the same will also be displayed in View only mode.
|
How-to Apply Security
This is a generic sample application for how-to apply security to a given field, button or tab.
|
Step |
Action |
|
1 |
Go to the R2 screen you wish to secure. |
|
2 |
Start Security Mode by pressing the F6 key on your keyboard. R2 will ask if you wish to view security at the screen level. 
Upon selecting Yes, the security changes will be applied to the entire screen. Upon selecting No, the security mode will be set to component level, and security can be applied to individual screen components.
|
|
3 |
Click on the button, field or tab you wish to secure. |
|
4 |
R2 will ask if you wish to apply Global security to the screen component you clicked: 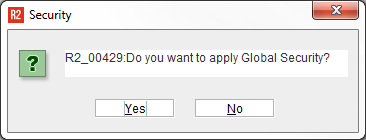
Upon answering Yes, R2 will set the same security policy on identical components throughout the program. Upon answering No, R2 will set the security policy for the local screen only.
|
|
5 |
The Security Access option list will appear for each Security Group: 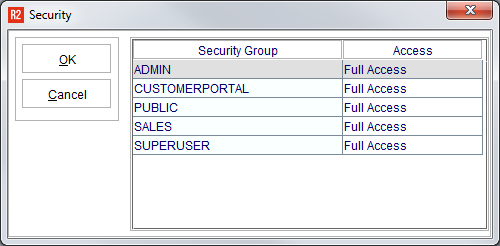
Select the Security Access appropriate to each Security Group: 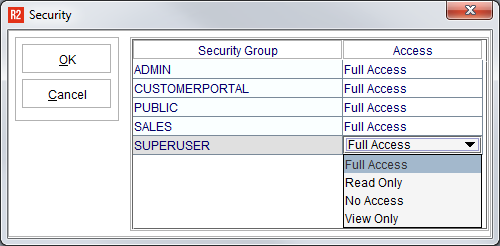
|
|
6 |
After setting all Security Groups, click on the OK button to save the security settings. |
|
7 |
Stop Security Mode by pressing the F7 key on your keyboard. |
Notes:
-
Newly applied security changes will go into effect after the screen is closed and opened again.
-
Cannot exit out of a window while in Security Mode.
Security Reporting
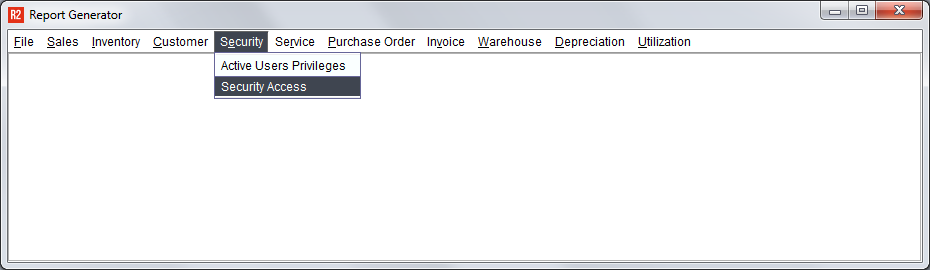
A popular report for understanding what security restrictions have been put into place is the Security Access Report available from the R2 Launch Pad:
Upon running the Security Access report, R2 will ask you to select a Security Group or click on the OK button to run the report for all Security Groups:
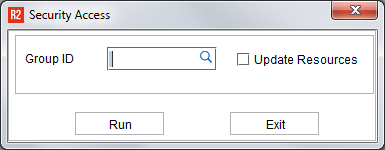
Select one Security Group to report upon, or leave the field blank and R2 will show all Security Group settings.
Upon running the report, a similar output as the following will appear on screen:
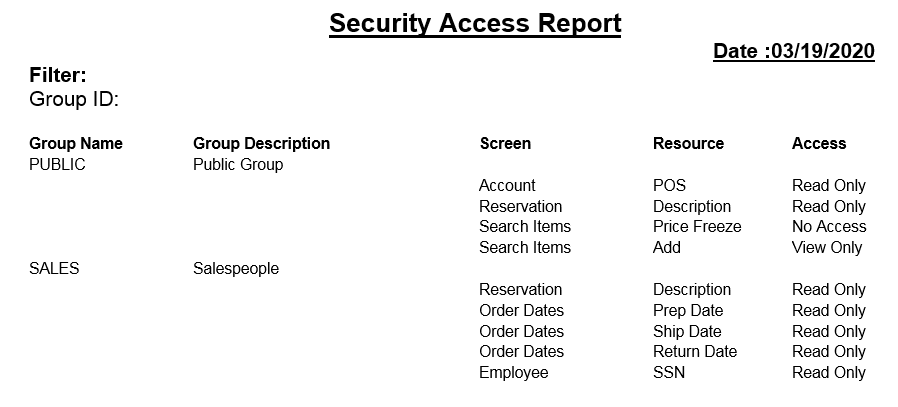
The report shows the Security Group name, Secured Screen, where on the screen (Resource) and what the setting is (Access.)