Click on the ADD button.

Enter a Container ID and a container Description. Both fields are required. Click on OK to save the container in R2.
From the container list, double-click to select the container you will be filling items into. You should see the container in the Fill Items dialog:
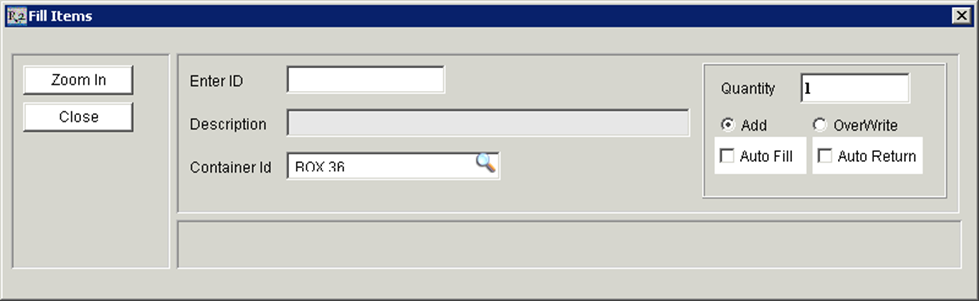
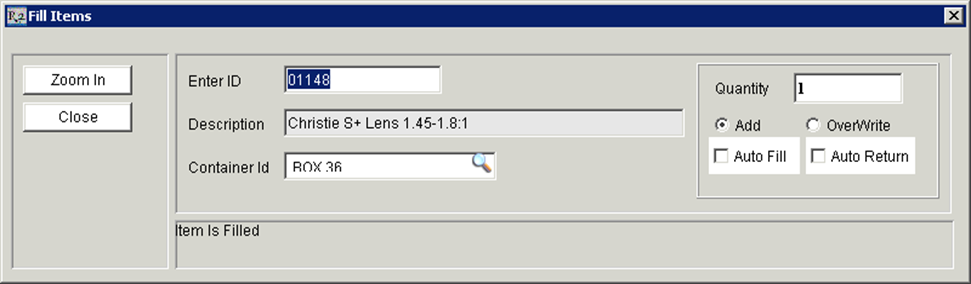
Click in the Enter ID field and begin scanning. Each item you scan should be loaded into the selected Container.
Upon scanning your items, the Container will be registered with that item:
To change containers, simply click the ![]()
Upon printing your Delivery Receipt or Transfer Order document, the Container can be printed as well.