Table of Contents
Receiving Inventory: How-to Receive New and Existing Items into Your R2 Inventory
Receiving
Inventory, or stock, must be received for a certain item before the item can be rented or sold. The sections below describe the process of receiving directly from the item master as well as from as purchase order. The sections of this document include:
-
Existing Inventory: how-to access the receiving screen
-
New Inventory: how-to access the receiving screen
-
Receiving Screen: a common screen to receive inventory
-
Asset Details: quickly capture specific details about each serial item
Existing Inventory
If you are new to R2 and receiving inventory for the first time, or just receiving stock that has already been purchased by your company, you need to get your stock into R2. Because a purchase order is not needed, it is recommended to receive the item directly from the item screen.
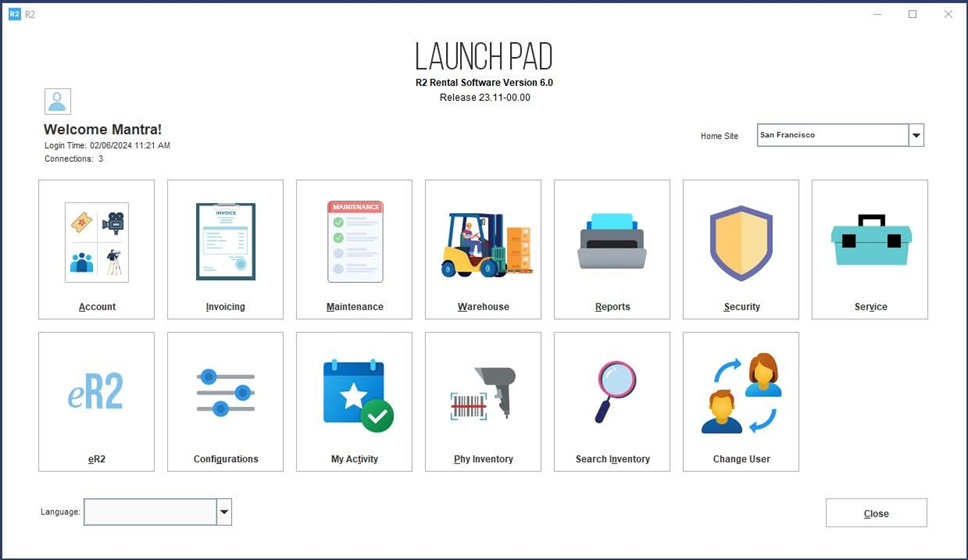
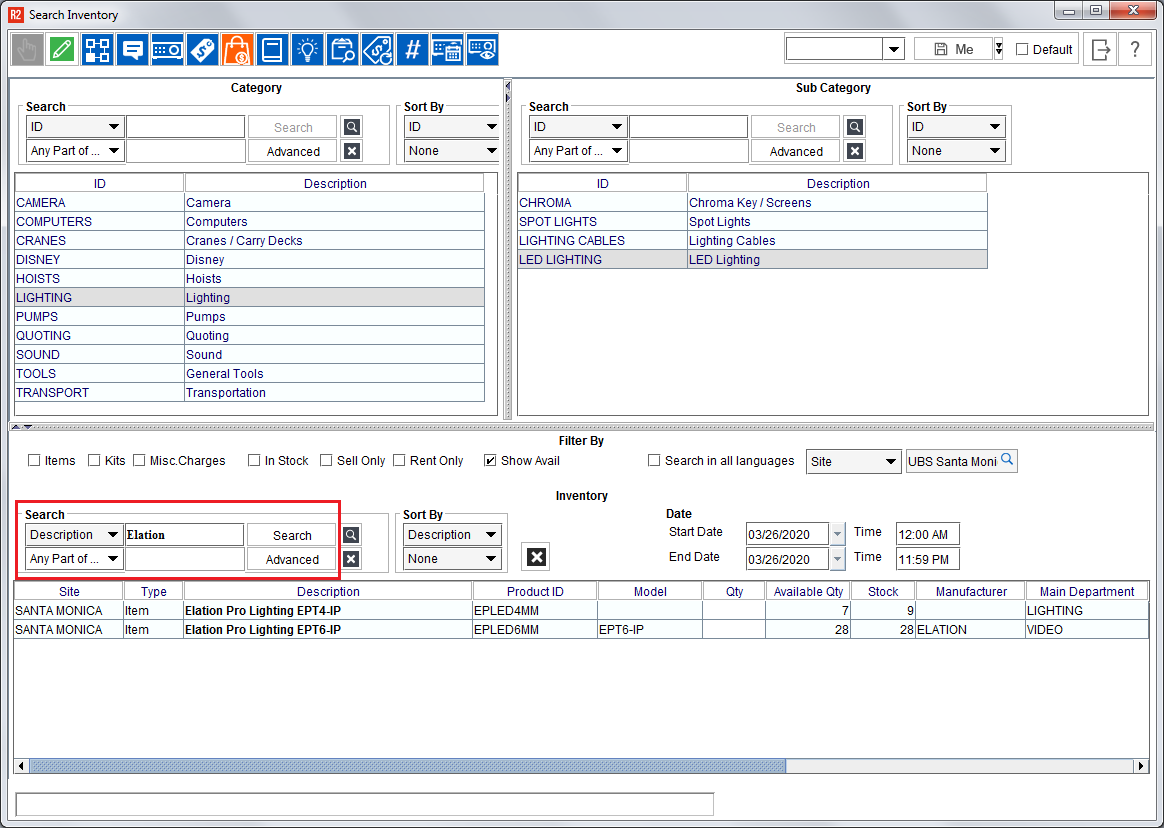
Click on the Inventory Search button from the Launch Pad:
Click on the Category of item you’re searching for:
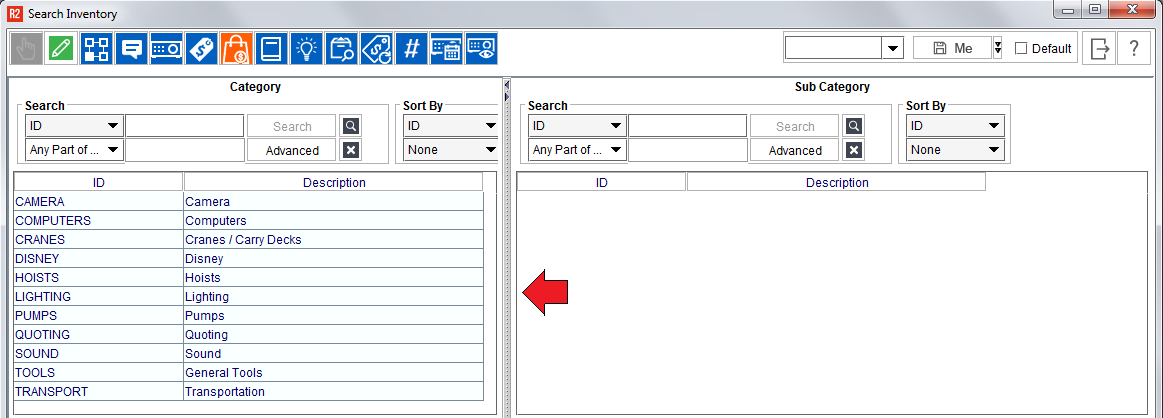
Then click on the Subcategory:
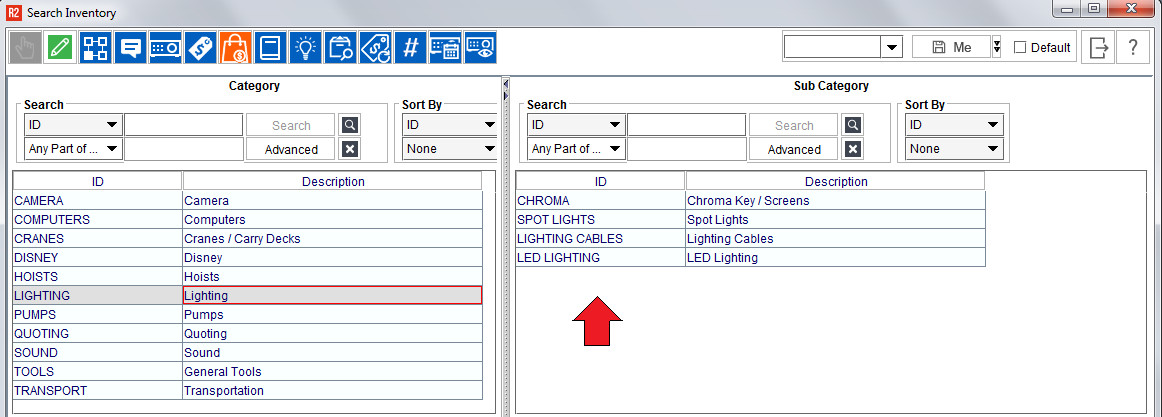
The items that belong to the Subcategory will appear at the bottom:
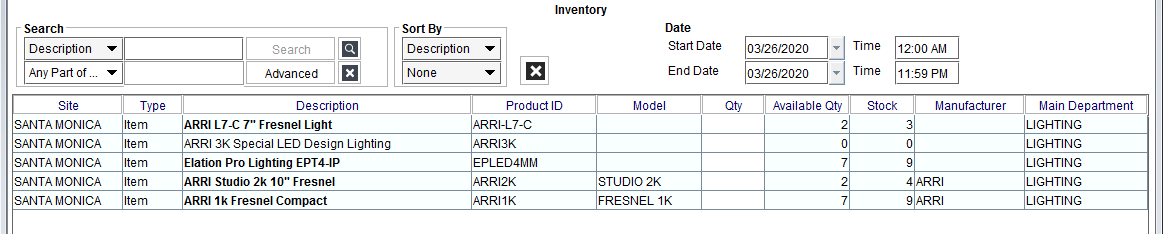
Alternately, use the bottom search to find the exact item you want to receive stock for:
Highlight the item you wish to edit and click on the Edit ![]()
From the Item Edit screen, click on the Receive button on the left-hand side:
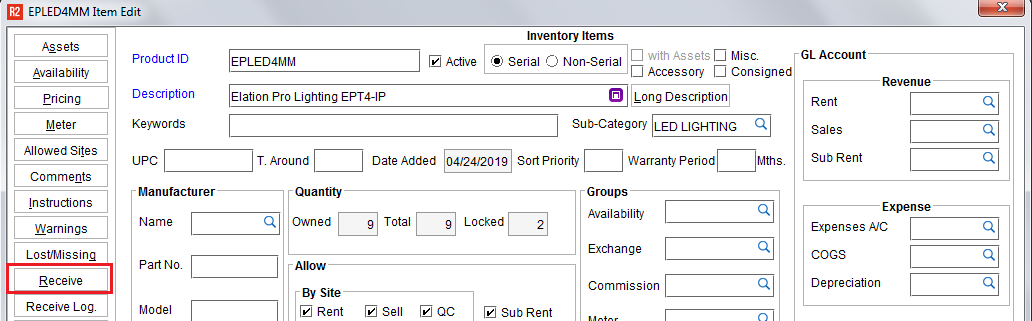
See the Receiving section here, for next steps.
New Inventory
New inventory that has not yet been purchased can be added to a purchase order, so that when the PO arrives, it can be quickly found and received by the Warehouse. The benefits of recording new inventory through a PO are that you can capture the vendor and PO# for future reference. Open liability, unreceived goods, and open payables can be tracked via reporting.
To access the receiving screen from a purchase order, click on the Account button from the Launch Pad:

Click on the View menu.
Click on Purchase Orders.
Search for the PO using the PO number:
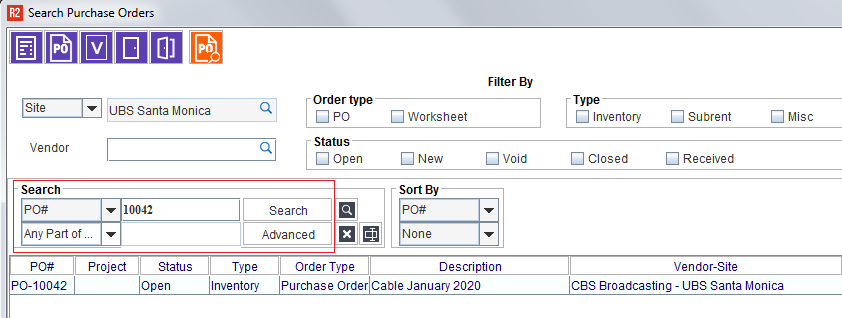
Double-click to open the purchase order.
Click on the Receive icon:
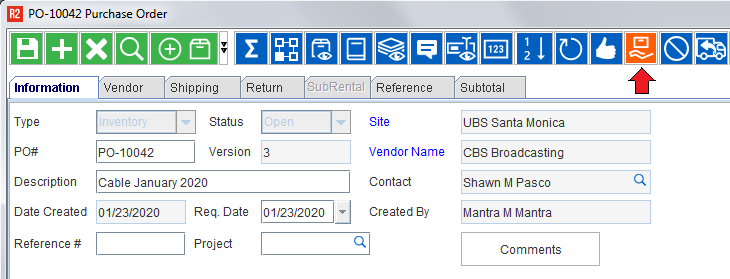
From the Balance Items screen, double-click on the items that you’ll be receiving in this session:
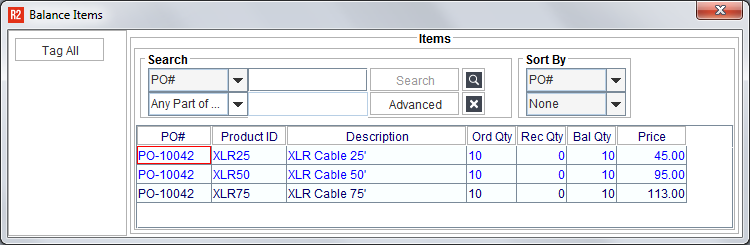
Click on the OK button to proceed to the receiving screen.
See the Receiving section here, for next steps.
Receiving
Whether you are receiving new or existing inventory, the receiving screen is the same:
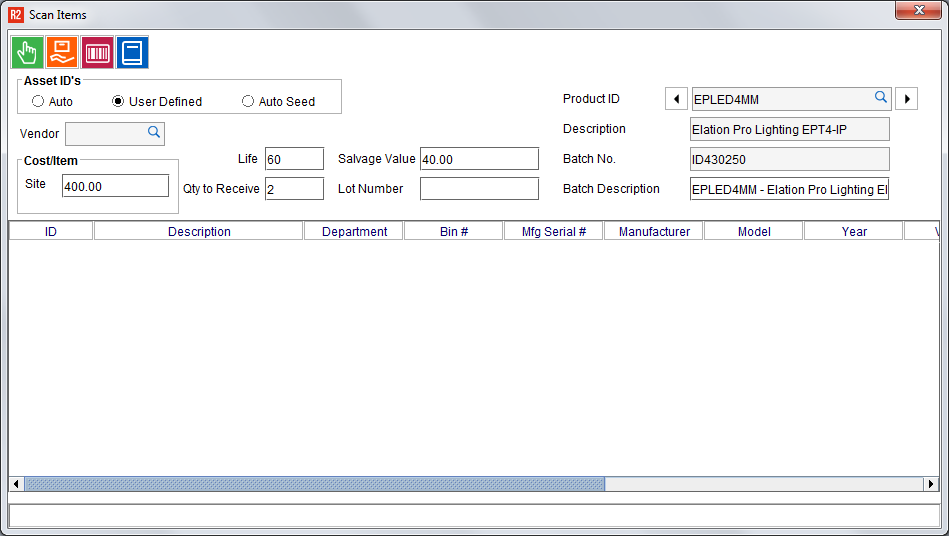
Begin by selecting the item to receive:
Use the left and right arrow to find the item to receive first.
Check the Qty To Receive to ensure it is the accurate quantity.
Click on the Receive ![]()
If the item is non-serial, the item/quantity will appear in the grid at the bottom of the receiving screen.
If the item is serialized, R2 will ask you to enter the barcode number or assign one for you, before it appears in the grid at the bottom of the receiving screen.
More on these steps below.
Some of the more common features of the receiving screen are described here below:
|
Field / Button |
What it does |
|---|---|
|
Cost/Item |
This means Cost per Item. Upon receiving several quantity of a given item, this cost will be applied to each quantity received. |
|
Qty to Receive |
Enter the quantity you want to receive. |
|
Life |
If depreciating, this is the Life in months. |
|
Salvage Value |
If depreciating, this is the cost the item will have after fully depreciated. |
|
Lot Number |
May be used to record a “Lot” number if the item being received is a sell-only item. |
|
Receive |
Click this button to receive the item/quantity displayed on the receiving screen. If the item is serialized, and set to User Defined, then R2 will expect you to enter the asset ID in this screen: 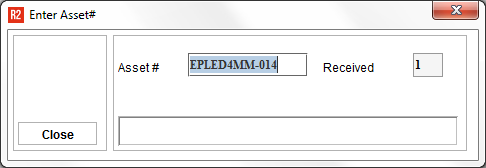
Scan the asset ID (barcode) into this field. If hand typing the asset ID, press the Enter key after each asset number entered. It will appear in the Received field. |
|
OK / Close |
Click this button to close the receiving session.
|
|
Asset IDs |
When receiving serialized inventory, there are three settings that dictate what the Asset ID (barcode) will be. Auto: if you want R2 to automate asset ID assignment, then select this before receiving. Each asset ID will be taken from a seed number you define elsewhere in the Maintenance module. User Defined: this is the most common setting because R2 prompts for each asset ID, which can be hand typed or scanned directly into R2. |
Asset Details
After each receipt is made, the item appears in the grid at the bottom of the receiving screen.
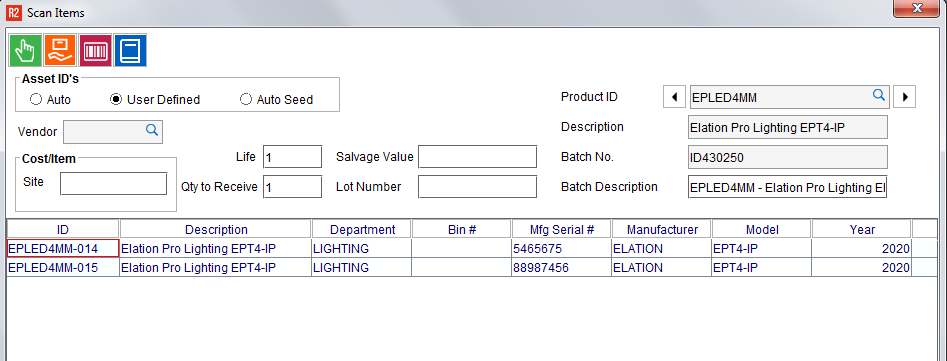
Save time here by typing the following asset details:
-
Department
-
Bin #
-
Manufacturer’s Serial Number
-
Manufacturer name (if entered on the item record will appear here automatically)
-
Model
-
Model Year
-
Vendor
When finished receiving, click on the OK / Close ![]()