Table of Contents
To access the warehouse module click the Warehouse button in the R2 Launch Pad.
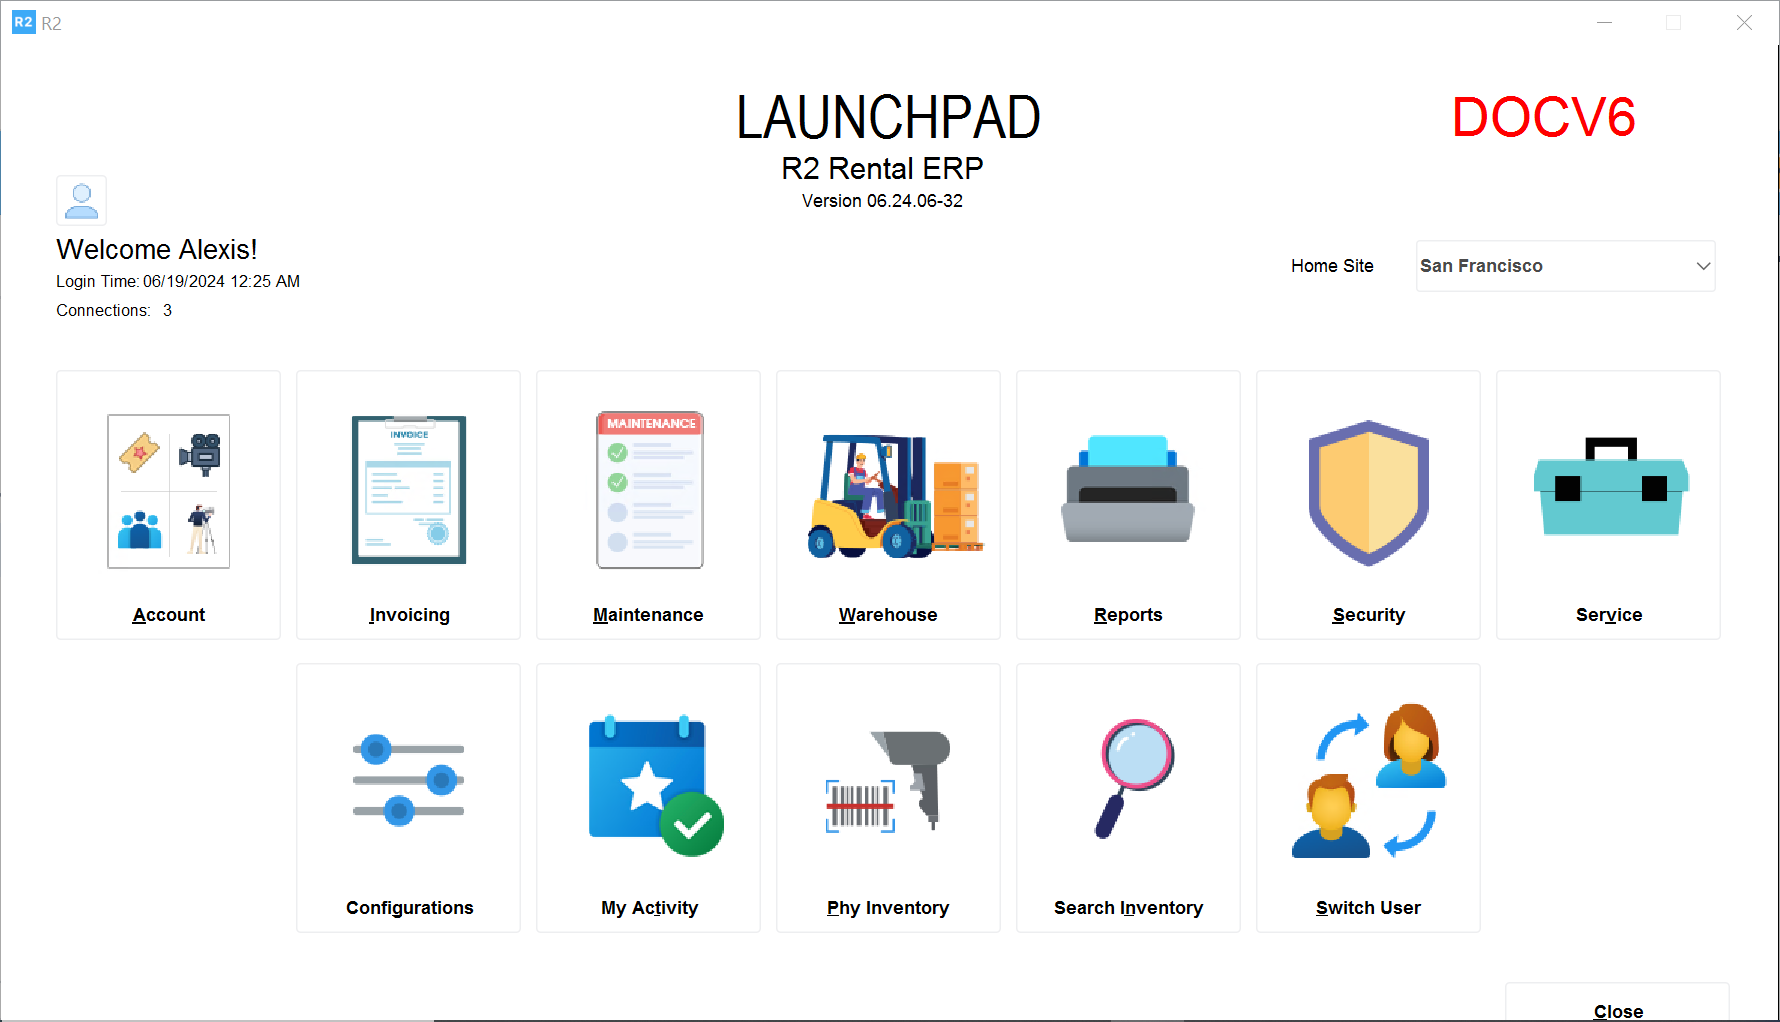
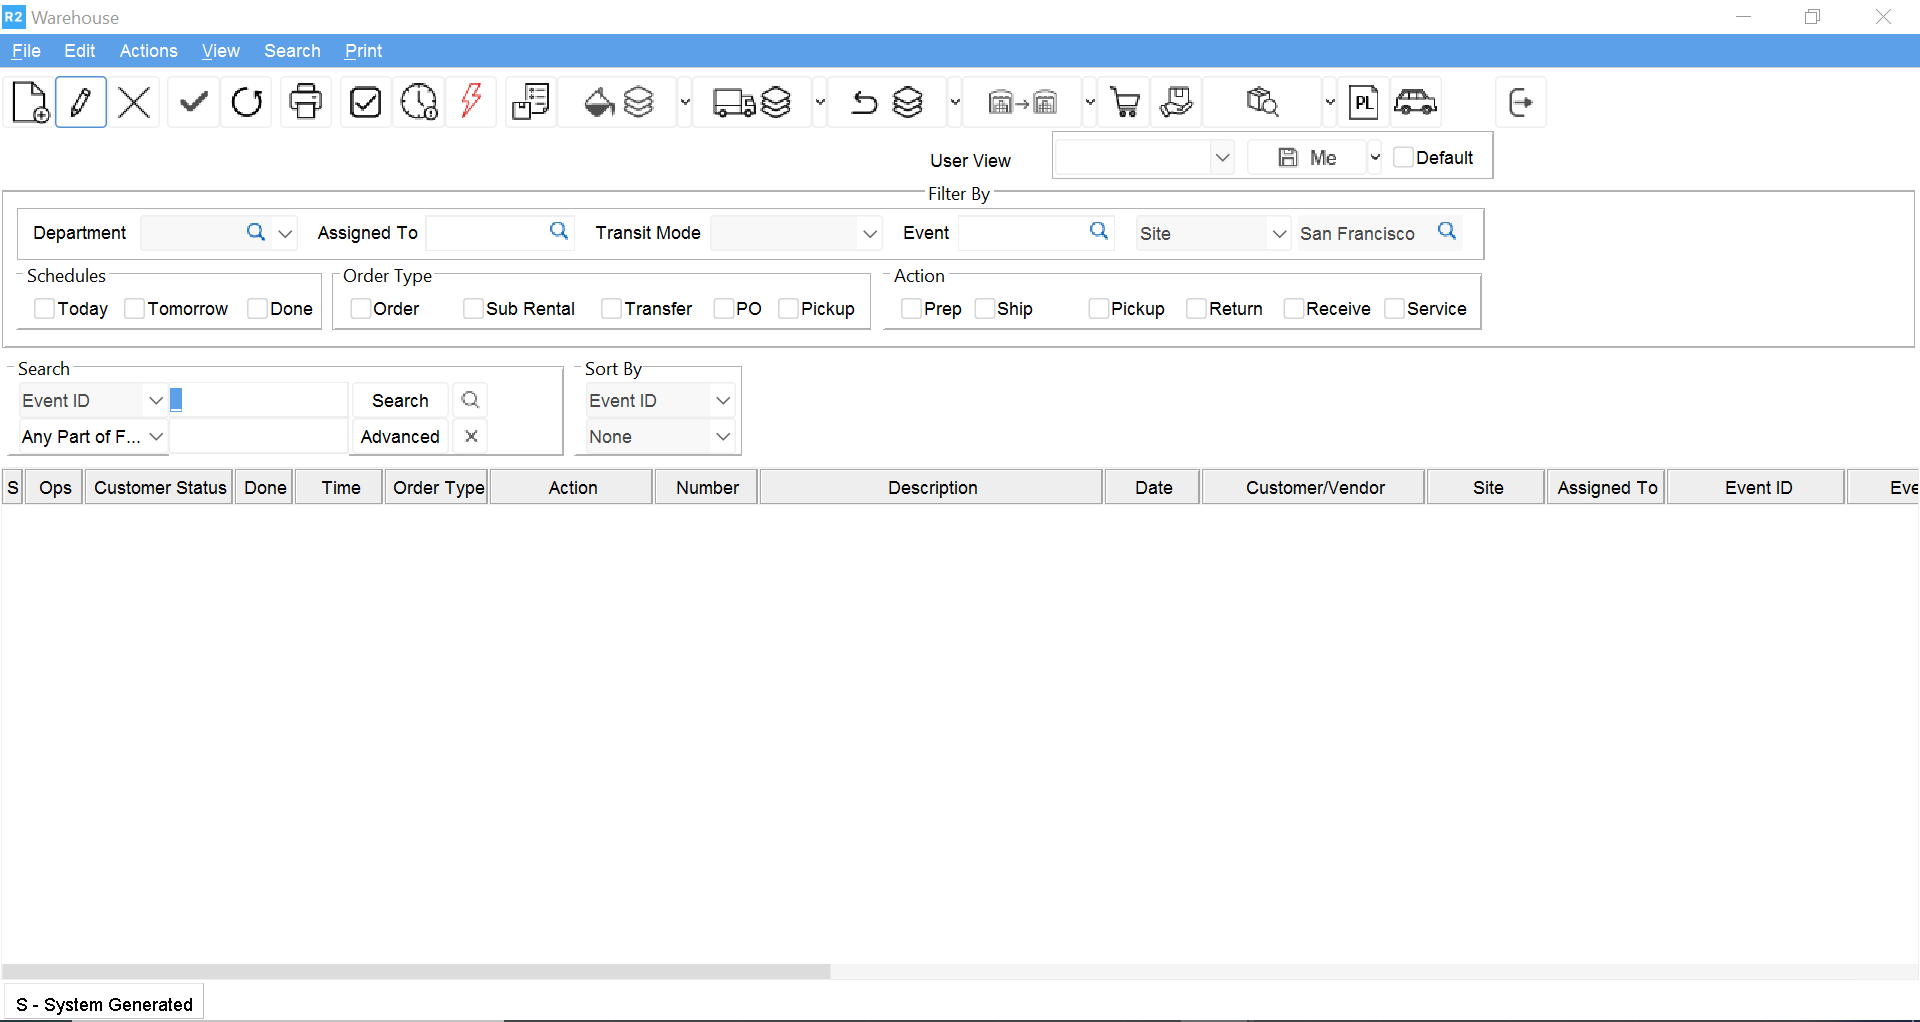
The Warehouse main screen will be displayed. All warehouse functions will be accessed from this screen.
Searching and Resolving Shortages
Before prepping orders, it is important to check for unavailable items and resolve the issues.
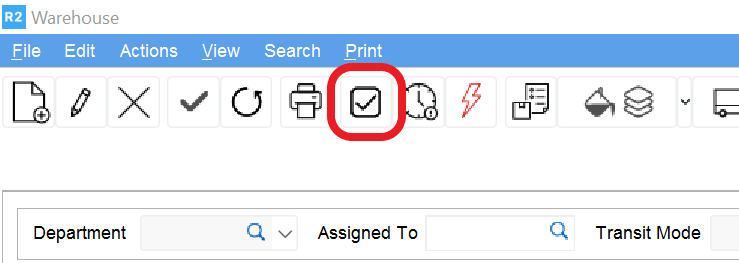
To search for unavailable items click on the Assign button ![]()
The assign window will be displayed.

Status section
Items can be searched by all statuses or filtered by a specific status

Not Available – this status represents items not available at the time the order was converted to a reservation.
Sub Rent – this status represents items that were flagged to be sub rented but have not been issued a sub rental PO.
Transfer – this status represents items that were flagged to be transferred from another site but have not been assigned a transfer order to indicate from which site the item will be transferred.
Purchase – this status represents items that were flagged to be purchased but have not been issued an inventory PO.
Shorts – items where “Check Availability” is turned off will be allowed to be overbooked. Any overbooked items will fall under the “Shorts” category.
Start Date section
By default the date range will be for a week and the start date will be the current date. To change the date range simply click on the calendar dropdown and select the desired dates.
.png?cb=908d80a4e10d2823474ed2af3837f3a6)
Site Section
The default is to search “All Sites”. To search in current site change the option to Site.
.png?cb=8b035e8cc5cfbc2a951667a93033a539)
Search Section
To execute a search for all orders enter the wild character symbol “%” in the blank field. Then click the Search button. To search for a specific order, enter the order number in the Order ID criteria selection.

To search based on different criteria, select it from the dropdown list and enter the corresponding values. Define the sort order in Sort By if necessary.
.png?cb=7d3bc4e03fb797e4cd9f9952010ec401)
Search Results
The search results display the status and other relevant information relating to the order and the item.
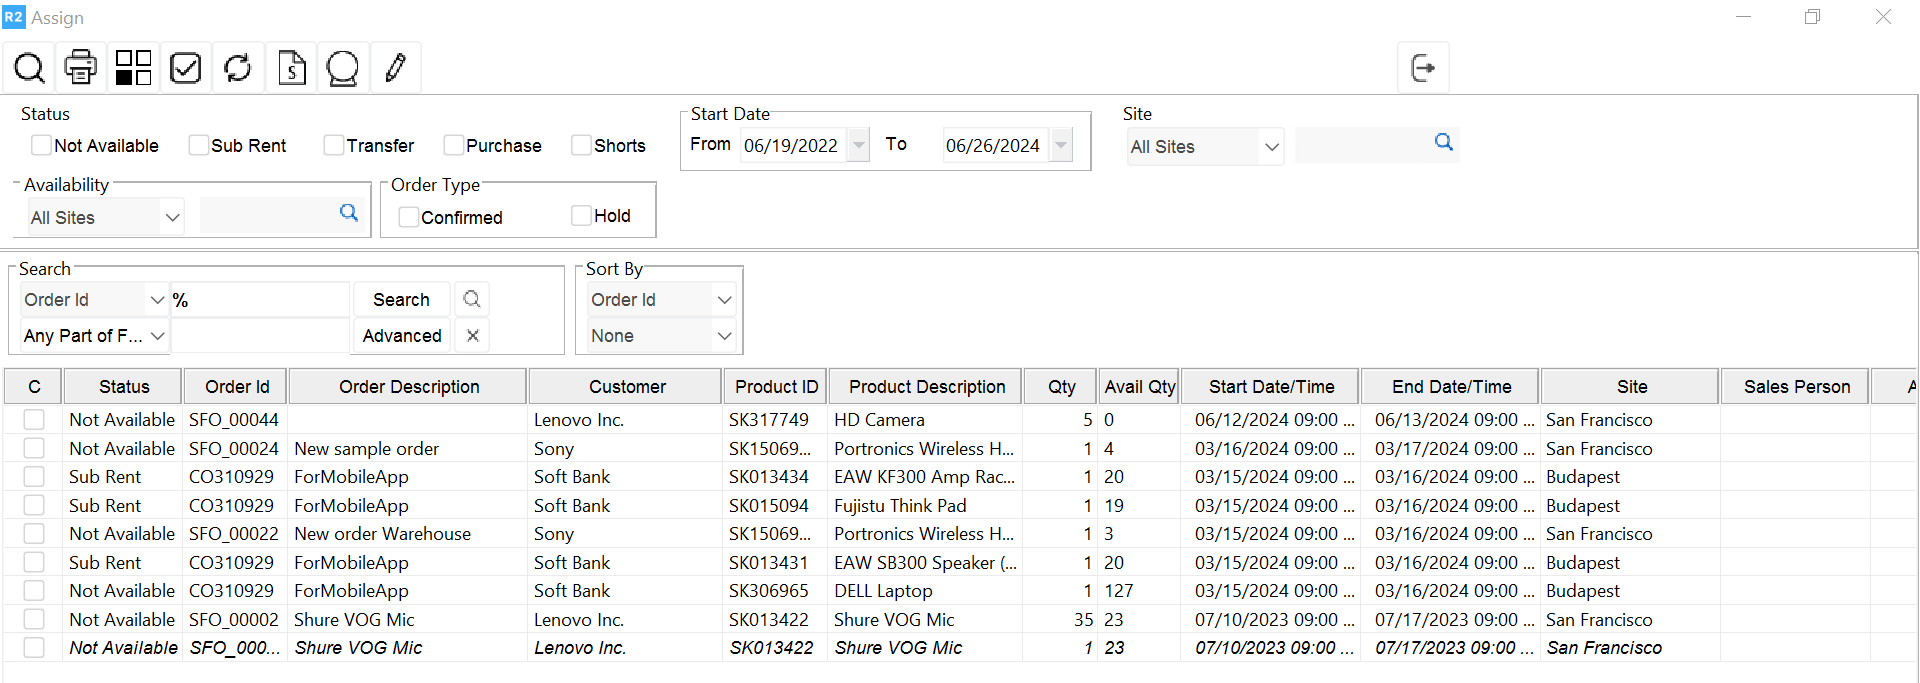
Items in “Not Available” status can be assigned to one of five categories: Quick Turn Around, Exchange, Transfer In, Sub Rental or Purchase.
Quick Turn Around
To request a quick turn on items returning on the day the items are required to be prepped or shipped, right-click the row header of the item to be exchanged and select “Assign” from the pop-up menu.
.png?cb=972e23f9e04ed07c0e275b99d0f9131d)
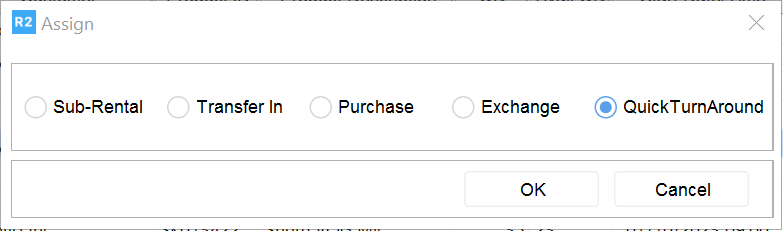
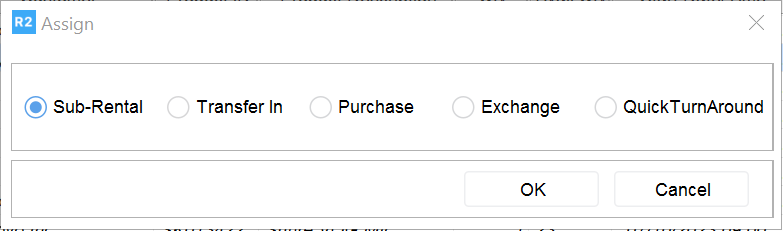
The Assign dialog appears listing the five options. Select the “QuickTurnAround” option by clicking on the radio button to the left of the option name. Click OK.
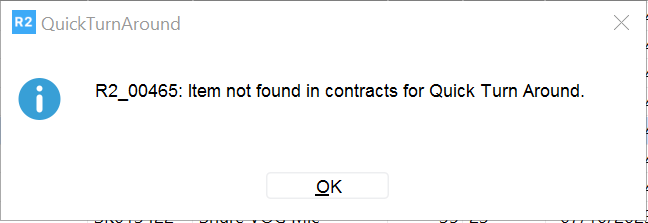
If R2 finds orders meeting the quick turn requirements, the available orders will be listed. Otherwise the following message will be displayed.
Exchanges
Items can be exchanged for other suitable equipment. If the items belong to an exchange group, the items for which the items can be exchanged will be displayed during the exchange process.
To assign as an exchange to an item, right-click the row header of the item to be exchanged and select “Assign” from the pop-up menu.
The Assign dialog appears listing five options. Select the Exchange option by clicking on the radio button to the left of the option name. Click OK.

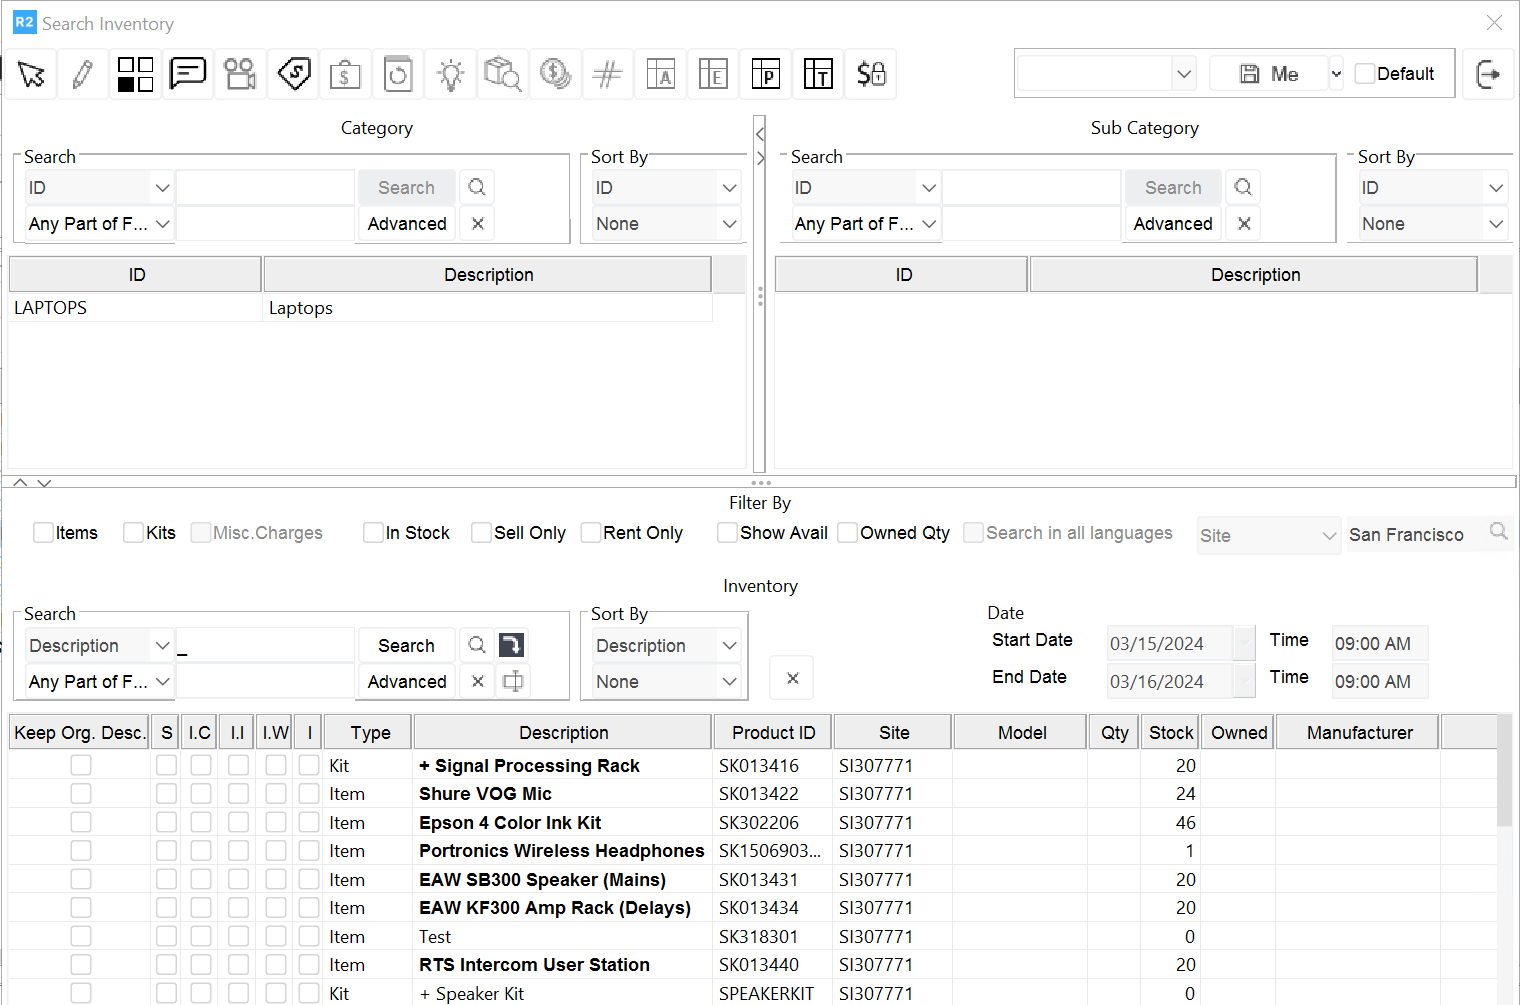
The Items window will display items for which the selected item can be exchanged. If an item returns no results then the item has not been assigned to an exchange group. I this case, the desired item can be searched using the Search function.
The “Avl.” column represents the number of items available for the dates required. In the “Qty” column enter the number of items required. The item will change to blue font to indicate it has been tagged. To accept the tagged items, click on the OK button.
Transfers
To request the equipment from another site at which it is available, transfer orders will be issued. Items in “Transfer” status will be assigned a transfer order.
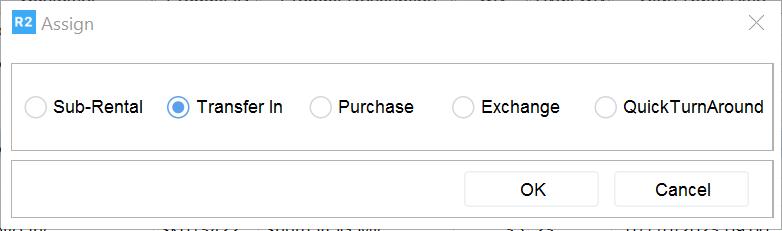
To assign a transfer order to an item, select the “Transfer In” option from the Assign window.
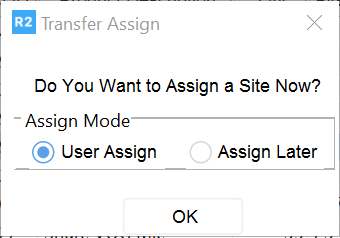
The Transfer Assign dialog appears asking if you would like to assign a site at this point. If the item will be transferred but other warehouse must be contacted first, select the Assign Later option.
The status “Transfer” will be assigned to the item.
To issue a transfer order, select the User Assign option to select a site. This is the site from which the item will be transferred. Click on the OK button when finished.
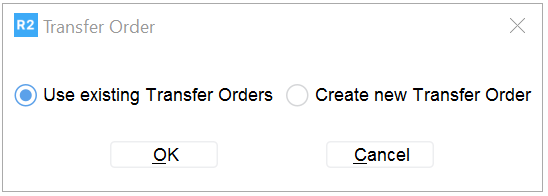
Select the Use Existing Transfer Orders option if the item will be added to an existing transfer. Select the Create New Transfer Order option to issue a new transfer order. Click the OK button when finished.
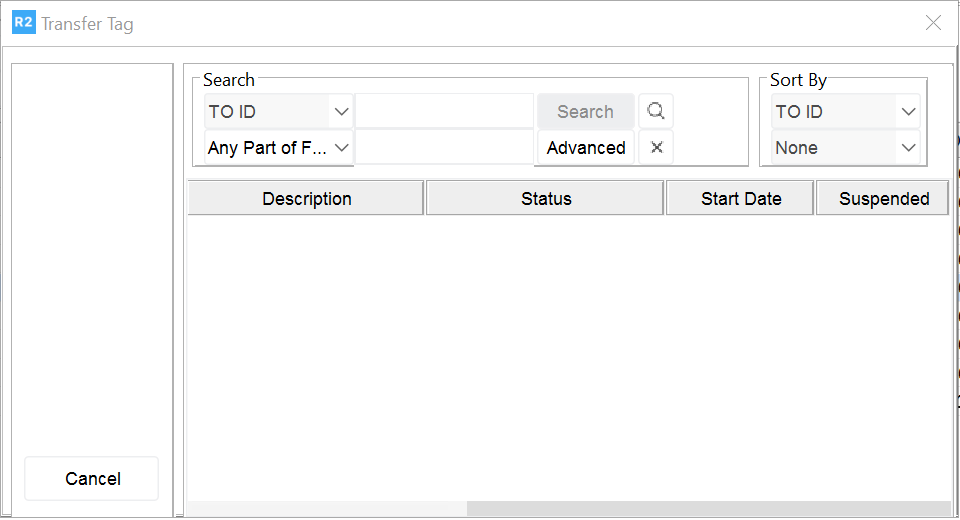
If the Use Existing Transfer Orders option is selected, a Transfer Order search window will display. Search for the desired transfer and double click on it.
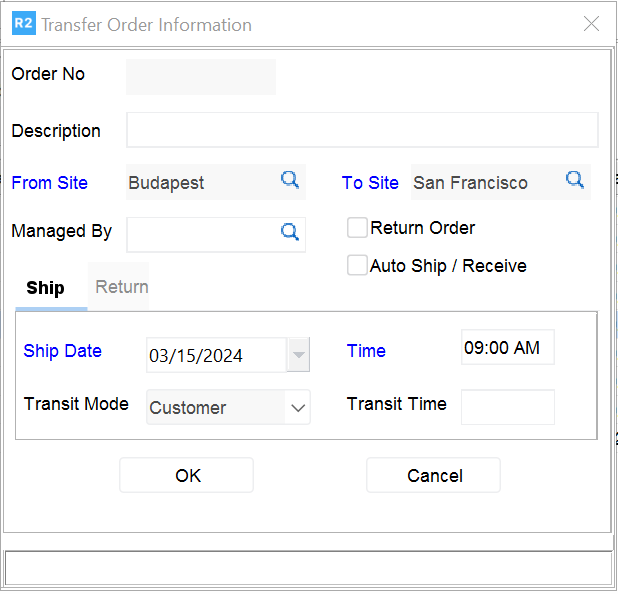
If the Create New Transfer Order option is selected, the initial transfer window will display. If the item is available only at one other site, R2 will auto populate the From Site field. If it’s available at more sites, on clicking the Search ![]()
|
Field / Item |
Description |
|
Order No |
Auto Generated Transfer order number |
|
Description |
A brief description of the transfer order |
|
From Site |
This is the site from which the items are transferring. |
|
To Site |
This is the site to which the items are transferring. |
|
Start Date and Time |
System displays the order date and Time. This can be changed. |
|
Return Order |
Check this box to create a return order. |
|
Auto ship / Auto Receive |
Select this option to receive the items that are T-Reserved automatically |
|
Transit Mode |
The mode of transportation. The user can choose the transit mode. |
|
Transit Time |
Duration of transport. Defaulted to day. |
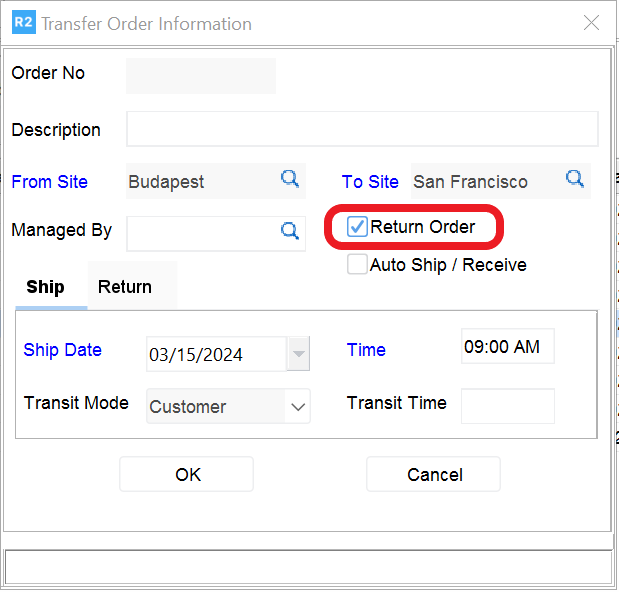
If the Return Order option is checked the return details will default from the order return date. This can be modified.
A return transfer order will automatically be created when the Return Order box is checked.
Click OK in the initial screen when done entering all the details.
The transfer order will be created and the item to be transferred will be listed as Reserved.
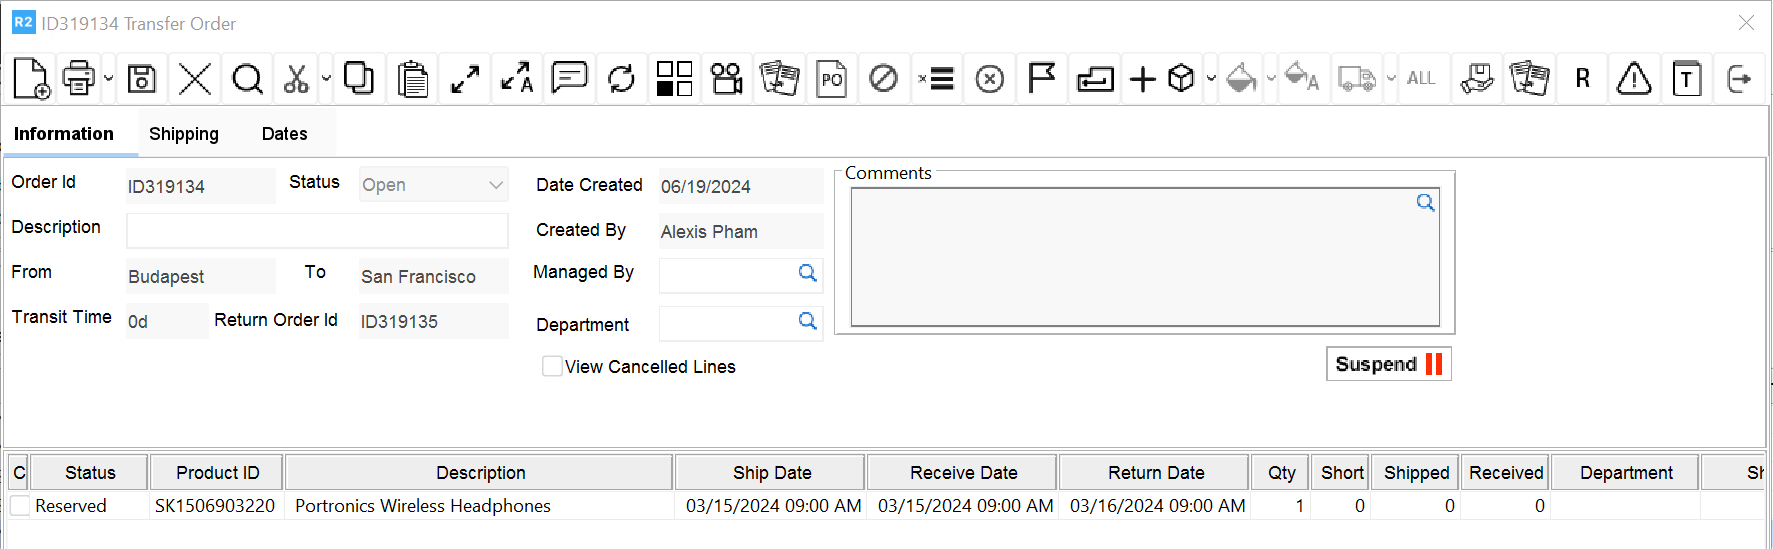
The Shipping details will be auto populated with the address of the site requesting the transfer.
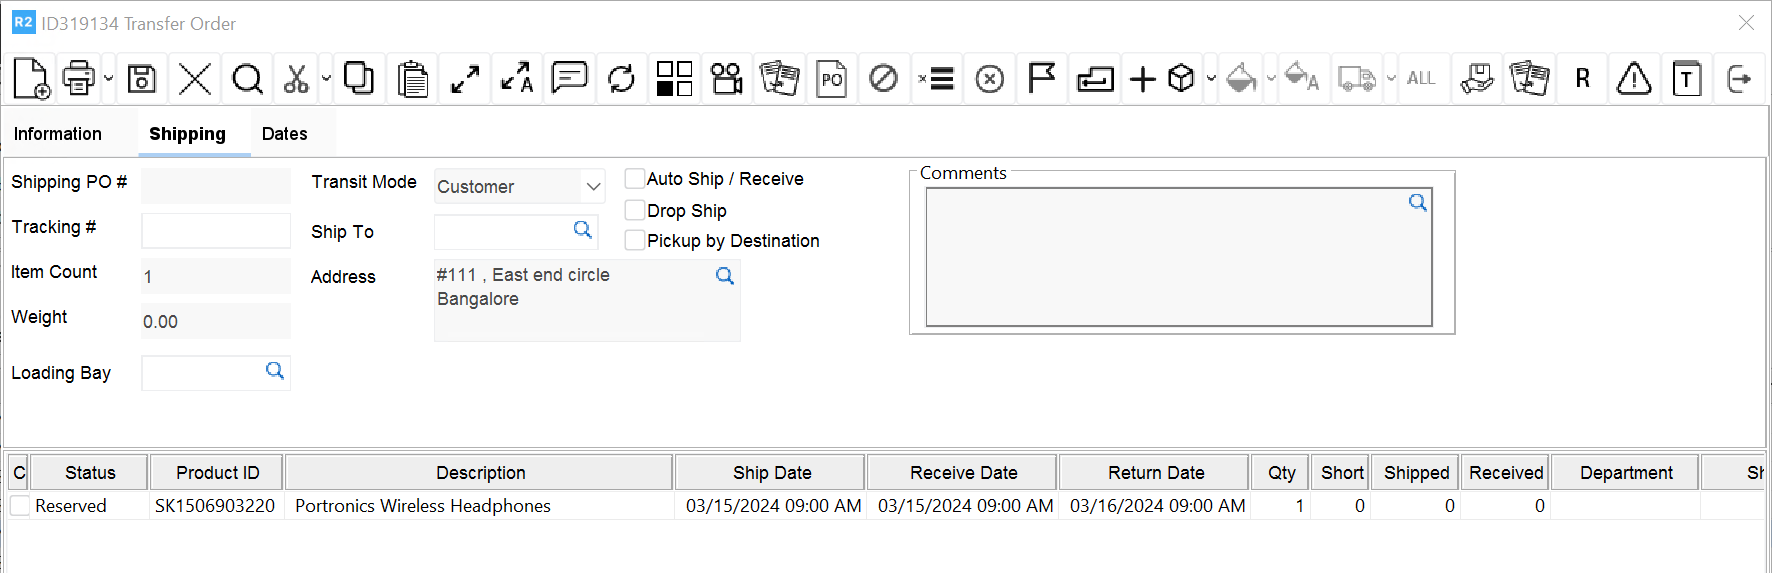
If the transfer must be dropped shipped, check the Drop Ship box. Then the order shipping address will be populated.
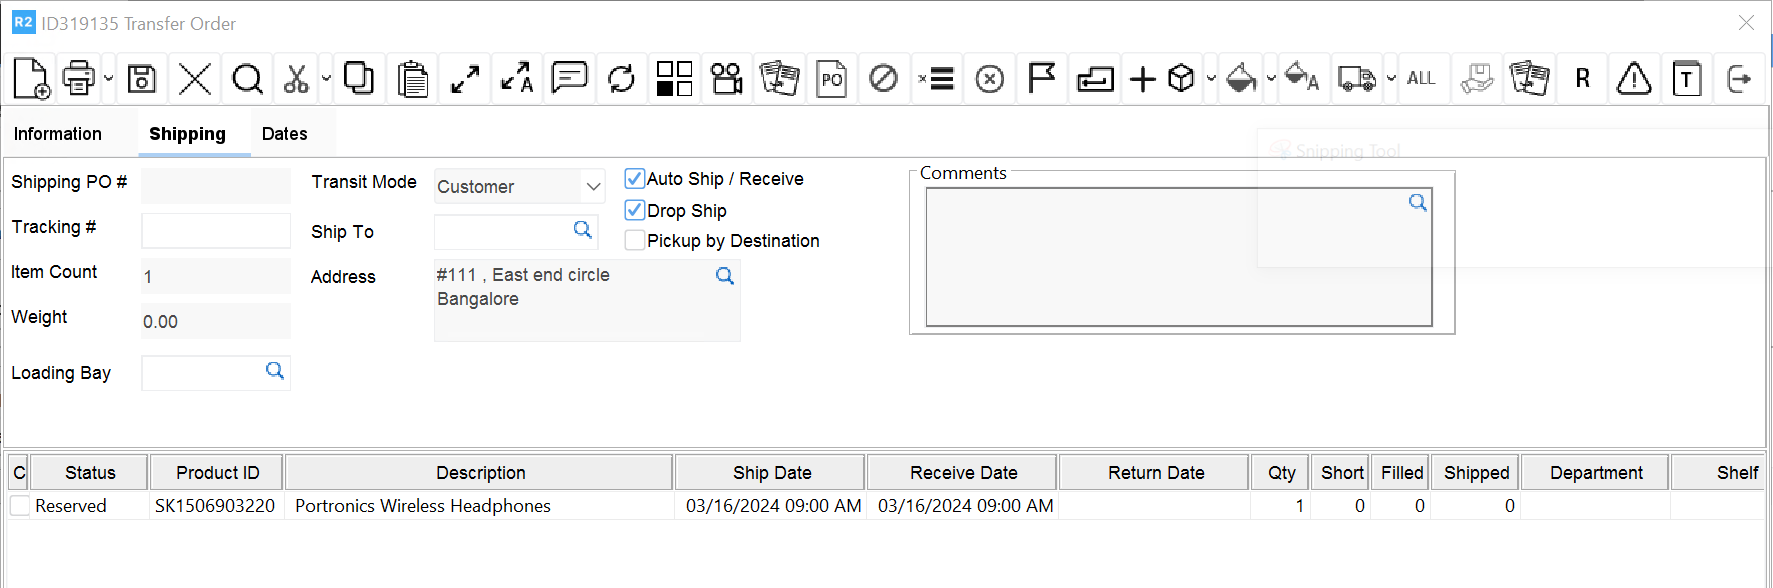
On selecting the Drop Ship box, the Auto ship/Receive box will be checked automatically.
Transfer dates can be managed in the dates tab.
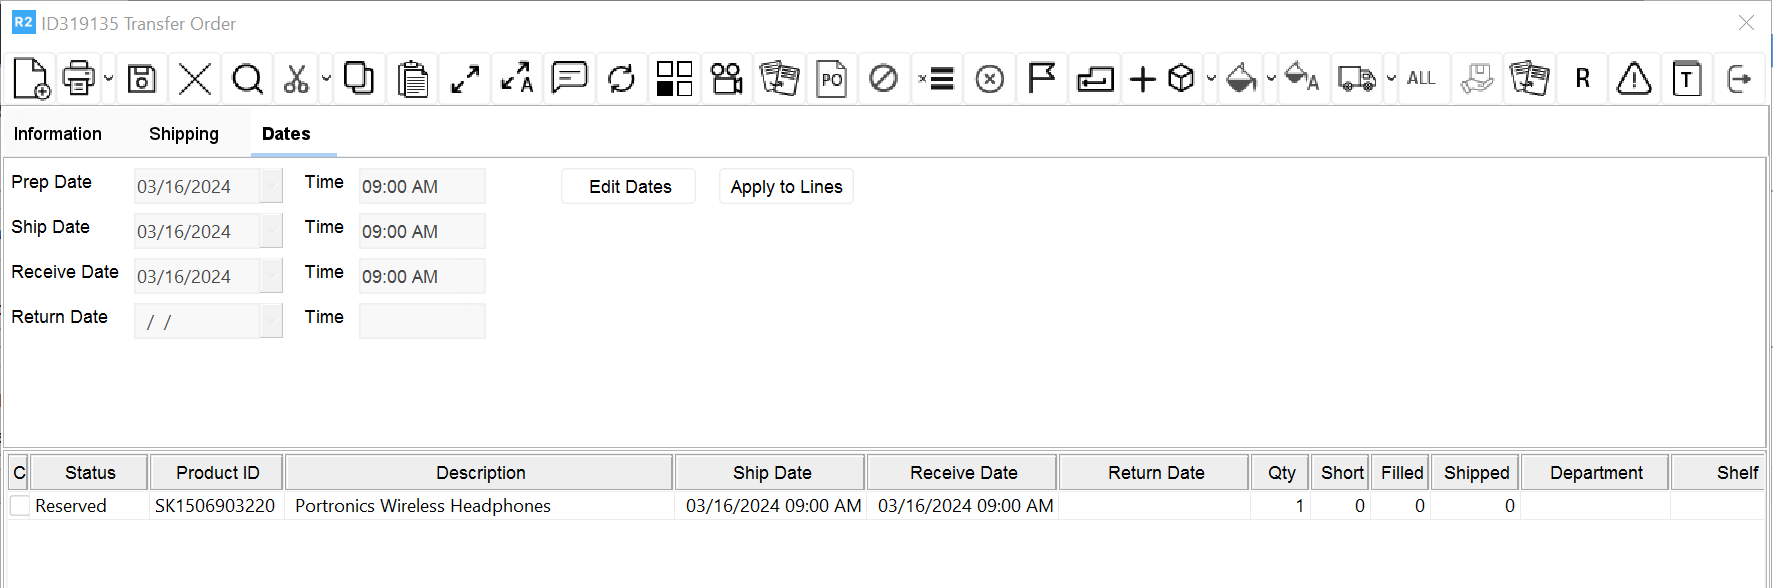
Click the Edit Dates button to modify dates.
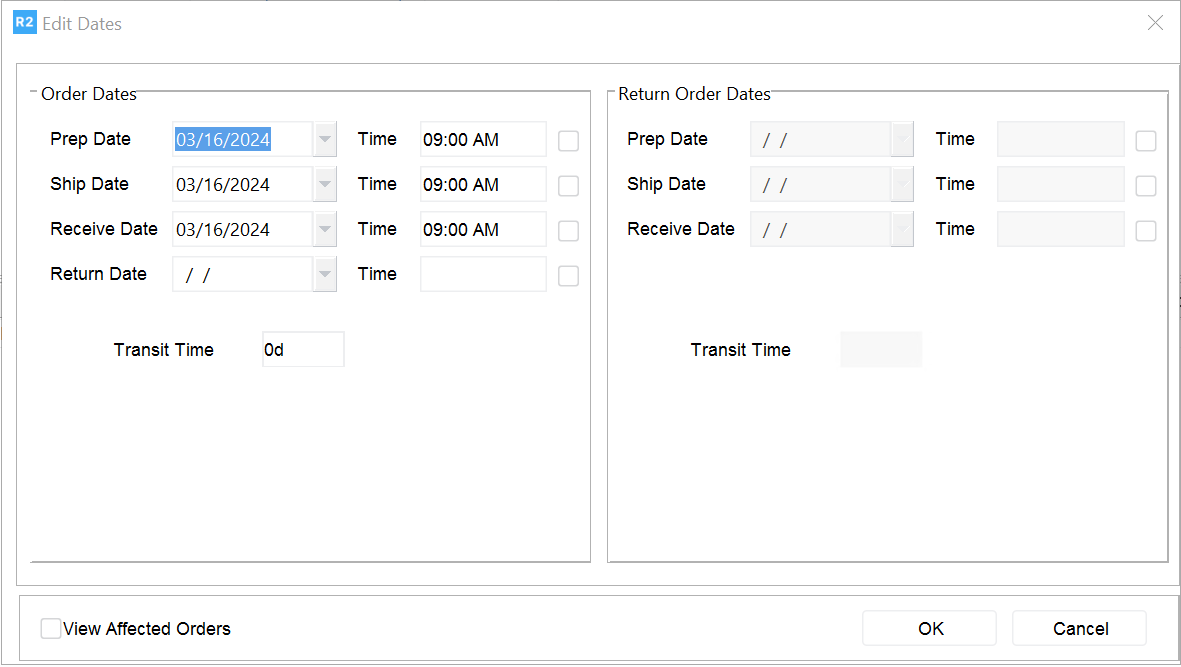
Click OK to save the dates. Click the Save button ![]()
![]()
Sub Rentals
Items in “Sub-Rent” status need to be assigned a sub rental purchase order.
To assign a sub-rental purchase order to an item, right-click the row header of the item you wish to assign and select Assign from the pop-up menu.
The Assign dialog appears listing five options. Select the Sub-Rental option by clicking on the radio button to the left of the option name. Click OK.
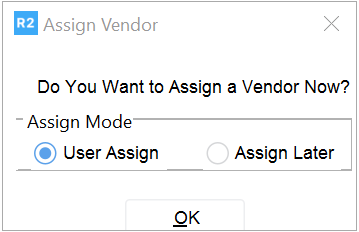
The Sub-Rental Assign dialog appears asking if you would like to assign a vendor at this point. If the vendor will not be assigned yet, select the Assigned Later option. The status “Sub Rent” will be assigned to the item.
Select the User Assign option to open the Vendors dialog and select a vendor. This is the vendor from which the item will be sub-rented. Click on the OK button when finished.
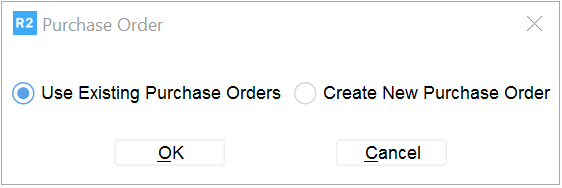
Select the Use Existing Purchase Orders option if the item will be added to an existing PO. Select the Create New Purchase Order option to issue a new PO. Click the OK button when finished.
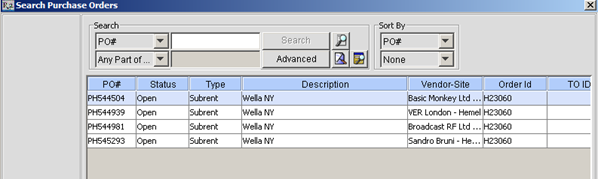
If the Use Existing Purchase Order option was selected, a PO search window will display. Search for the PO and double click on it.
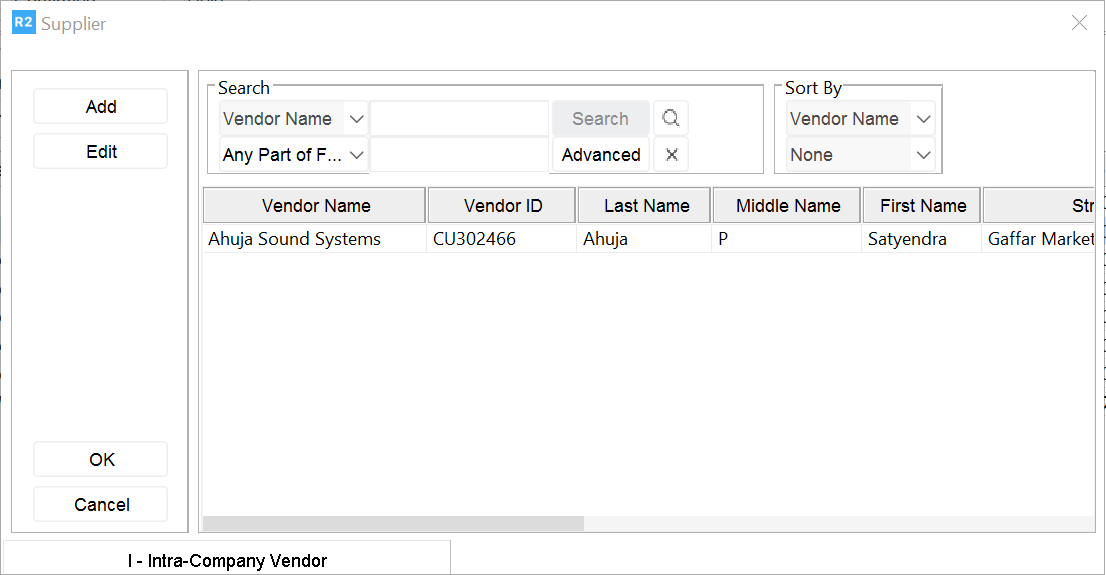
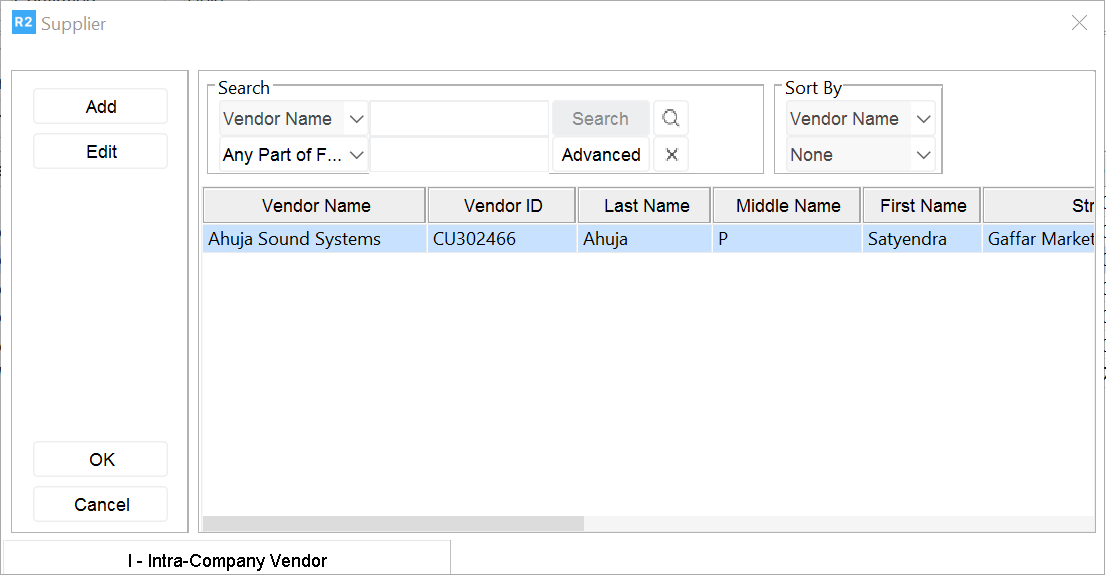
If the Create New Purchase Order option was selected, the vendor search window will display. Search for the vendor from which the item will be sub rented. Double click on the vendor name.
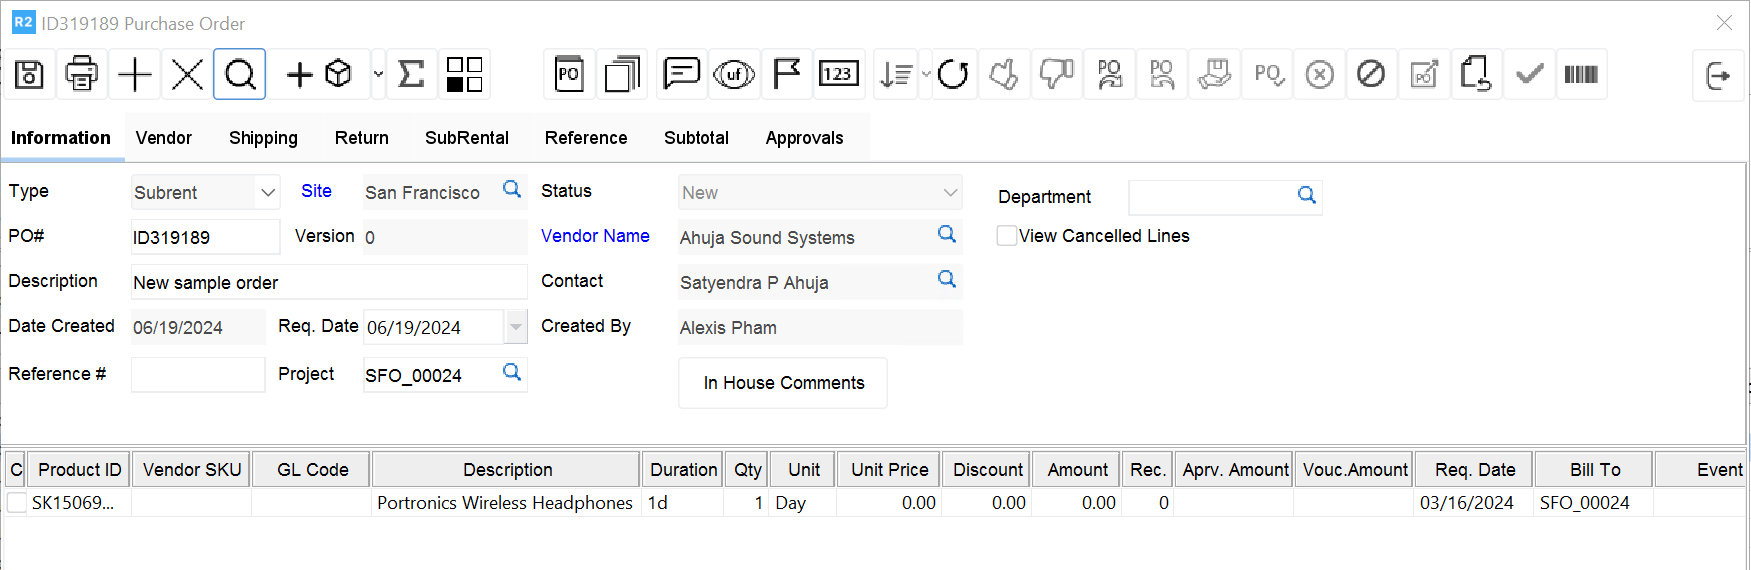
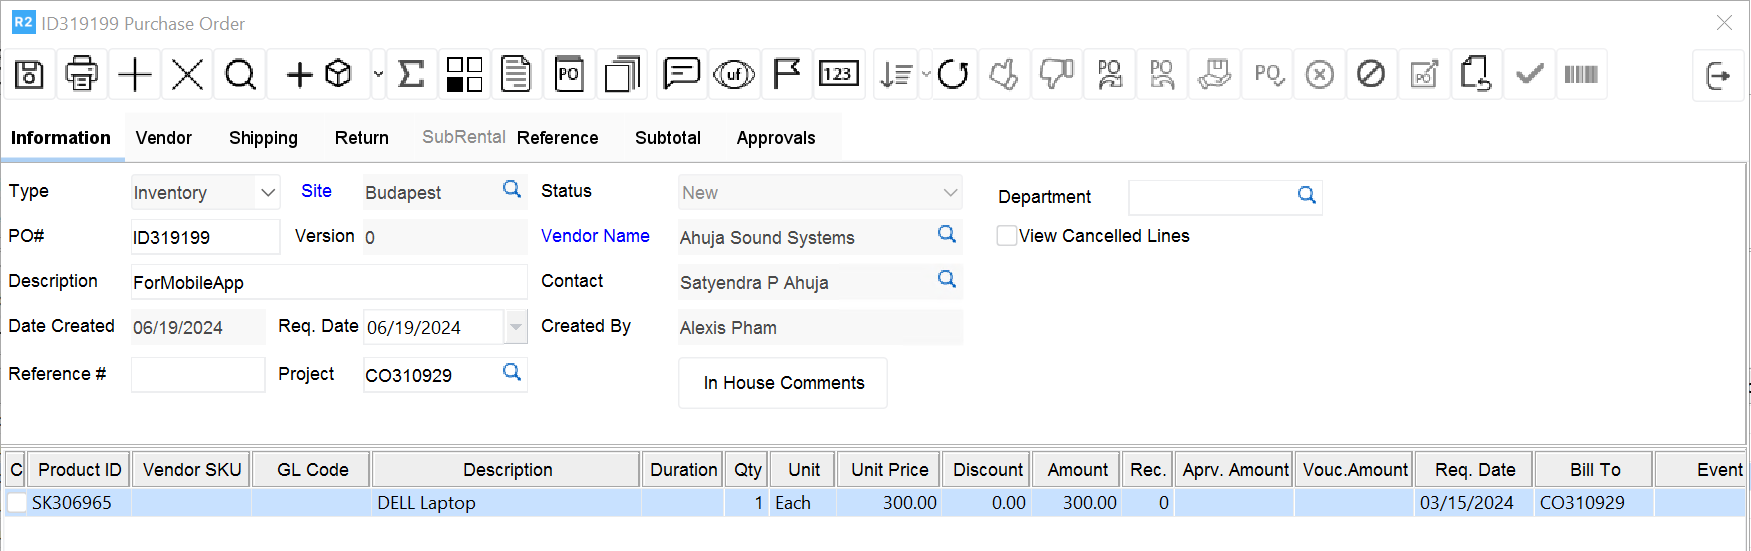
The sub rental PO will be generated and the selected vendor details will be populated. The price from the order will default as the PO price if the item doesn’t have vendor pricing setup. Otherwise, it will populate the vendor’s corresponding price.
Sub rented equipment will not be able to be filled on the order until the PO is released.
Save the PO by clicking on the Save button ![]()
![]()
Options
Yes – this option releases the PO and marks it as OPEN
No – this option keeps the PO as new
Either option will give the item the S-Assign status. The item will be cleared from the assigned screen upon closing the PO.
Purchases
Items in “Purchase” status need to be assigned an inventory purchase order.
To assign an inventory purchase order to an item, right-click the row header of the item you wish to assign and select Assign from the pop-up menu.
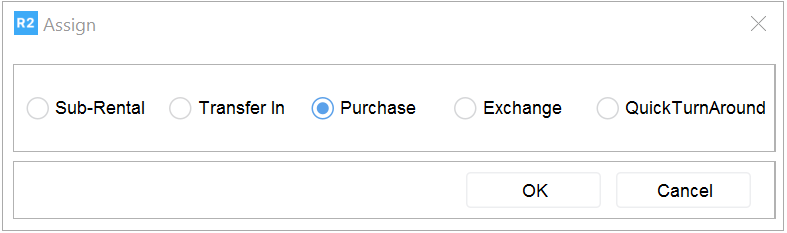
The Assign dialog appears listing five options. Select the Purchase option by clicking on the radio button to the left of the option name. Click OK.
The Purchase Assign dialog appears asking if you would like to assign a vendor at this point. If the vendor will not be assigned yet, select the Assign Later option. The status “Purchase” will be assigned to the item.
Select the User Assign option to open the Vendors dialog and select a vendor. This is the vendor from which the item will be purchased. Click on the OK button when finished.

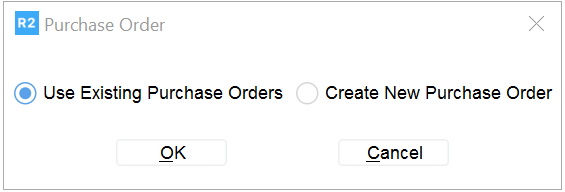
Select the Use Existing Purchase Orders option if the item will be added to an existing inventory PO. Select the Create New Purchase Order option to issue a new PO. Click the OK button when finished.
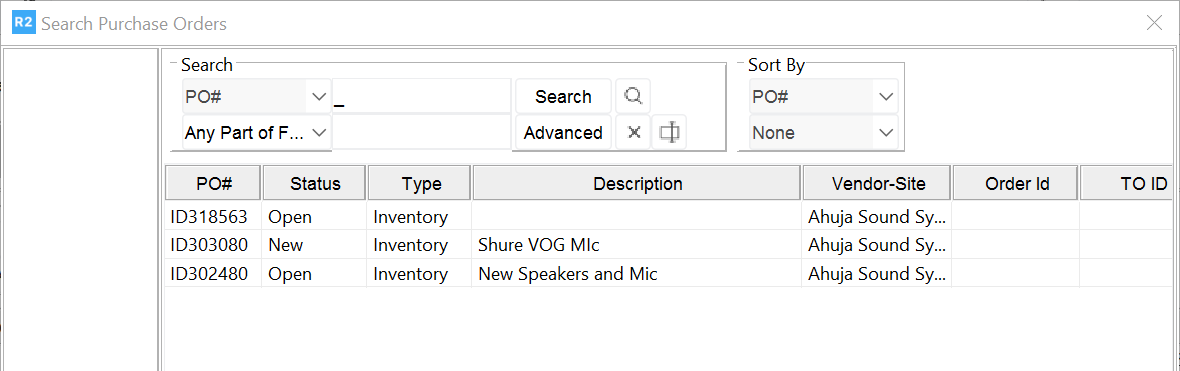
If the Use Existing Purchase Order option was selected, a PO search window will display. Search for the PO and double click on it.
If the Create New Purchase Order option was selected, the vendor search window will display. Search for the vendor from which the item will be purchased. Double click on the vendor name.
The inventory PO will be generated and the selected vendor details will be populated. The price from the order will default as the PO price if the item doesn’t have vendor pricing setup.
Otherwise, it will populate the vendor’s corresponding price.
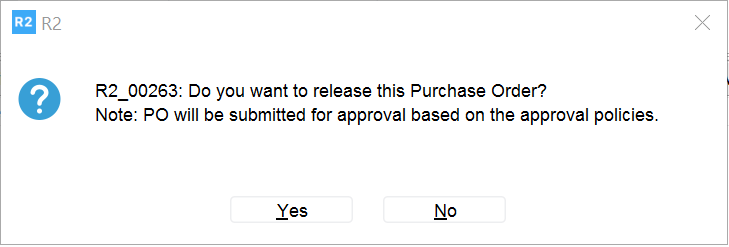
Equipment will not be able to be received until the PO is released.
Save the PO by clicking on the Save button ![]()
![]()
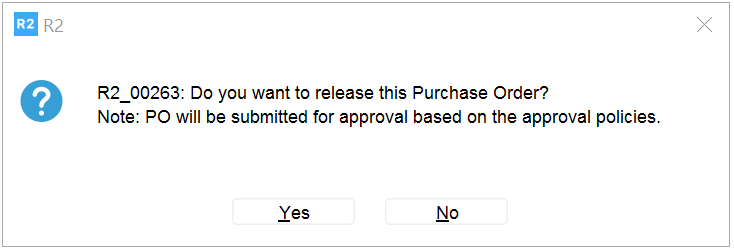
Options
Yes – this option releases the PO and marks it as OPEN
No – this option keeps the PO as new
Either option will give the item the S-Assign status. The item will be cleared from the assigned screen upon closing the PO.