Table of Contents
To create an order
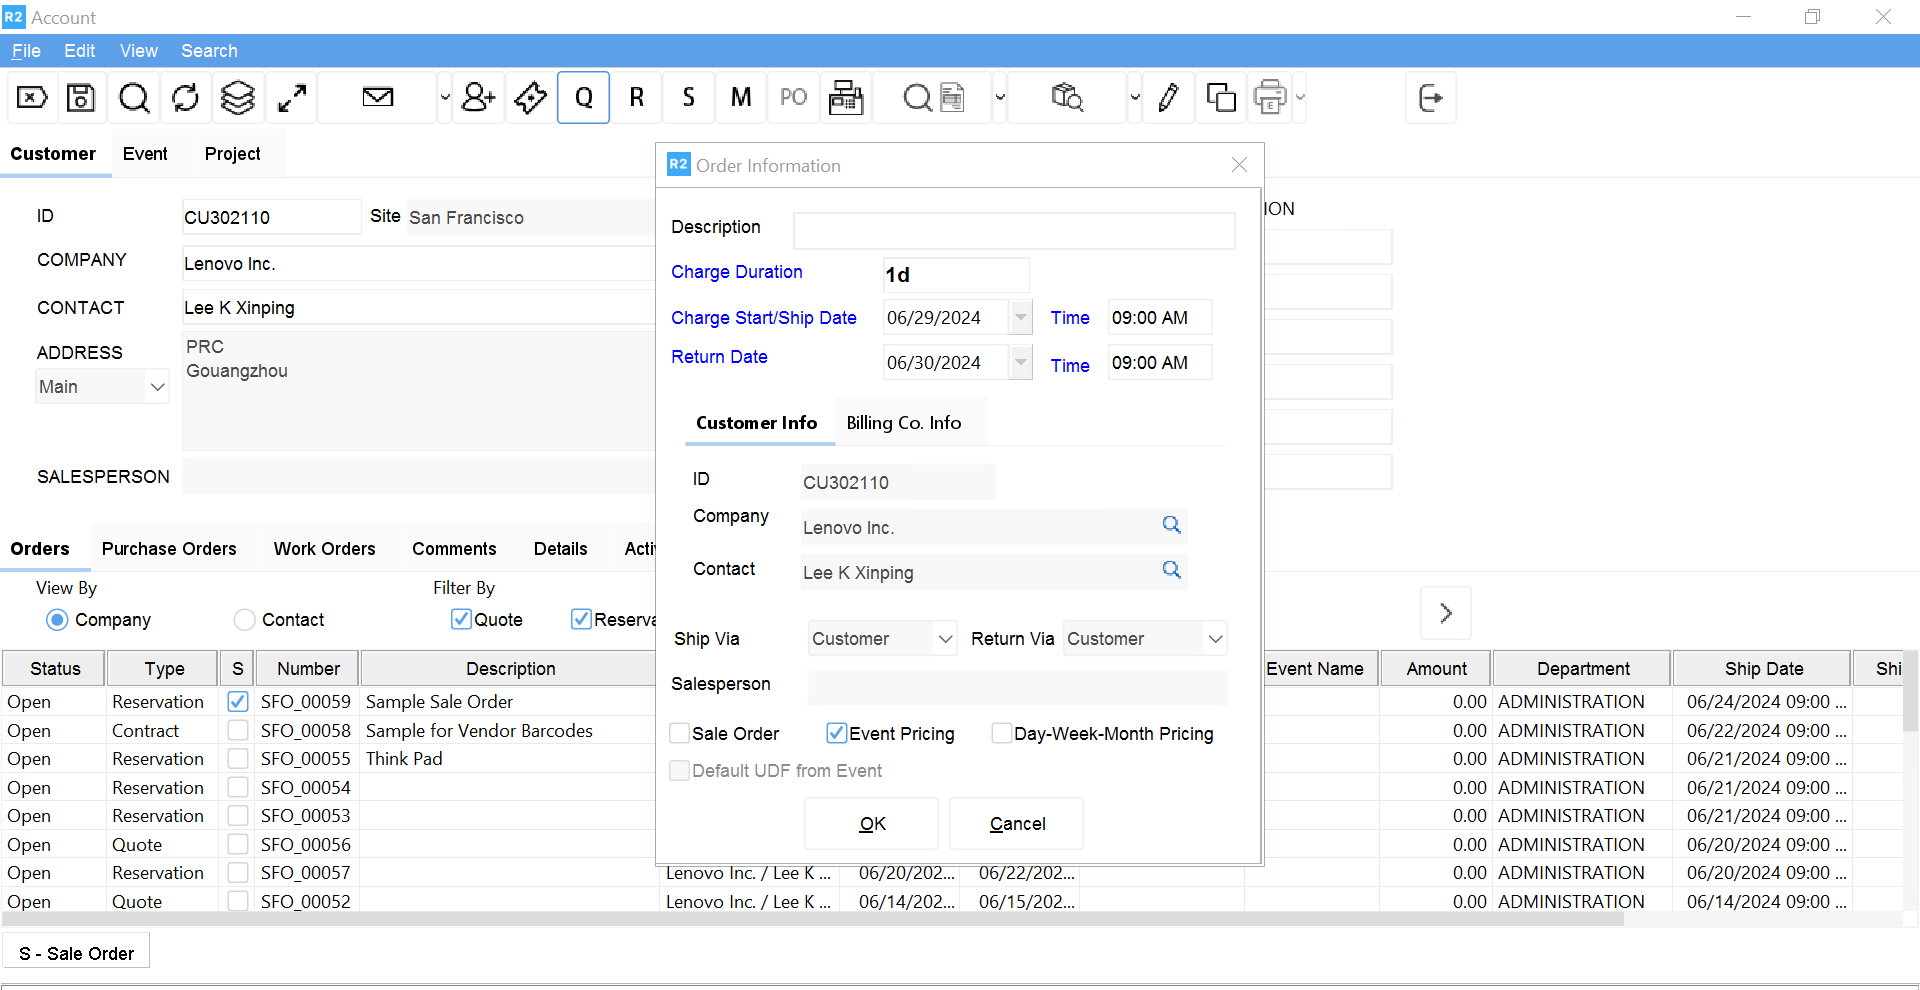
Open a customer record at the Account window.
This is not required to create an order, but it is required before saving an order. Click on the Quote button.
Enter information into the Initial Order Window - ALL FIELDS IN BLUE ARE REQUIRED.
-
Add payment information to an order.
-
Add items to the order.
-
Add labor to the order.
-
Format the order.
-
Print the order.
Various ways to search Inventory, Kits, Misc. Charges
Within R2 you have the option of adding individual items, groups of items, item kits, miscellaneous charges and labor to an order. There are three ways to add items to an order:
To add items from the item list - Start a quote or reservation and click the Inventory button
From the order screen, click on the Items button
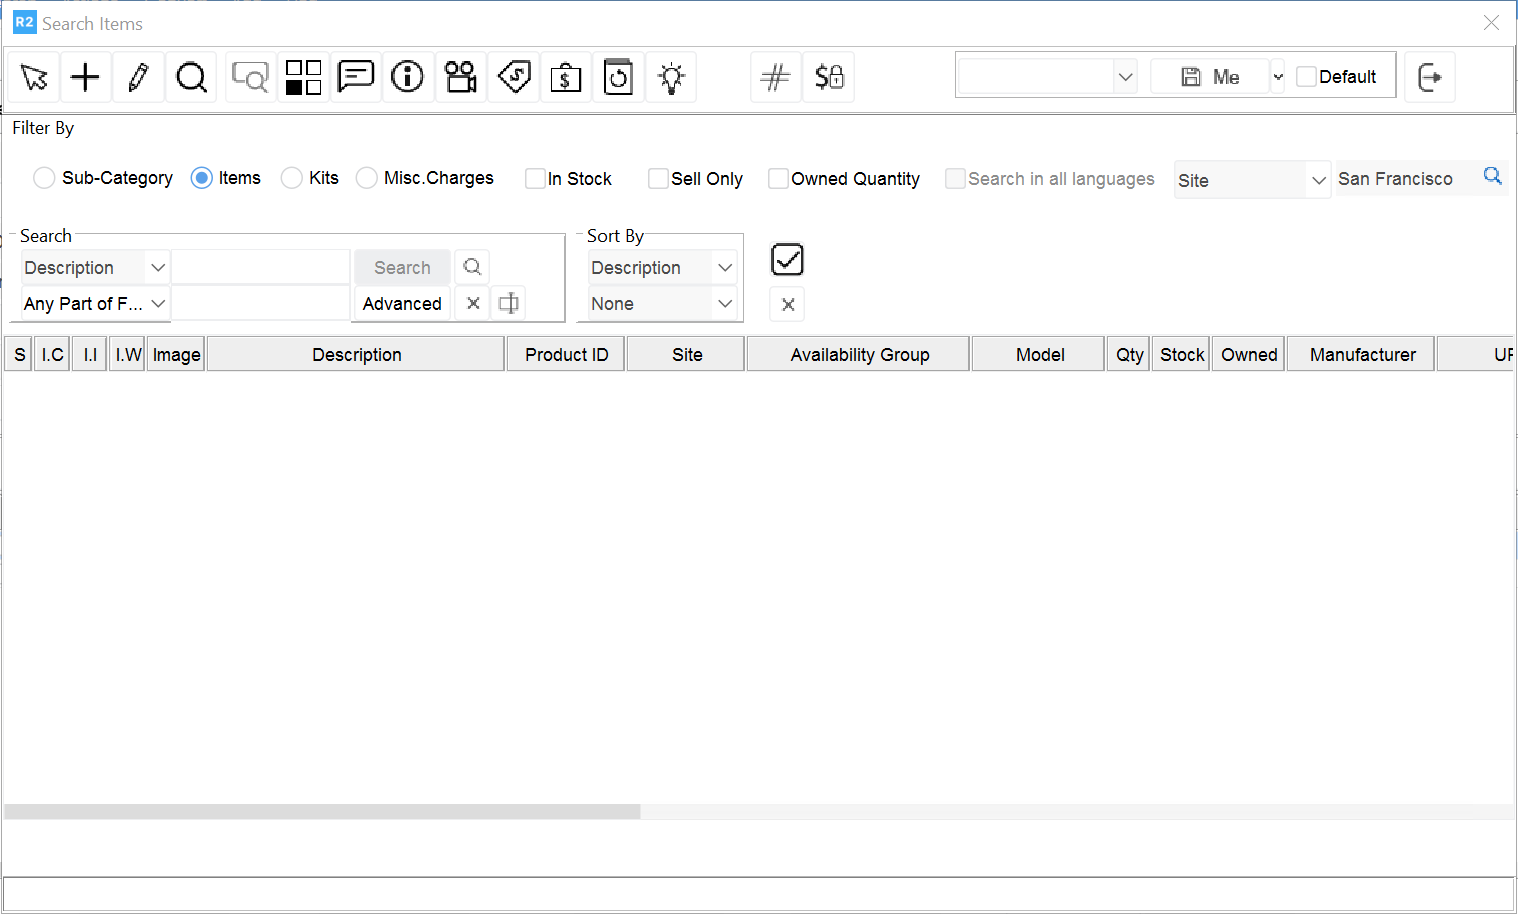
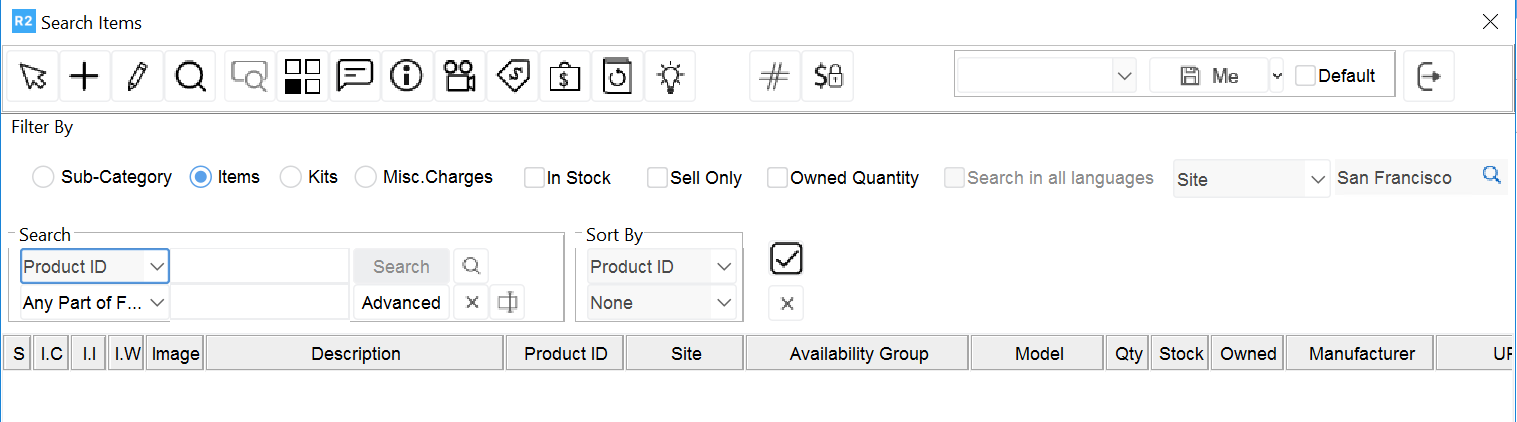
The standard Items search dialog appears.
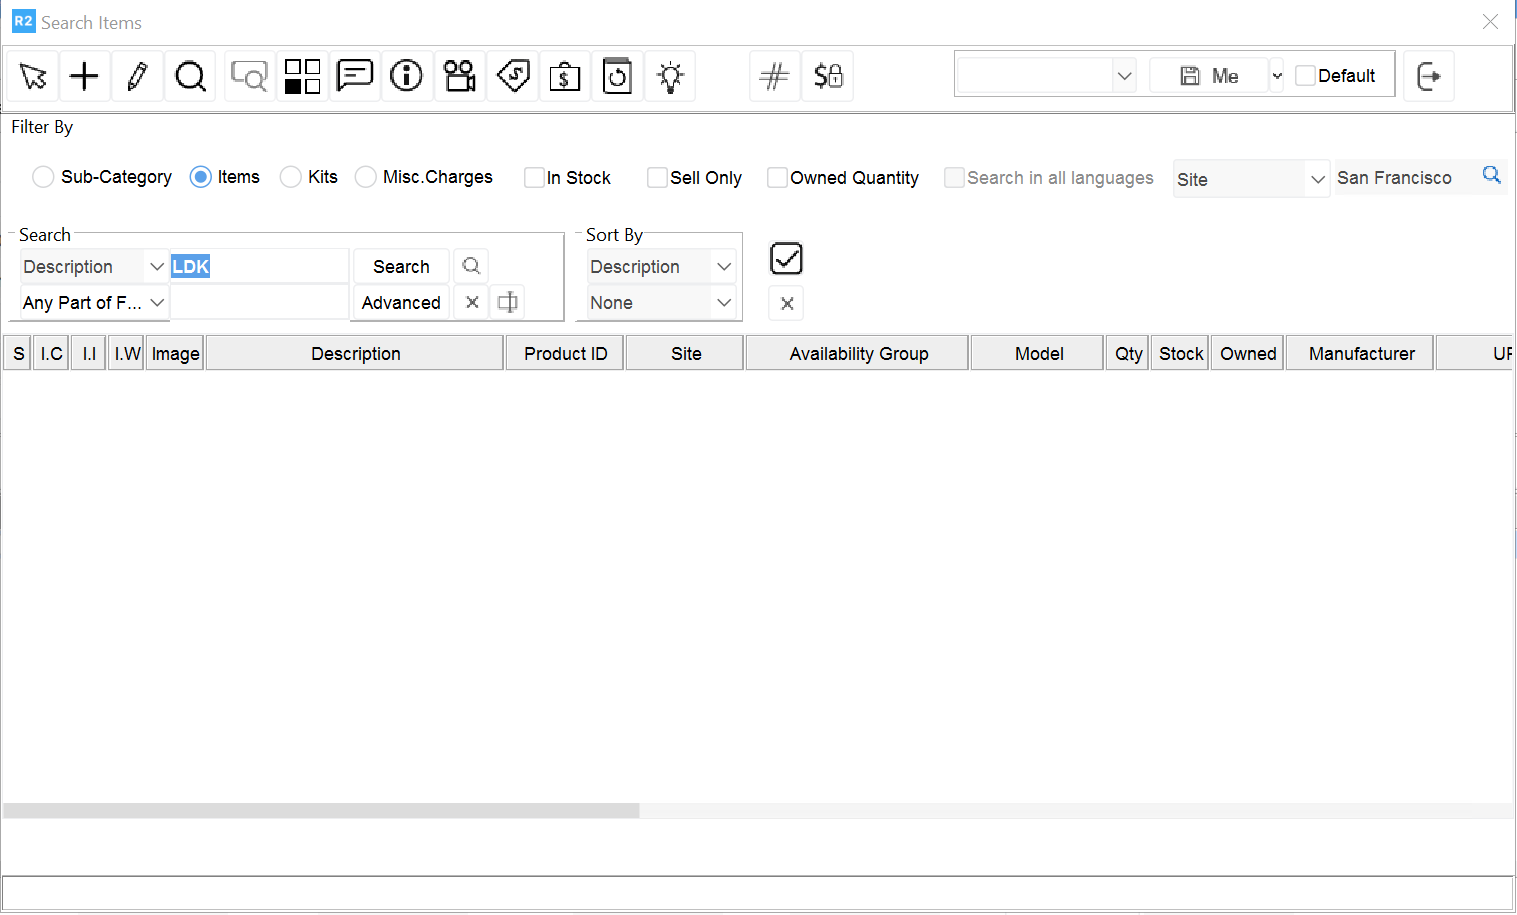
Search for an item or open the entire list of items.
Double-click on the items you wish to add to the quote.
This highlights the item row text, indicating that it will be added to the order. The default quantity to be added is one.
To change the default quantity: Click in the Qty field and enter a new value. Then press <Tab> to confirm your entry.
Click on the CHECK MARK to add the selected items to the order.
NOTE: You can change your search definition while tagging items to mark Items, Kits or Misc. Charges from multiple searches. For example, if you search for all items in the video department and tag one item from the results, then search for all items in the audio department and tag one item from that search, R2 retains both selections. When you click the CHECK MARK to finish, all selections from the separate searches appear on the order.
To add items by product ID:
-
From the Order window, click on the Enter Items button
-
Key the product ID or Asset ID
-
If you are using the keyboard, after typing each Product ID, press
-
<Enter> to accept the default quantity of one, or press <Tab> to enter a multiple quantity.
-
If necessary, enter a new value into the Quantity field.
-
Click on the Close button when you are finished entering items IDs.
To add items into blank rows
-
Right-click on the row header.
-
From the pop-up menu, select Add.
.png?cb=2bdb40a2381d7e37adea0ff6aa81353d)
A blank row appears immediately above the point where you right- clicked on the row header.
-
Click in the Product ID column of the new row.
-
Type in a Product ID or Asset ID
-
Press <Enter>. Default Quantity is 1
This inserts data for the remaining columns.
To add pad items to an order
Select the Pad > Pad Items option from the upper menu bar of the Order window. The standard Items Search Dialog will appear.
Add items from the Item list.
Pad Items are items you wish to include with your client's order (typically as backup) but do not want to appear on your customer's Quote or Reservation as a charge.
NOTE: Pad Items appear at the Order window, but are not set as Print- able. These items do affect availability and are to be filled with the rest of the order.
NOTE: To later charge for a pad item: set the order row to Print able and manually enter a charge in the Unit Price column.
To define a search
Each search dialog contains two filter areas: Search and Sort By. You will use the fields, buttons and icons within these areas to configure your search.
The Search area determines what record field and what part of that field you are searching. This is also where you will enter the information you are telling R2 to perform your search. The Advanced button lets you narrow your search and use multiple search Criteria.
The Sort By area lets you choose the display format for your search results. The top Sort By field determines the Sort Field, meaning which record field is used to alphanumerically organize your search results.
The lower Sort By field determines the Sort Method.
NOTE: Clicking on the Search button without entering search parameters opens all database records. The first page will be visible. To view subsequent pages of data, press Page Down. Opening and working with all records may significantly reduce your system speed. To avoid this, enter filters before searching.
To conduct a simple search
Click on the first Search filter to select a field type.
.png?cb=3326a9b12266de6bf2fc08a129900ac1)
A drop-down menu appears listing all the available search fields. This list of fields varies according to record type. Examples of available fields for item records include Product ID, manufacturer, model and UPC.
In the second Search filter, enter the search criteria.
Search criteria are the information or item for which you are searching. For example, if you were looking for all items with the word Video in the description, then you would enter Video into this field.
NOTE: You may use the underscore (_) or percent (%) characters as wildcards within your search criteria if you are using Any Part of Field or Start of Field as your search parameter. The underscore is used to replace a single character. For example, entering "Davids_n" would return records containing Davidsen, Davidson and Davidsun. The per- cent sign replaces a group of characters within your search criteria. For example, you might enter "David%" to return the same records as above.
NOTE: Searches are not case sensitive.
Click on the second filter labelled Any Part of Field and select the search parameters.
.png?cb=7a87e2cee2867de379d428f7958e973f)
The search parameters tell R2 what part of the field to look at when con- ducting searches. The available search parameters include:
Any Part of Field - This option searches any part of the selected field type for the search criteria. Start of Field - This option searches only the beginning of the field.
Whole Field - This option searches the entire field for matching cri- teria. When using this option the information in the record must exactly match the search criteria.
Adjust sort criteria, if necessary. Click on the Search button
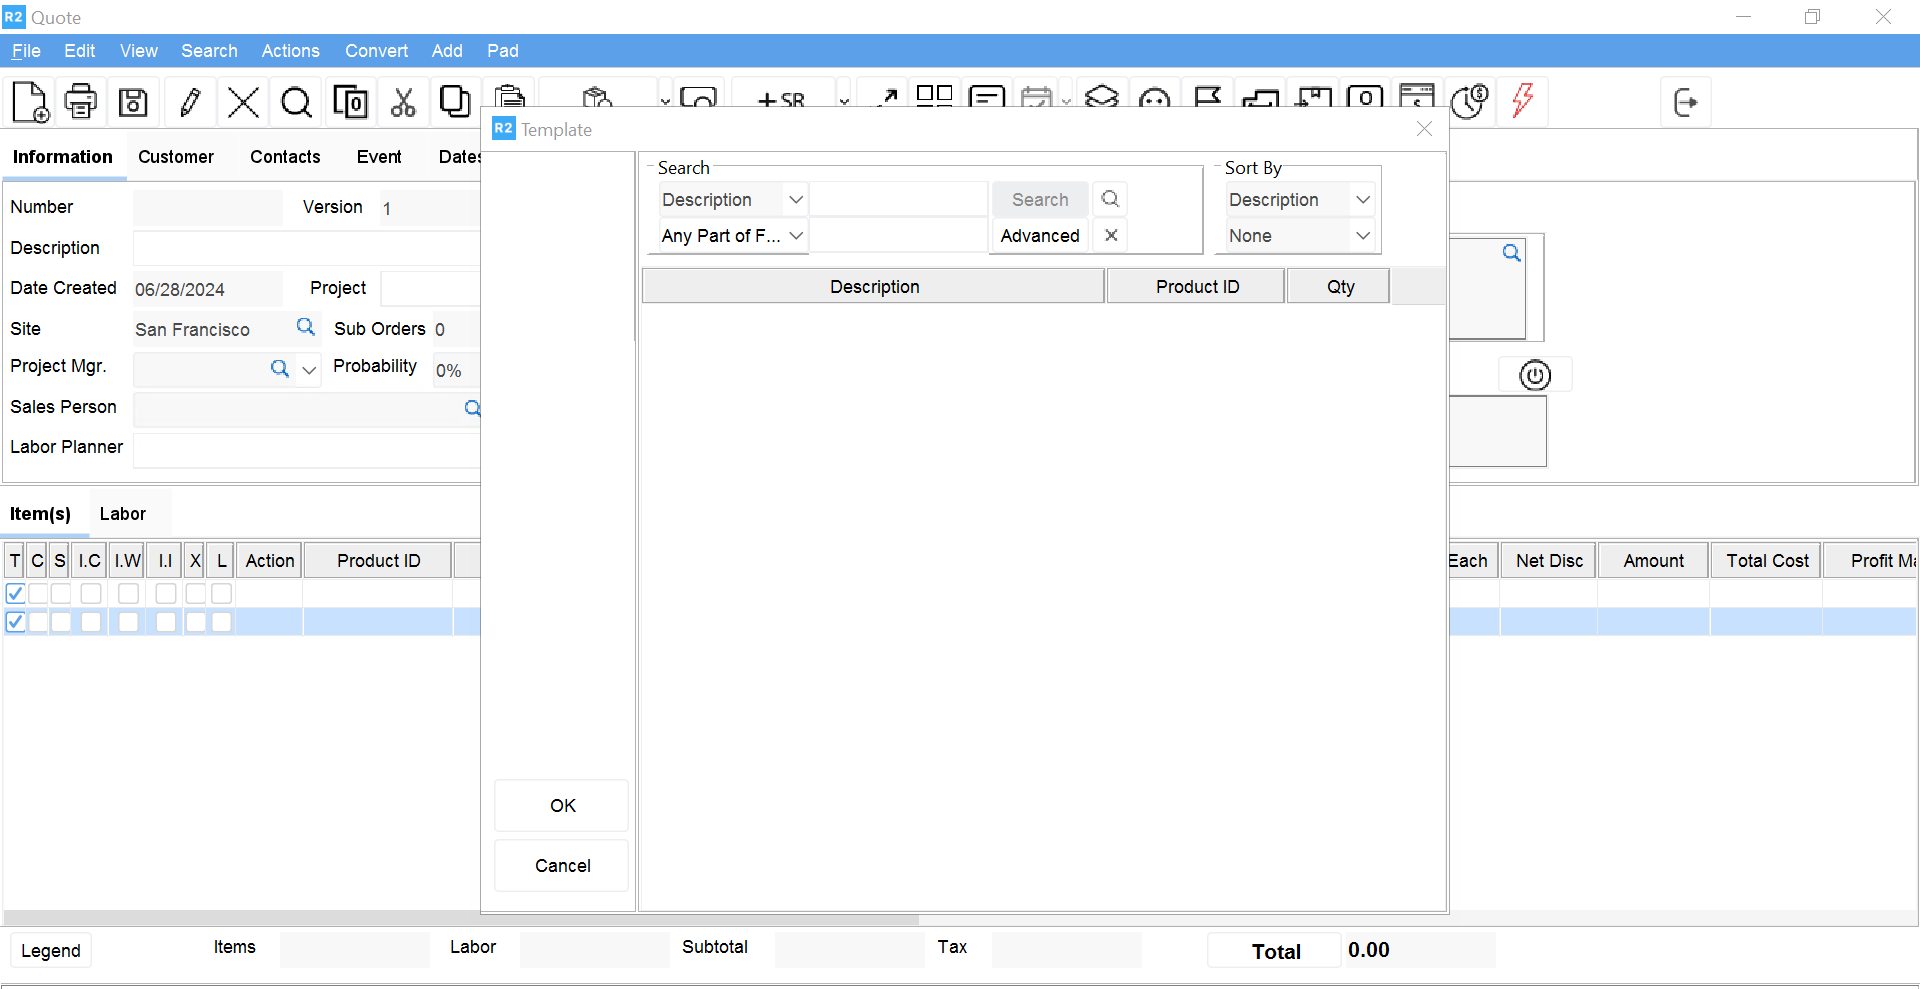
Any records matching the search parameters are listed. Using Templates (Wizard)
If you have defined order Templates within the Maintenance module, you may use them as a convenient way to choose items for a specific event or a general type of occasion, such as a convention. Templates work similarly to an "order wizard." Functional templates give you a framework of items to choose from when creating an order. All items ordered through a template can be changed or modified.
To Use a Template on an Order
From the Order window, click Search and select Templates:
The Template search dialog appears.
.png?cb=e5bbba3483f3a7394d9a2b80747fe1bc)
To view the entire list of Templates, click on the Search button with- out entering any search criteria.
Double-click on the Template you wish to use.
This brings up a second Template dialog displaying the Items, Kits, and Templates included in the Template you clicked on.
Double-click on the Items, Kits or Templates you wish to place on the current order.
The # Select field in the top right of the second Template dialog shows the number of the item to select from the current lines dis- played.
NOTE: If you click on a Template within a Template, another dialog will appear allowing you to choose items for that template. You may have multiple successions of Templates within Templates.
Click on the Ok button
This takes you back to the Template search dialog. Repeat for any additional Templates you wish to use. Click OK to return to the Order window.
In the Order window, the template description will appear as a heading with the template items listed below.
Continue adding and editing Order items.
View Images
Images of inventory can be easily attached in R2 to enable sales and warehouse to confirm the exact item they are seeking. An image is denoted by a check mark on the inventory selection page under the "I" column. Right clicking on the line and selecting View Image will bring up the image.
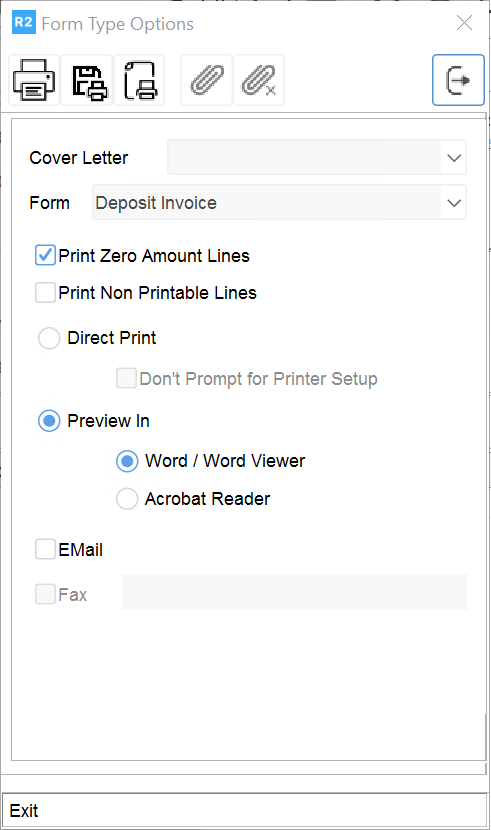
Printing Quotes (Selectable UI's)
All Quotes can be printed from the Accounts section by clicking on the Printer icon and selecting the desired format.