A meeting order allows the user to efficiently utilize equipment in a show/event where it will be used in several different rooms at different times. This type of order consists of several steps:
-
Create an Event – In order for a meeting order to be created, it must be linked to an event. The meeting order will utilize the billing customer information, locations, and dates from the event.
-
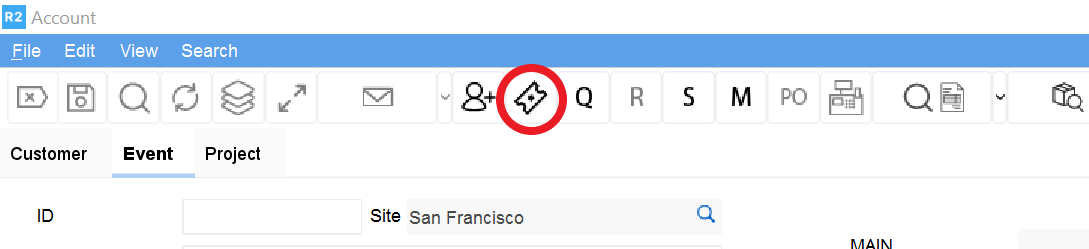
Click Create Event from the main Account screen
-
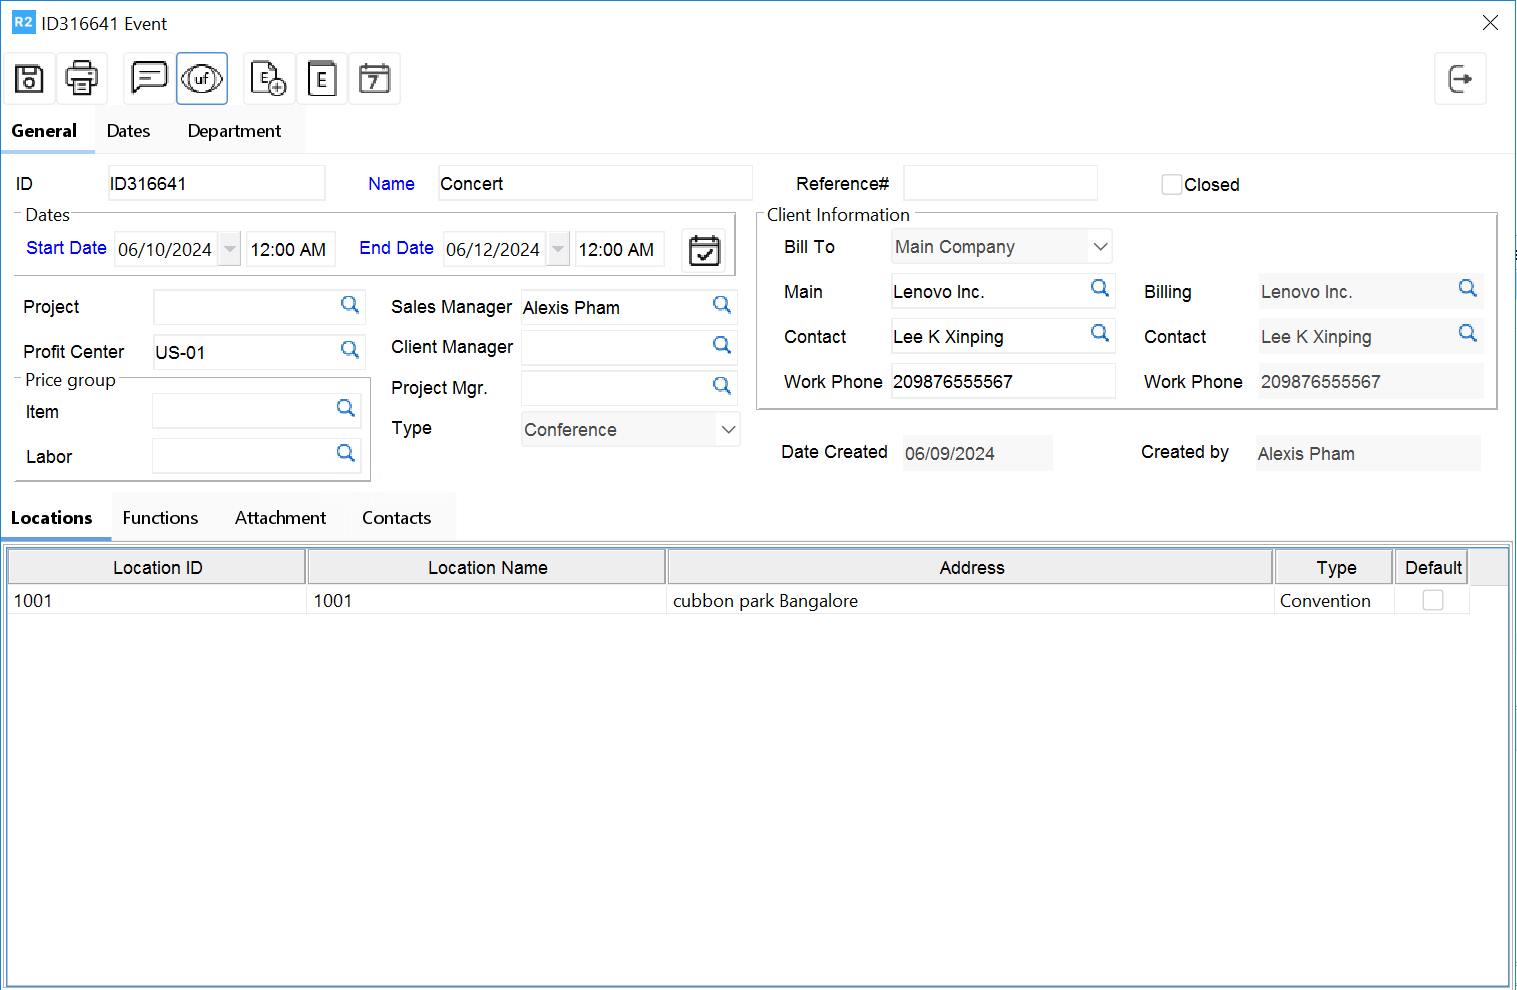
Fill out mandatory fields and be sure to choose/create a location with rooms, as these will be used for the meeting order (they can also be added in order)
-
Save Event and exit to return to Account screen (Cancel new order window as R2 will automatically begin a regular order based on event information)
-
-
Create Meeting Order - A Meeting order has two main parts which help in organizing the equipment. The first part to a meeting order is the template. This is where the rooms, sessions, and equipment are designated. The room orders are the second part. The orders are generated for each room, and within each, the equipment is divided between the sessions. Note that quantities are not chosen in the template order, but are determined in the room order per each session.
-
While in Account screen with the desired Event selected in the meeting tab, click Meeting Order Button

-
Create Room Order Template – The room order template pulls order dates and locations with their rooms from the event
-
Fill out order details in the standard order tabs as you would any other order
-
Edit order header Information tab
-
Enter description and comments if desired
-
Change/update Project Mgr, Sales Person, Customer, Contact if needed
-
-
Edit Customer and Contacts tab
-
If necessary, Customer info can be updated and contacts for the order can be entered
-
-
Event tab
-
Able to change event if necessary
-
-
Shipping and return tab
-
Can change Shipping/Return location (default Event location), designate shipping/Return contact, method, and change Tax Region if necessary
-
-
Payment Tab
-
Edit payment information such as Billing customer/contact, PO number, Terms, Pay Method, Pay At, and Billing Terms
-
-
-
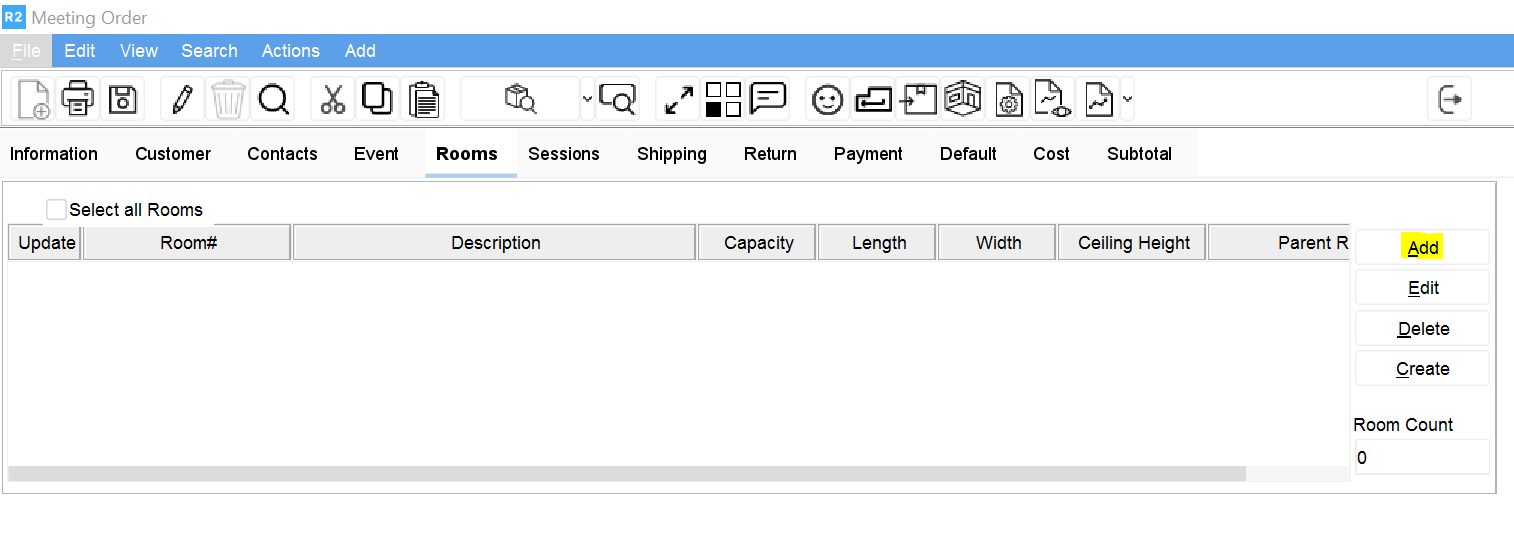
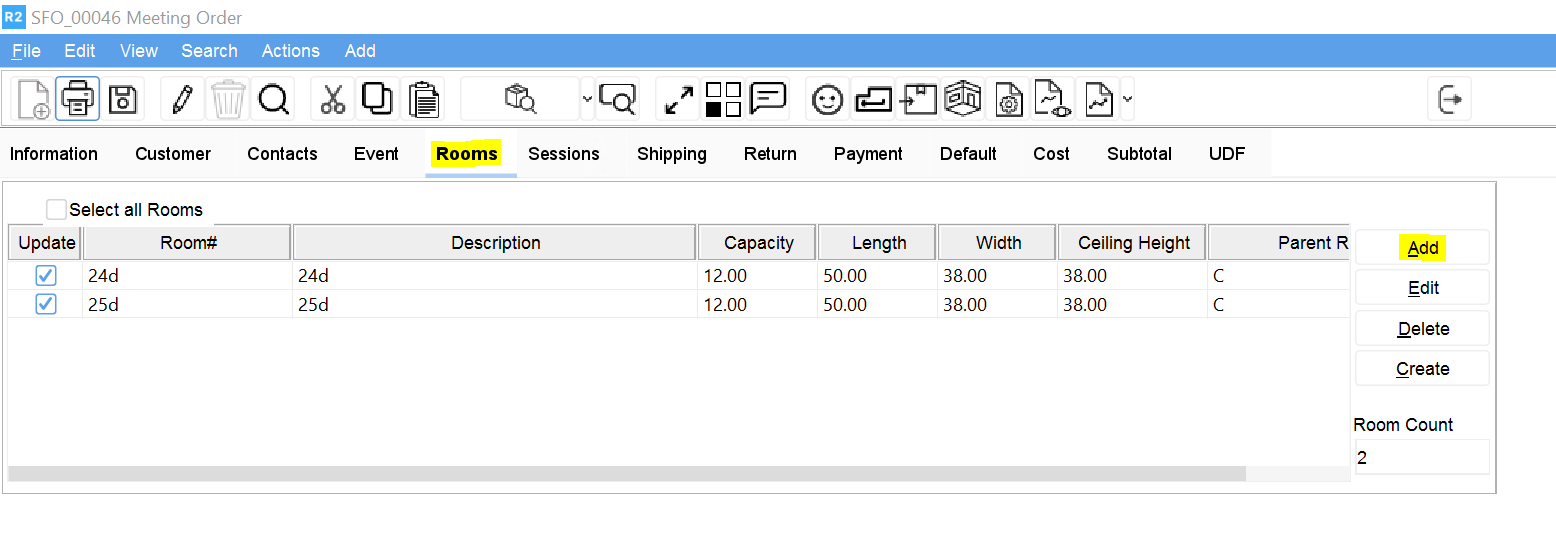
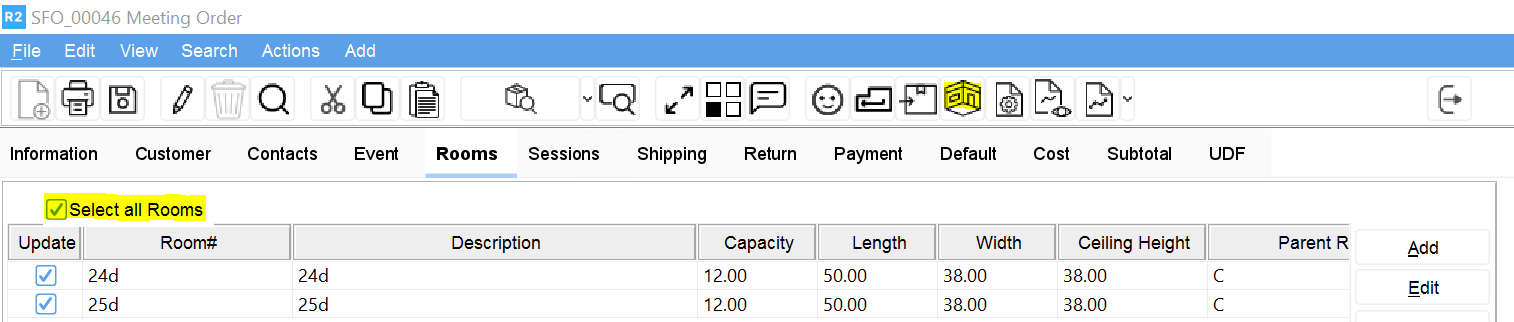
Go to Rooms tab - Choose the rooms taken from the event/shipping location for which you want to create orders.
-
You can also create additional rooms for this order which were not associated with the location
-
Select all rooms which you want to create a meeting order for
-
-
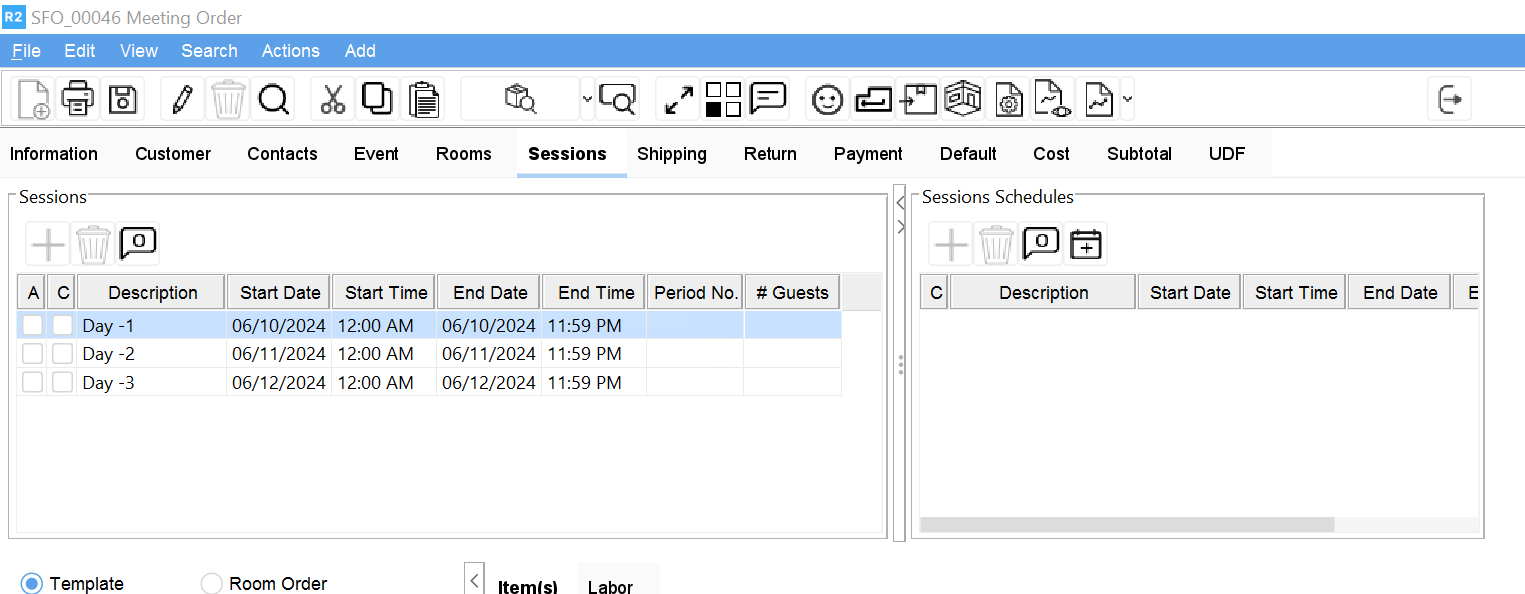
Go to Sessions tab - Configure the dates and times your equipment will be used in each room
-
By default, sessions will be created for each day of the event.
-
Modify and add sessions as needed by selecting and clicking edit
-
-
Add items and labor to order. Do not enter item quantities as these will be determined in your room orders.
-
Make sure the desired rooms have been selected or checked or click “Select all Rooms” and click Generate Room Orders. These are similar to sub-orders, but utilize the same equipment quantities from the template order.
-
-
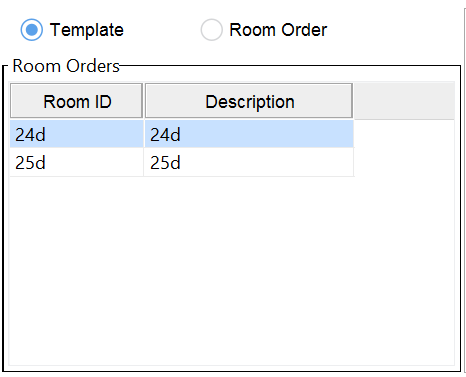
Modify Room Orders – Room orders are created based on the rooms you designate in the template. The equipment in the room orders can be split up among different times based on your sessions.
-
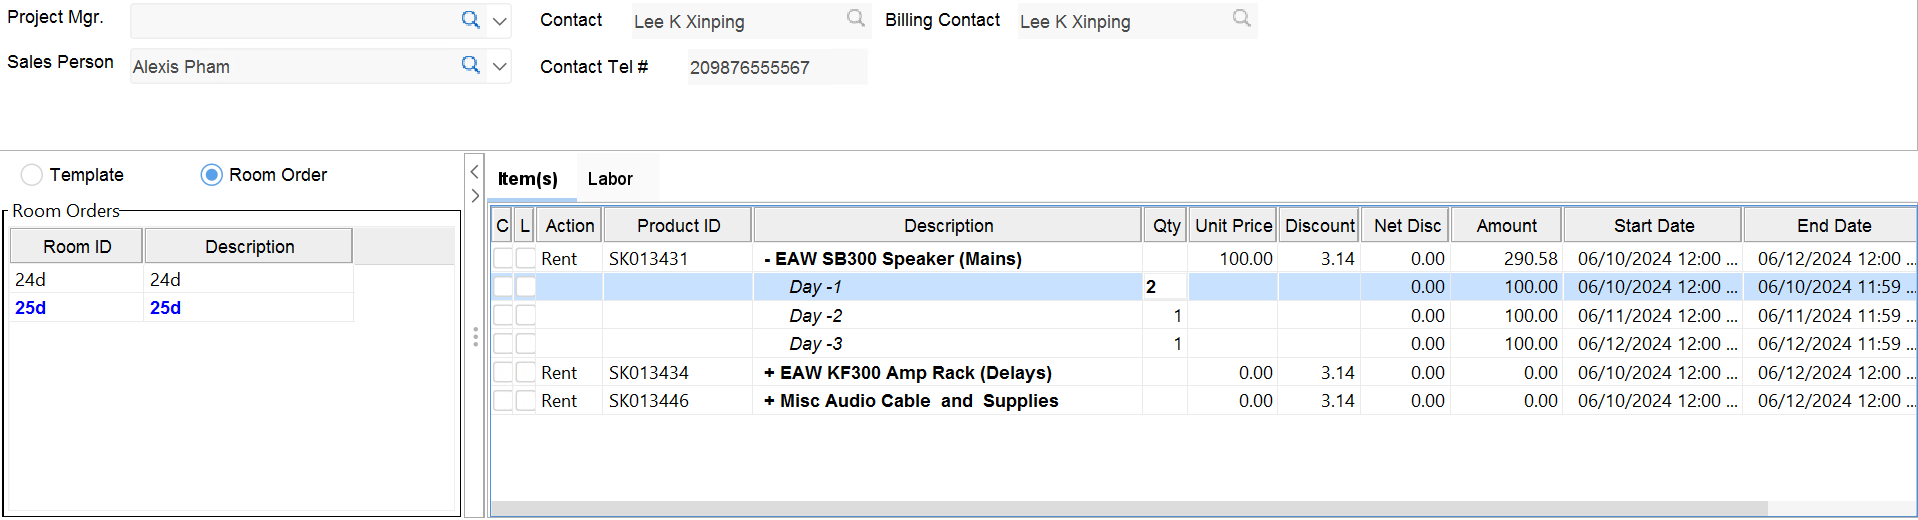
After creating Room Orders, you will now have the option to edit order details for each room. Double click the room you would like to edit in the Room Orders Panel.
-
Expand your item lines and proceed to adjust equipment quantities needed for each session in your room as needed. Also, adjust labor (RT, OT, and DT) units required for each room. Revenue and cost data from each room order is summarized and reflected in template order.
-
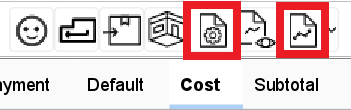
When finished updating Items and Labor requirements for each room, click on Equipment Requirement Report (overall order) or Equipment Detail by Room Report to view daily item requirements for the order. These reports can be printed.
-
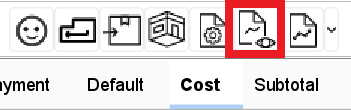
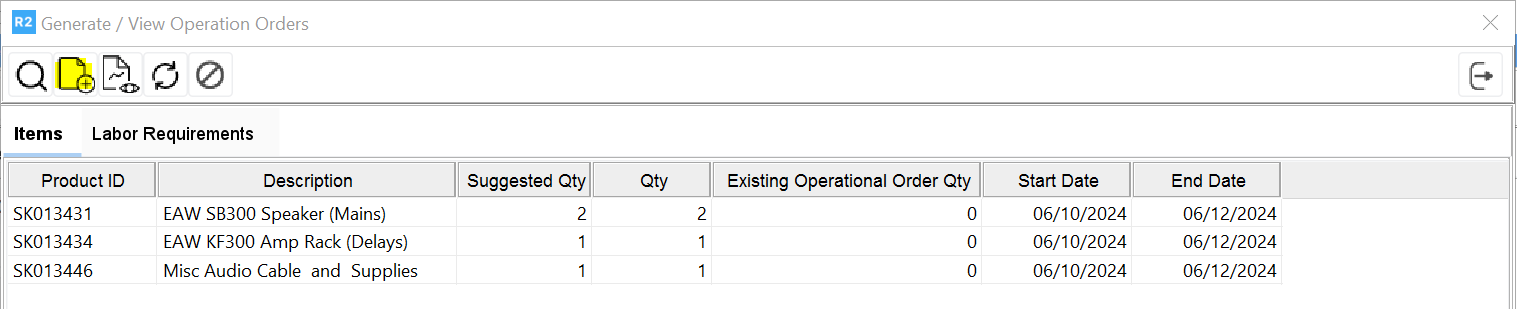
Click Generate/View Operation Orders to see overall equipment and labor requirements and generate an order which creates Warehouse Tasks and labor bookings.
-
It’s important to note that the meeting order itself will not create any Tasks in the Warehouse for filling/shipping/returning/receiving the order, nor will it create labor requirements for the Labor module. The Operation order is a non-billable order which is created specifically for these purposes and it will close once the equipment has been returned/received.
-
-
Click Generate Operation Orders when ready and either choose to create a new operation order or use an existing one. Confirm/update dates and times then click OK to create the order.
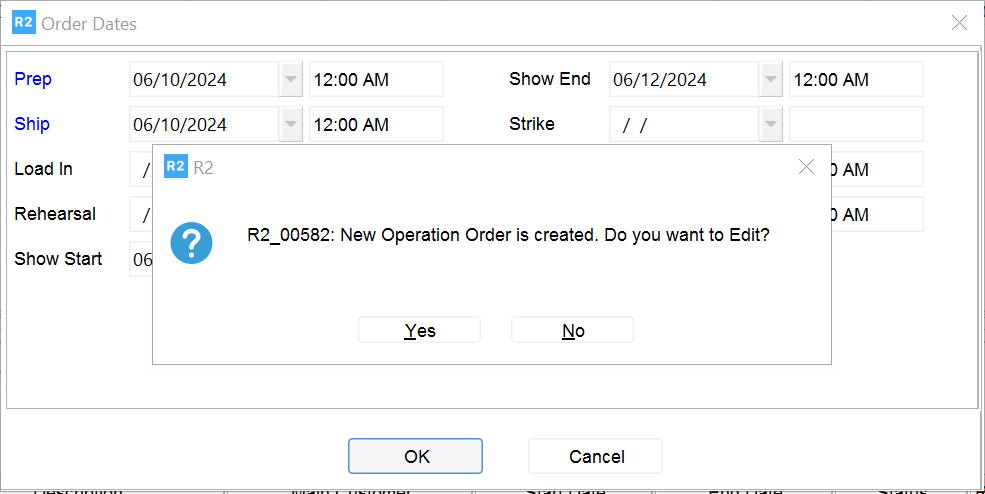
Note: The operations order has no charge associated and will close when the equipment is returned. The order is linked to the event so you can view it in the account screen under the corresponding event’s order tab.
-
-
Invoice Your Order
-
Invoice the meeting order in the meeting order template. Once invoiced, the meeting order can no longer be edited.
-
-