Introduction to Events & Event Orders
This process document is intended to guide employees in various positions through the order
From the Account screen, go to Search > Event and click on Add
.png?inst-v=96593934-c5e1-437e-80cf-5705f6738b70)
The following screen will open. Click on the Add button

The event profile screen will open.
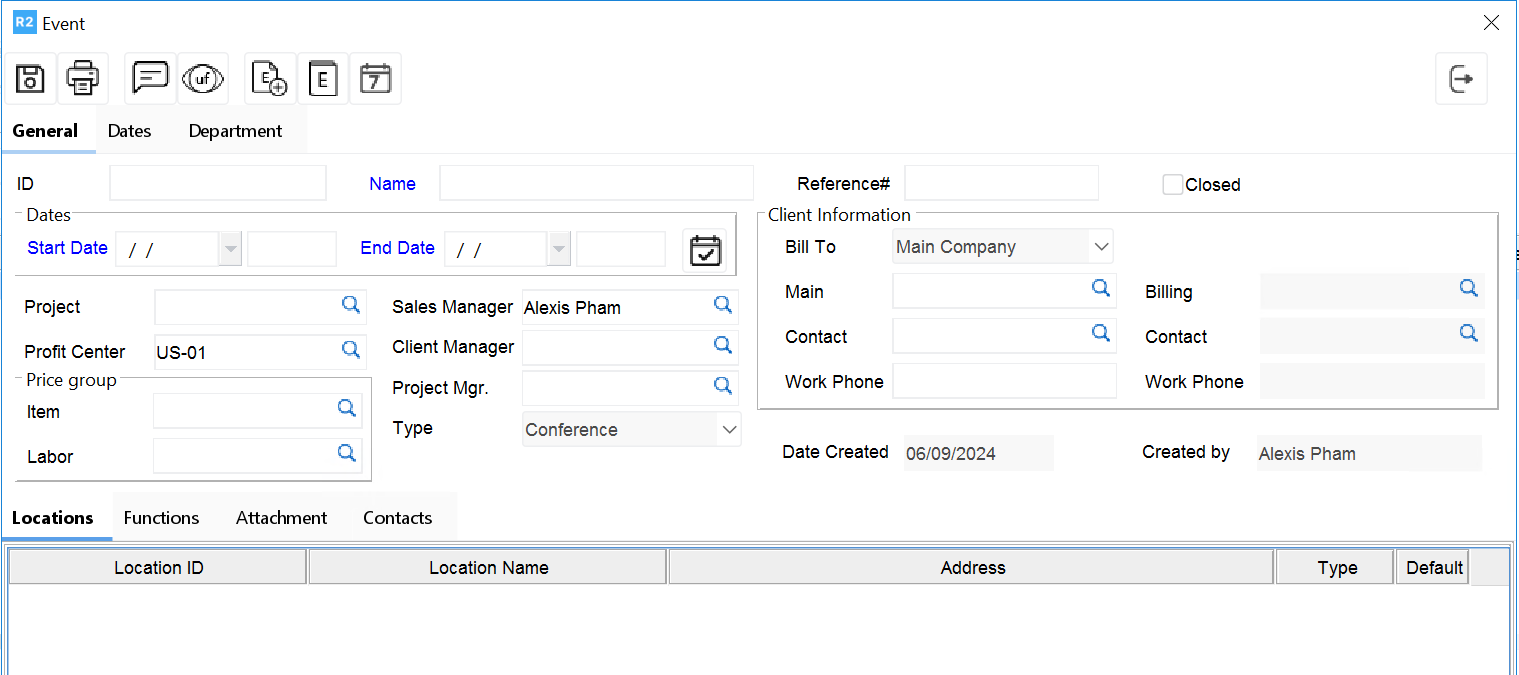
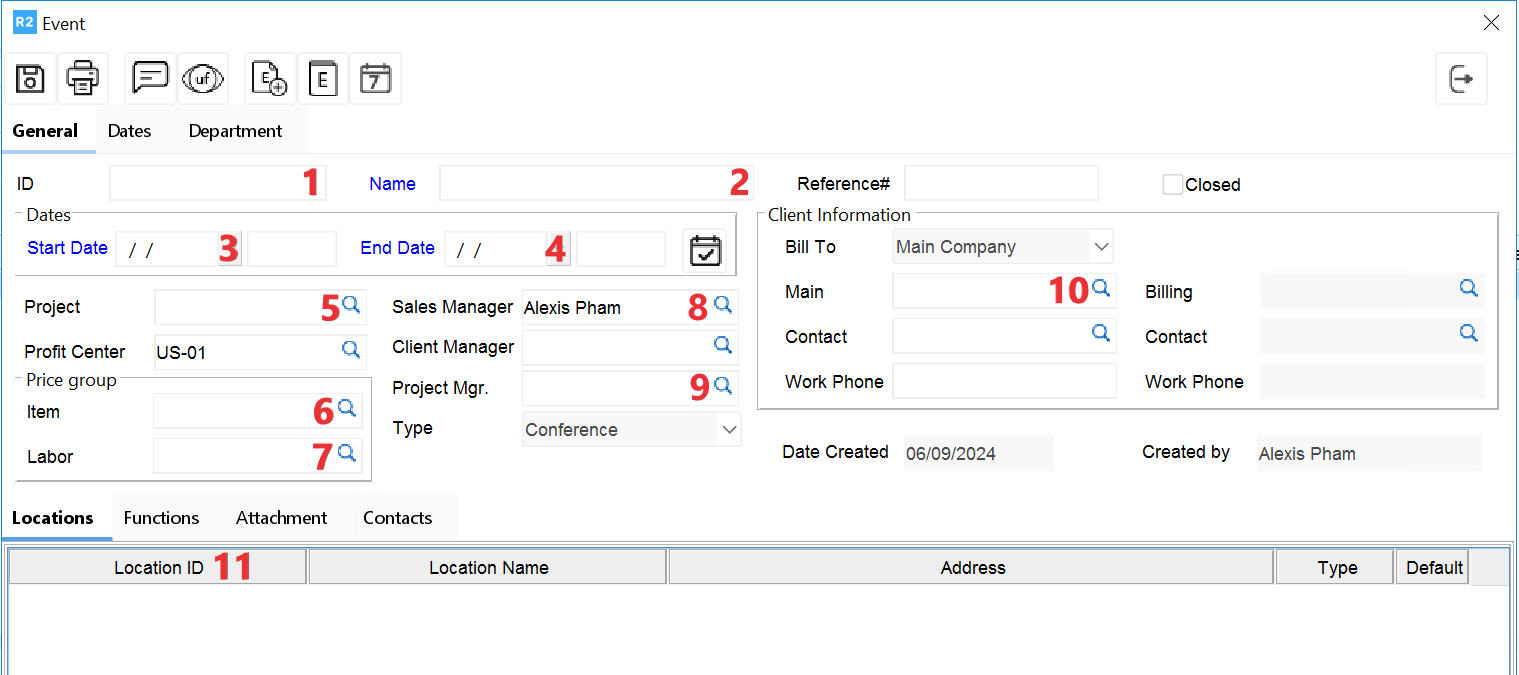
Enter the following information within the General Tab:
Event ID.
Event Name.
Show Start Date and Time.
Show End Date and Time.
Project# (optional).
Pricing group for Items (optional).
Pricing Group for Labor (optional).
Sales Manager.
Project Mgr.
Main Company along with Main Contact Name, Billing Company and Billing Contact.
Location.
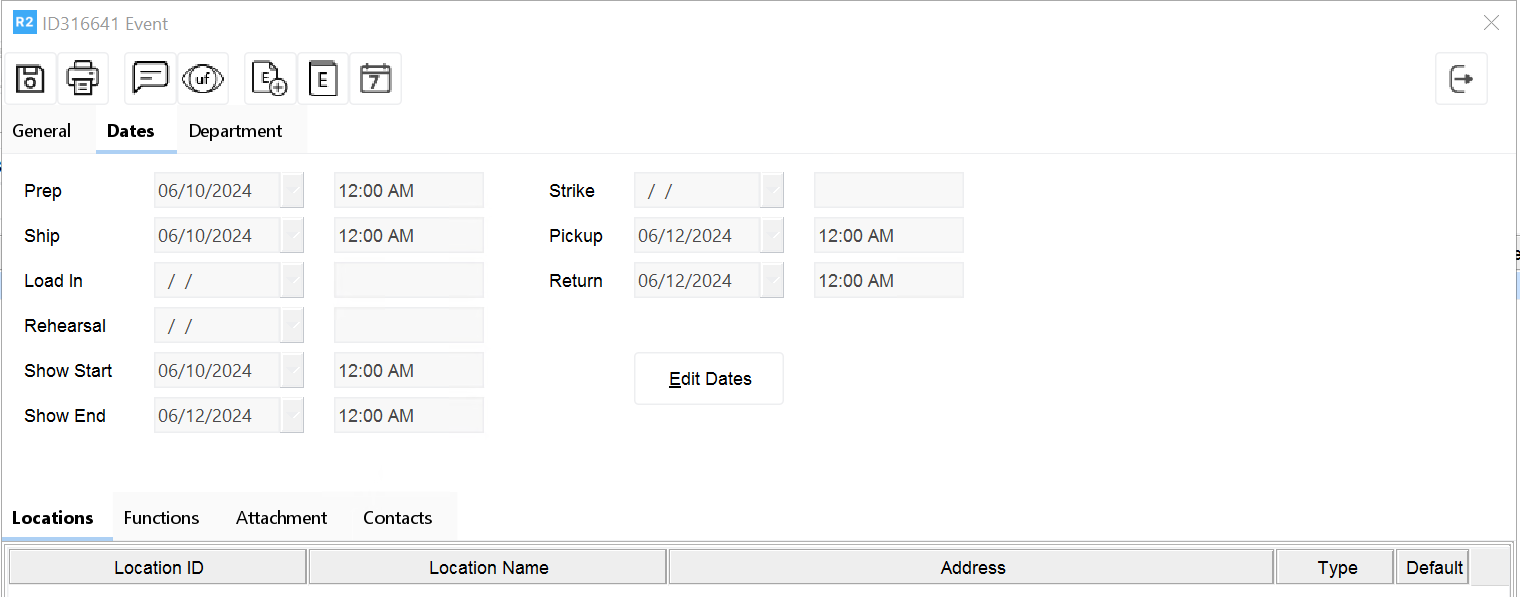
Enter the following information within the Dates Tab:
Dates can be set up as a default for the orders linked to the event.
The entire schedule of dates and times print on the Pull Lis
Enter the following information within the Department Tab:
Double-click on each department to tag them (they will turn blue when tagged). FIGURE1
Click on the left-pointing arrow - the departments will move to the Event Departments on the left side of the screen. FIGURE2
Click on the Generate Event Orders.
The result is that all the orders will be created avoiding having to produce each individual order
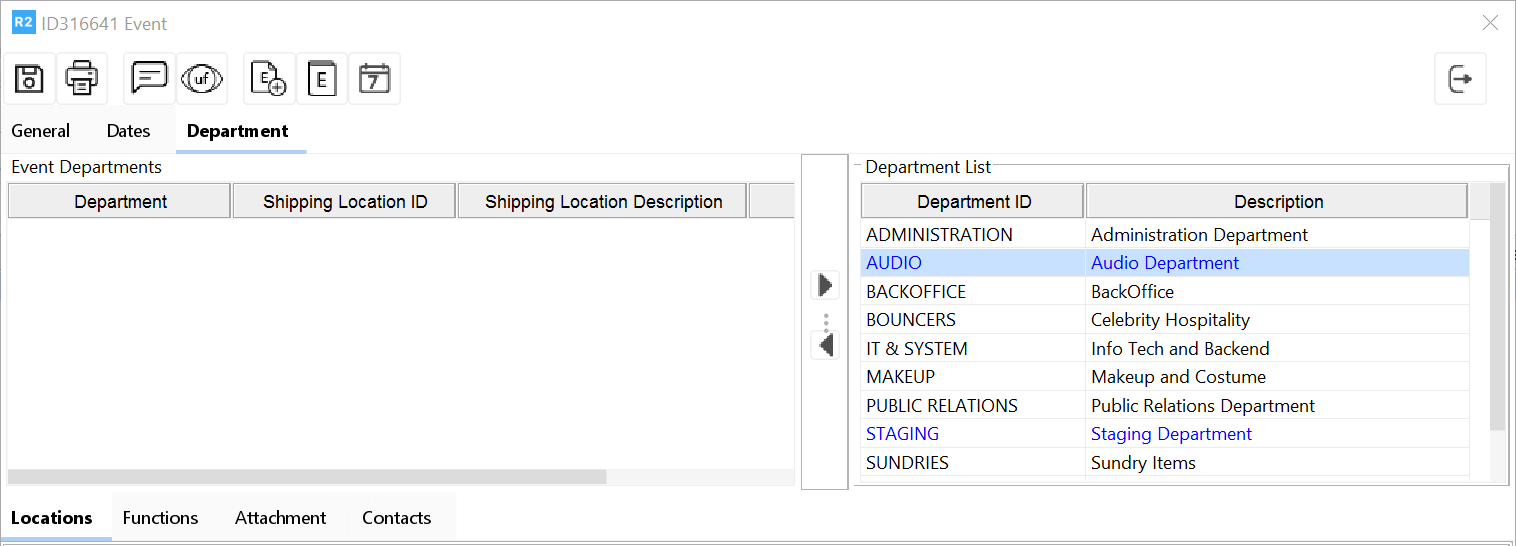
FIGURE 1
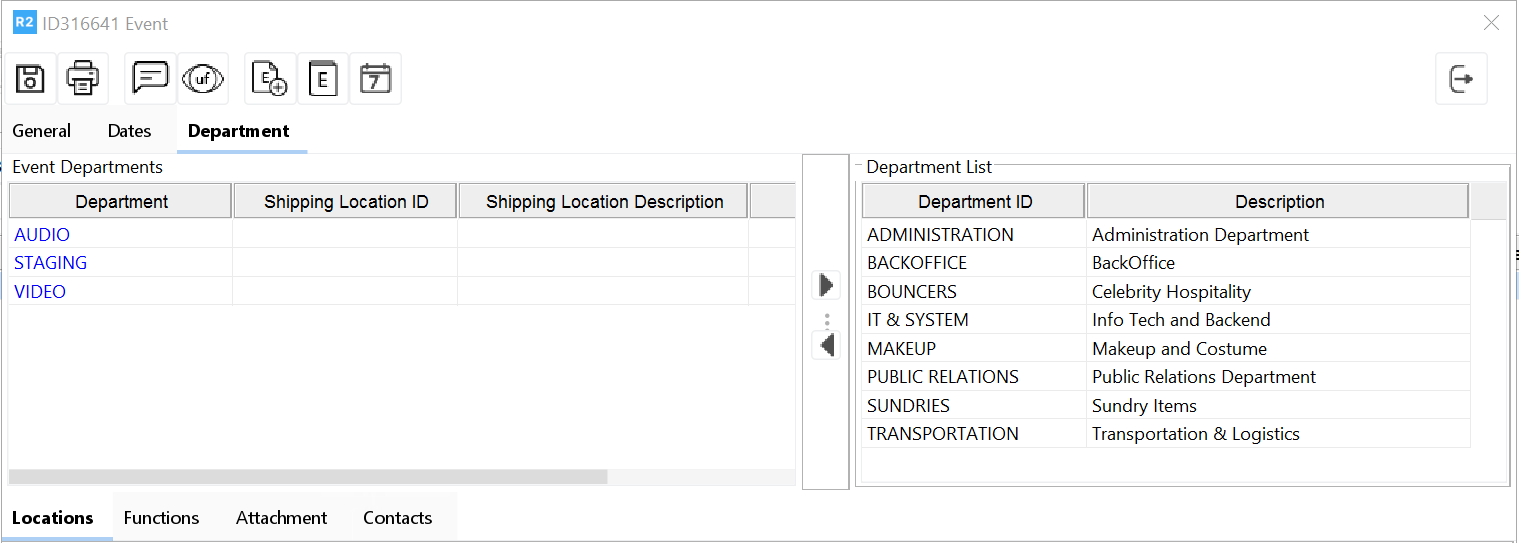
FIGURE 2
Enter the following information within the Contacts Tab:
Click on the Add button
Pull down on the Type column
Type in the name of the contact name (phone and email was not set up to print)
.png?inst-v=96593934-c5e1-437e-80cf-5705f6738b70)
