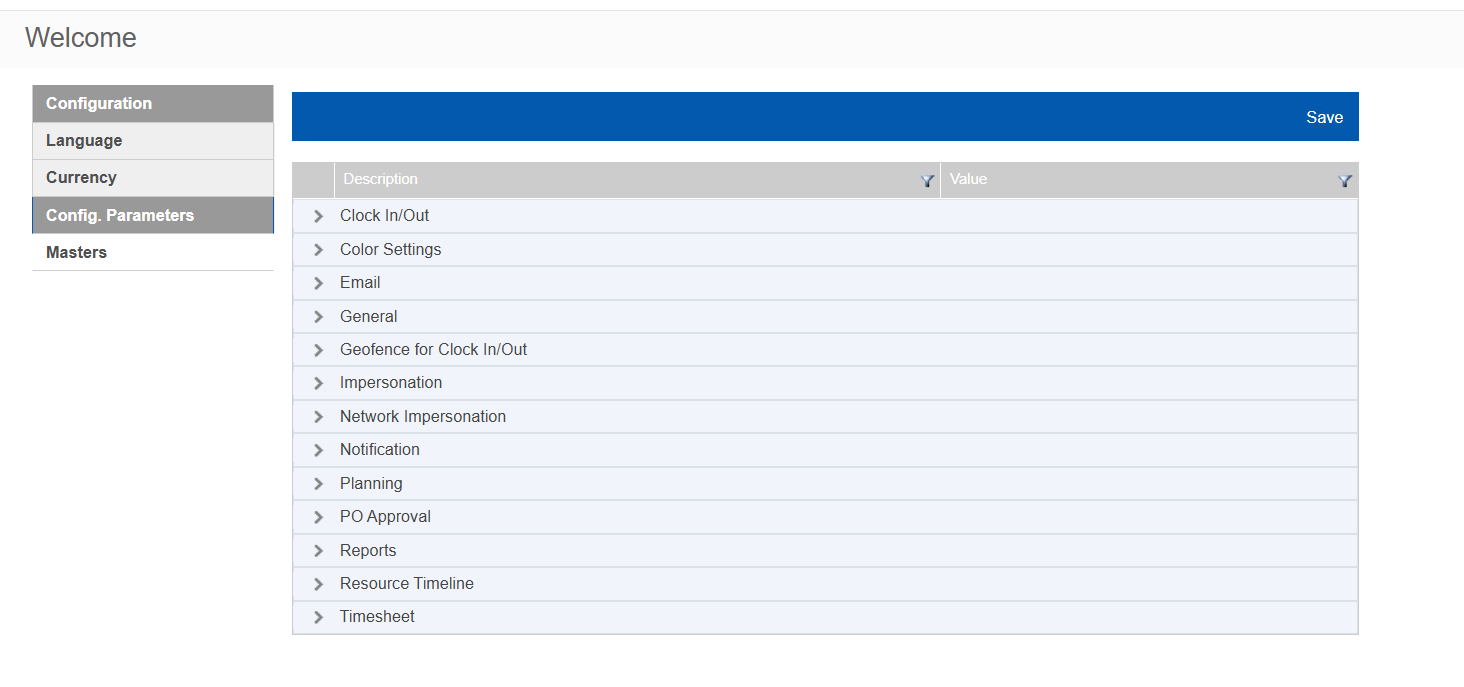
Configure parameters
Use this page to view and update system configuration settings such as email, notifications, planning, and timesheets.
To update a parameter:
-
Go to Profile-> Settings ->Configuration.
-
Select Config. Parameters.
-
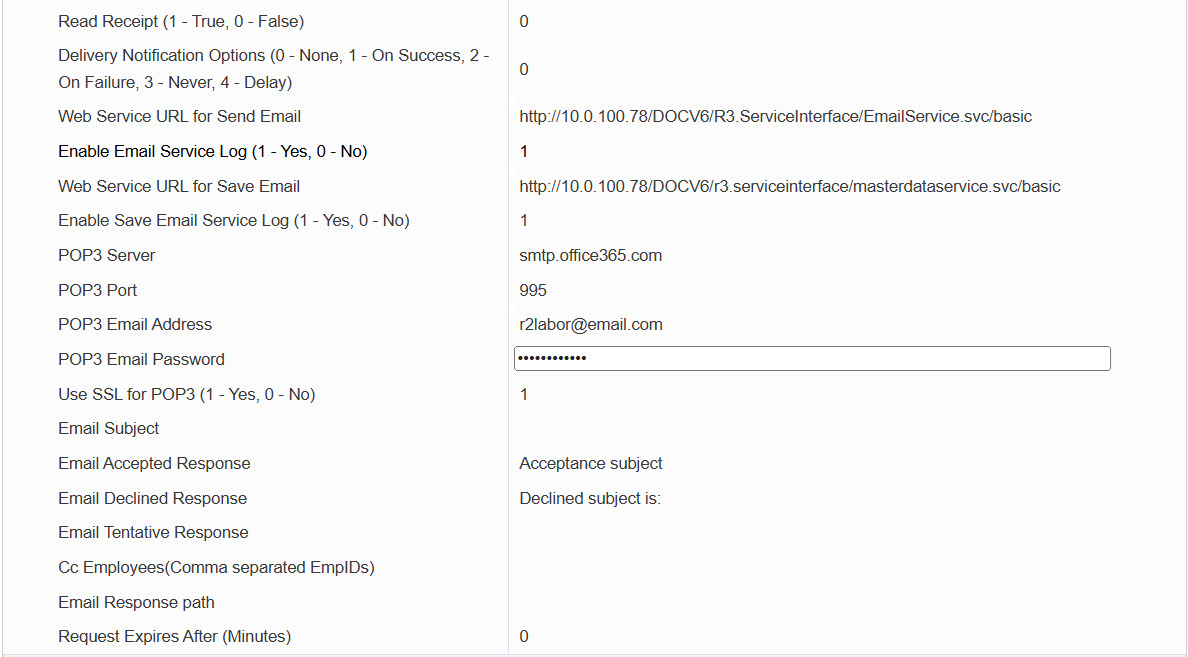
Expand a relevant section (such as Email or Notification).
-
In the Value column, enter or modify the value.
-
Select Save.
The images are shown for reference only

Parameter value guidelines:
-
Enter 1 to enable a setting.
-
Enter 0 to disable a setting.
-
Enter text, numbers, or URLs as required by the specific parameter.
Changes apply to all users and take effect immediately. Verify all values, such as email server URLs, before saving to avoid system interruptions.
Sections
-
Clock In/Out - To configure time limits for crew clock-in and clock-out.
-
Color Settings - To set UI icons and colors for calendar.
-
Email - To configure email settings.
-
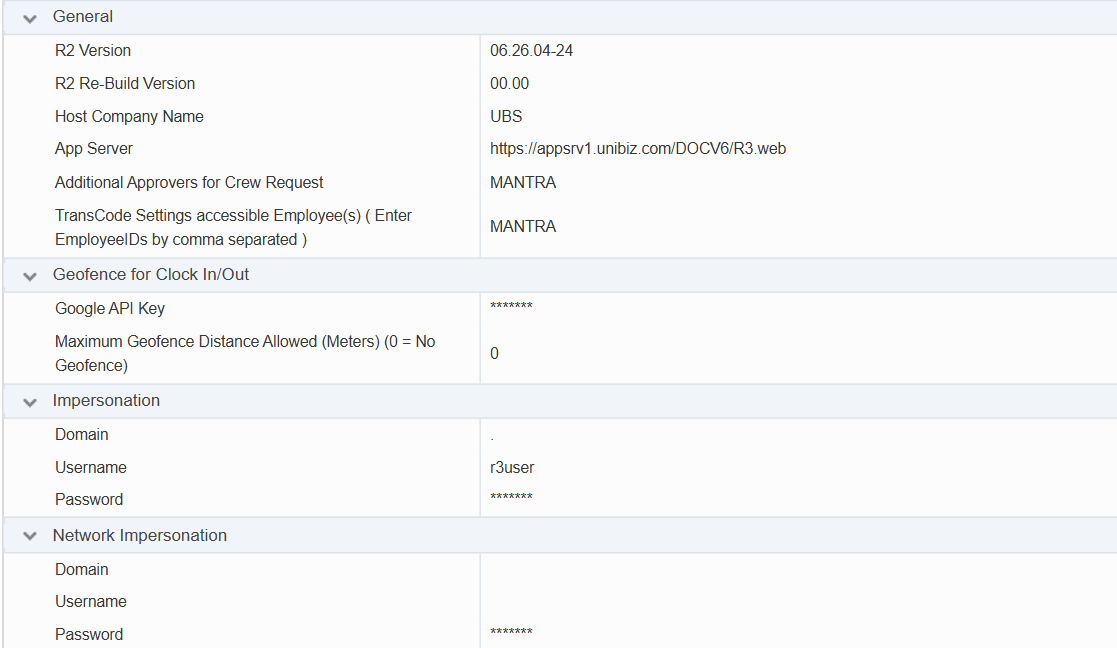
General - To view system information such as version, company name, and server URL etc.
-
Geofence for Clock In/Out - To enable or configure location-based clock-in restrictions.
-
Impersonation / Network Impersonation - To set system authentication details.
-
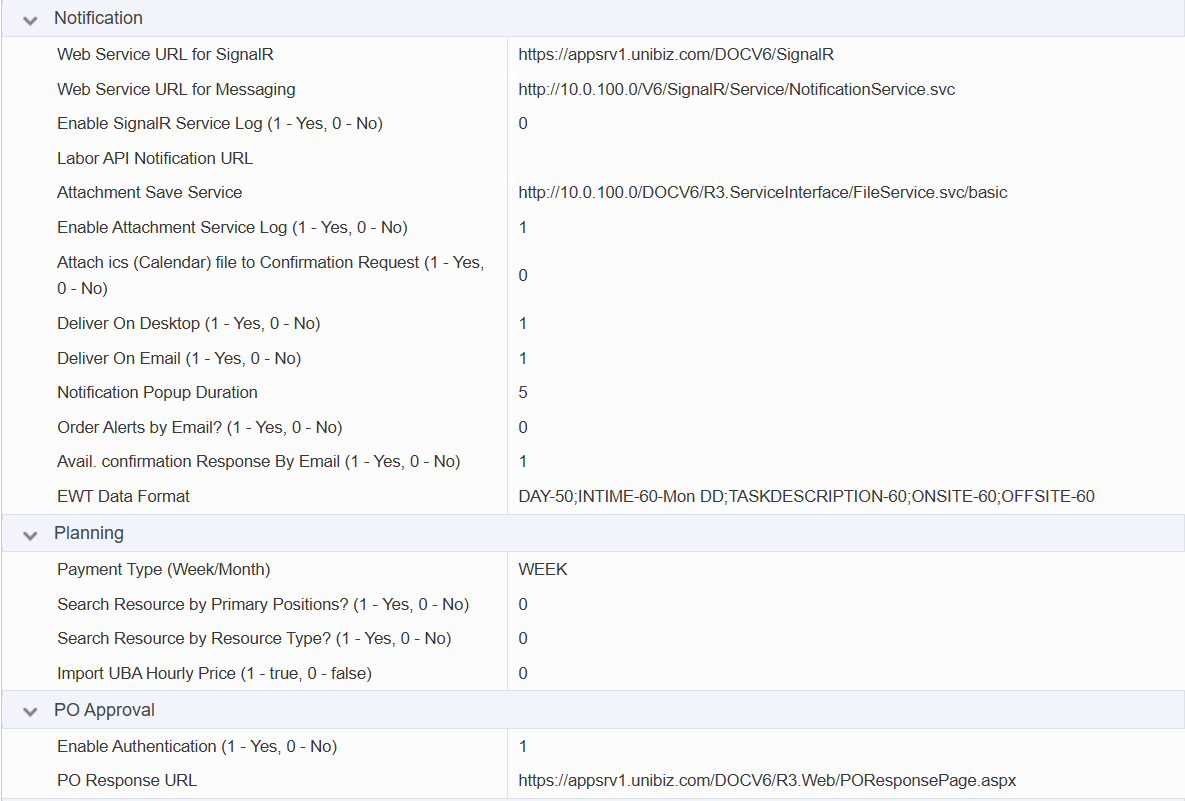
Notification - To configure alerts and messaging.
-
Planning - To define planning and resource search settings.
-
PO Approval - To configure purchase order approval settings.
-
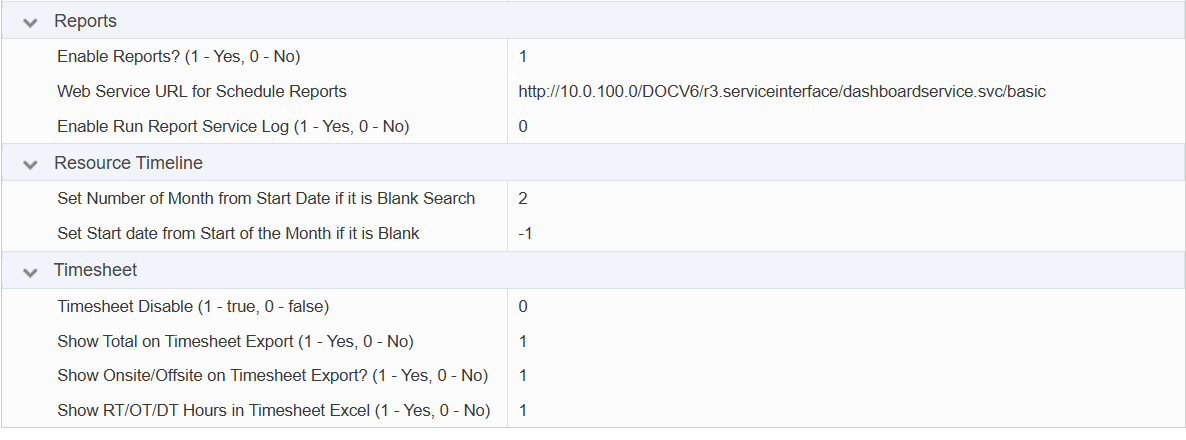
Reports - To enable and configure report services.
-
Resource Timeline - To set default timeline behavior for crew Graphical Scheduling.
-
Timesheet - To configure timesheet features and export options.
Configure miscellaneous settings
Use the Miscellaneous page to define week start days, timesheet approval workflows, and custom statuses.
To open miscellaneous settings
-
Go to Profile-> Settings ->Masters.
-
Select Miscellaneous.
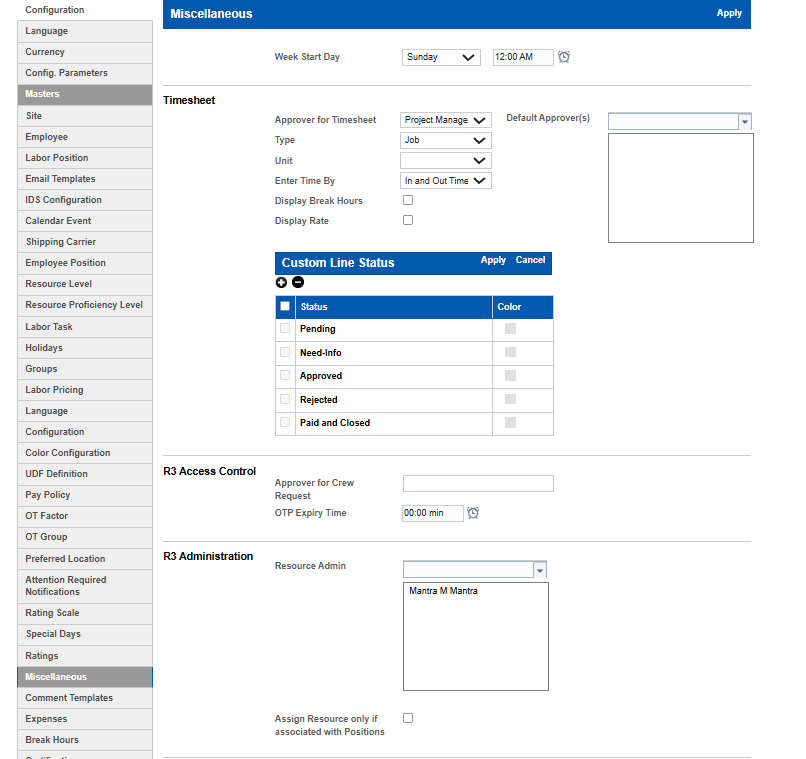
Set the week start day
-
In Week Start Day, select a day.
-
Select a time if required.
-
Select Apply.
Configure timesheet settings
-
In the Timesheet section, update the required fields:
-
Approver for Timesheet – Select the role responsible for approving timesheets.
-
Default Approver(s) – Select one or more users to act as default approvers.
-
Type – Select the timesheet type (for example, Job).
-
Enter Time By – Select how time is entered (for example, In and Out Time).
-
Display Break Hours – Select this to include break hours in the system and Excel exports.
-
Display Rate – Select to show rate information.
-
Manage custom line status
Define custom statuses for timesheets or transactions in the Custom Line Status section.
-
To add a status: Select the Add (+) icon, enter a name, choose a color, and select Apply.
-
To modify a status: Select the check box next to the status, update the name or color, and select Apply.
-
To delete a status: Select the check box next to the status and select Delete.
Configure R3 access control
-
In the R3 Access Control section, enter the duration for One-Time Password validity.
Configure R3 administration
-
In Resource Admin, select one or more users to grant administrative rights.
-
To restrict assignment:
-
Select Assign Resource only if associated with Positions.
-
-
Select Apply to save your changes