O-Auth Configuration for E-mails
Prerequisites for using O-Auth.
Get the following details from your administrator. You will need these two details while doing the R2 Webserver for O-Auth setup.
Hostname: It is the human-readable name assigned to a device on a network. It helps identify the server in a more user-friendly manner. Ensure that the Hostname/ Domain name is mapped to the respective App Server.
Port Number: The port number being used for the above Hostname should not be replicated for any other Host or Service. Make sure that the Port Number is whitelisted on Windows Defender.
Run command netstat -ano | find ":<port_no>" in the app server where R2 Webserver is being installed, to check if the port is Free or already in use.
Setting the Azure Portal. See the steps here.
Setup R2 Webserver for O-Auth. See the steps here.
For new R2 installation, it will be part of the standard R2 installer.
For any existing/pre-installed R2 instance, you can run the R2 installer, and add the R2 Webserver.
Setup R2 APIs for interacting with R2 Webserver for O-Auth. See the steps here.
Add the OAUTH_SERVER_URL details in R2.ini. See the steps here.
If 'No value' is set please set the URL of R2 Webserver for OAuth.
The installer should take care of setting the parameter if the R2 instance was Mentioned during the installation
Enable 'Email Authentication' type as OAuth 2.0 (Outlook) in Configuration > General window. See the steps here.
Registering and Validating 'R2 Webserver' in Microsoft Azure Portal
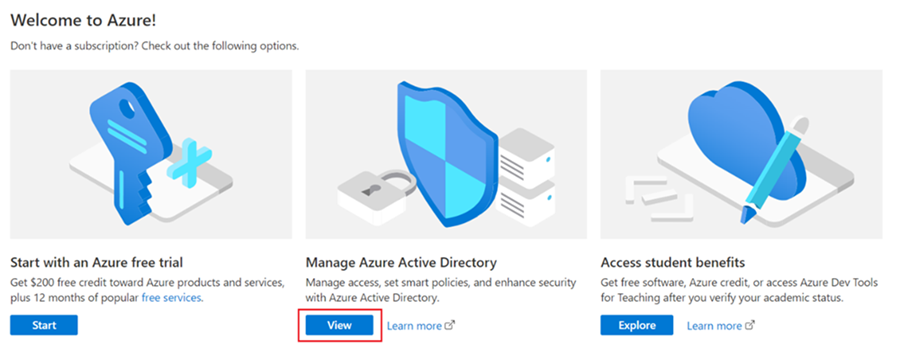
Login to Azure Portal https://portal.azure.com/ with an account which has admin access.
On dashboard, click View under 'Manage Azure Active Directory'.
On the left navigation menu, click on 'App registrations'.
In the App Registrations screen click on “+ New registration” button in the header
In the “Register an application” screen, key-in the following details:
Name: <appropriate name> (For ex, R2 Emails)
Supported account types:
Accounts in this organizational directory only: [Option 1].
Scope: Limits access to users within the specific organizational directory (tenant) associated with your Azure AD.
Accounts in any organizational directory and Personal Microsoft accounts: [Option 2].
Scope: Allows users from any Azure AD tenant to access your application and Extends access to personal Microsoft accounts.
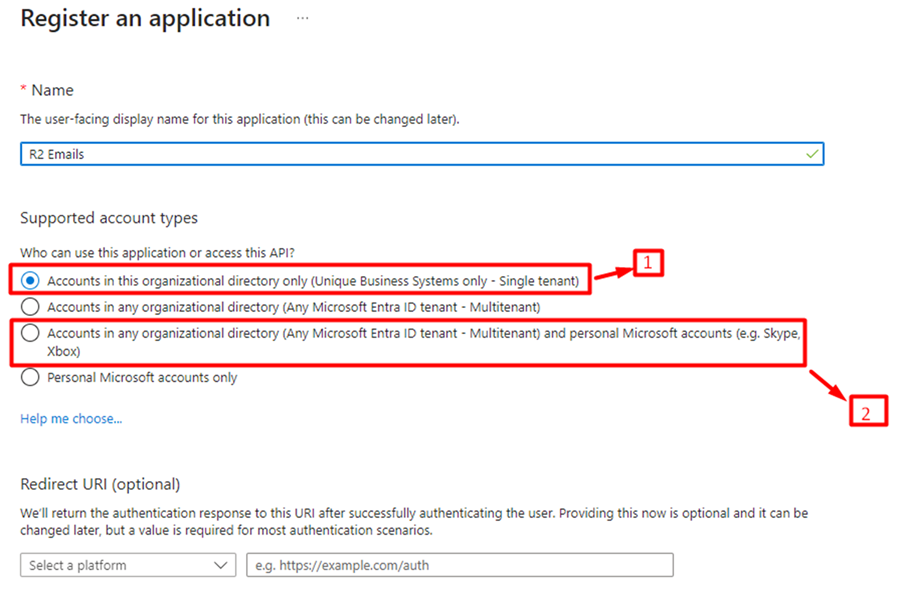
Click on 'Register' button.
Now, Once your application is created, you will be redirected to the application home page.
Make note of the following details which is required later here.
Client ID
Tenant ID
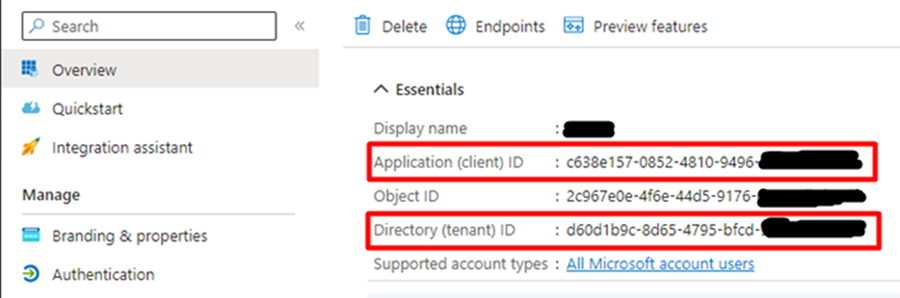
The Directory (Tenant) ID and Supported Account Types, have a significant impact on what values are entered during the R2 Webserver installation here.
So it is important to keep a note of the same.
Now, on the left menu navigation, click on “Authentication.”
Under Platform configurations, click on “+ Add a platform”.
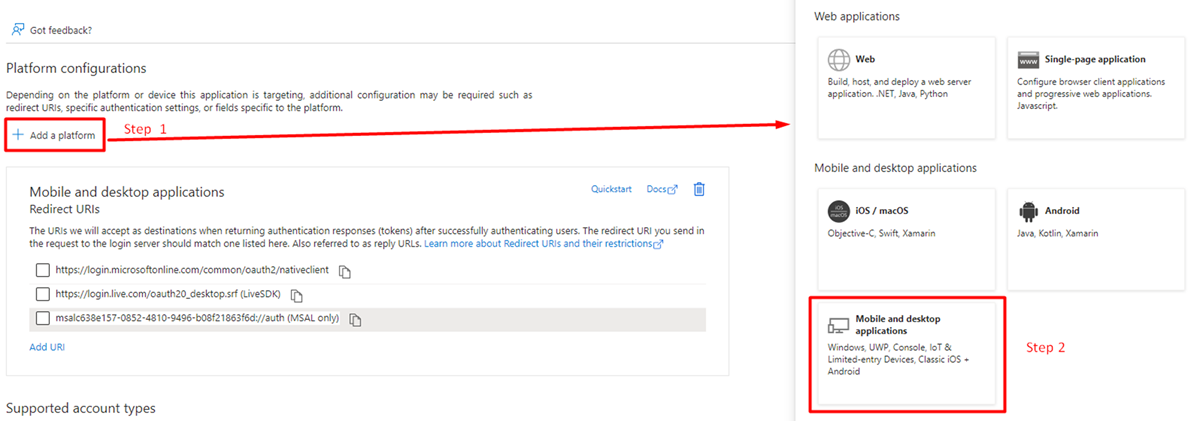
Select Mobile and desktop Applications, from the Platform configurations panel to the right.
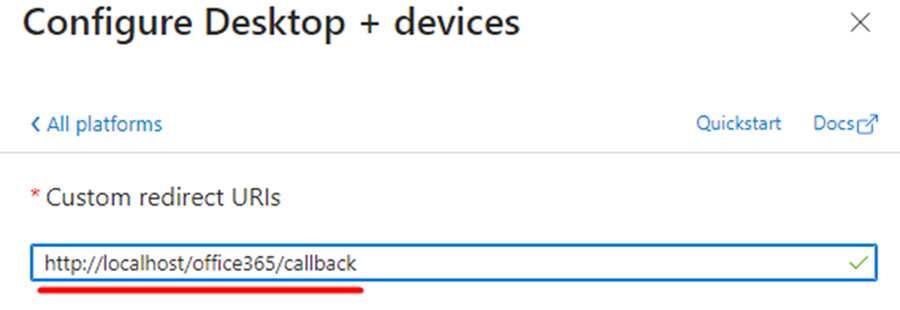
This should open configuration panel which has the “Custom redirect URIs” field. Please insert value as http://localhost/office365/callback and click on configure.
Configuring the API Permissions for 'R2 Webserver' in Microsoft Azure Portal
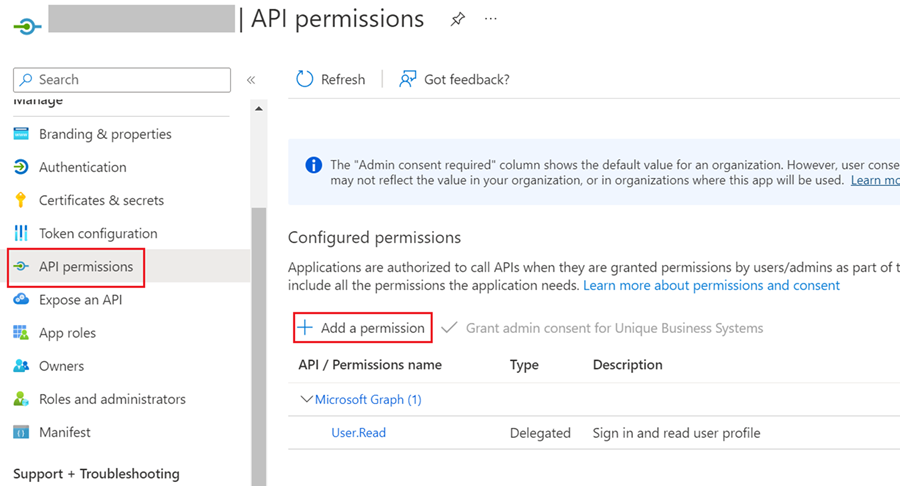
Go to 'API permissions' on the left navigation
In the Configure permissions section, click on “Add a permission”
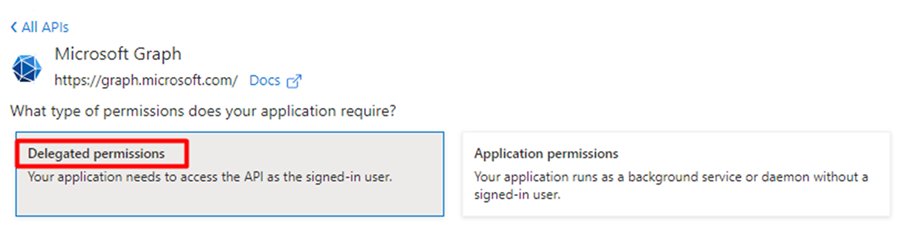
In the Request API permission screen, click on “Microsoft APIs” tab:
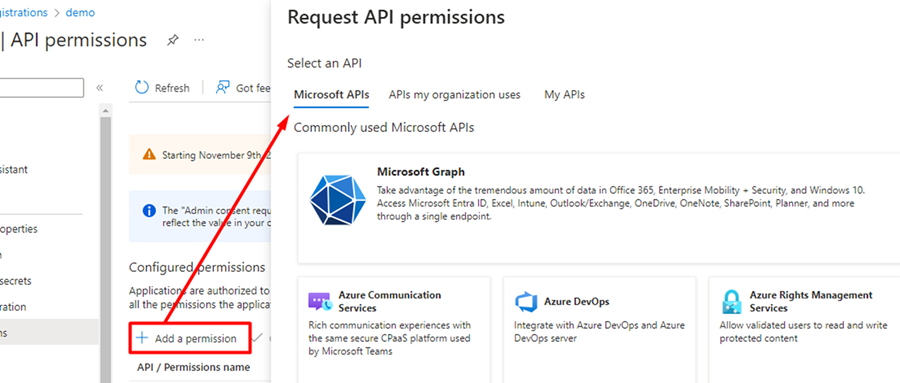
Select 'Microsoft Graph'.
Under “What type of permissions does your application require?” section, select “Delegated permissions”.
Under Select permissions section, Choose the below permissions:
Mail.Send: Needed for sending mail.
Offline_access: Needed for token refresh.
Then click on the Add Permissions button at the bottom.
You should have the following permissions listed post this step.
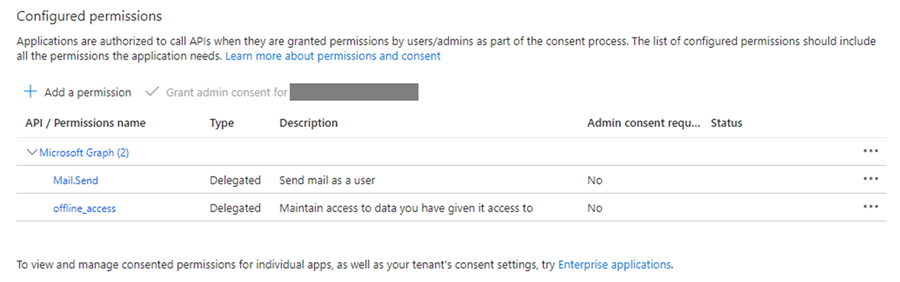
Check the Status column. If the column says, 'Admin consent is required for the permissions added'.
Click on 'Grant admin consent for <Organization Name>' button and grant the permissions.
Once the Admin provides the consent, the status column would change to Granted.
Installing/Setting Up R2 Webserver
To enable OAuth2.0 in R2 for E-mails, we need to first install the Webserver.
The Webserver will take care of handling the callback from Azure AD server. We have integrated Webserver installer as part of r2.exe. Please follow the steps below to install the Webserver.
Run the latest r2.exe to start the setup wizard. Once the Welcome Screen is shown, click Next.
The license page will be displayed, click I Agree and Proceed.
The next page will show 2 components for installation –
R2 – R2 desktop component
R2 Webserver – Webserver component
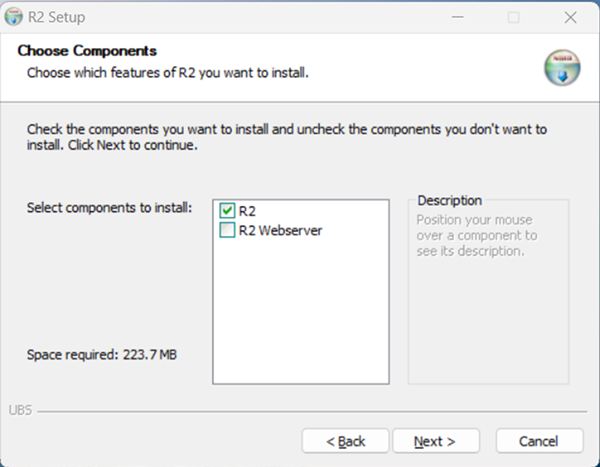
To install R2 Webserver, an Existing/Freshly installed R2 instance is mandatory.
At this point you have two options:
Select only R2 Webserver component to install Webserver for existing instance of R2.
Here you would need to choose an existing instance of R2, if you have more than one installed on your server. The following screen is displayed.
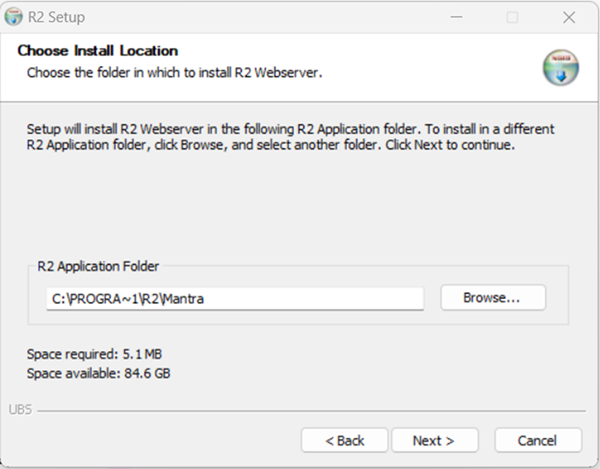
Select both R2 and R2 Webserver for a fresh installation.
Since this a fresh install, the system automatically considers the current R2 installation folder as destination for R2 Webserver.
Following page will be shown after completion of R2 installation if you had chosen to install R2 component as well.
Enter the 'Host Name' of the Application Server where the R2 Webserver will be hosted.
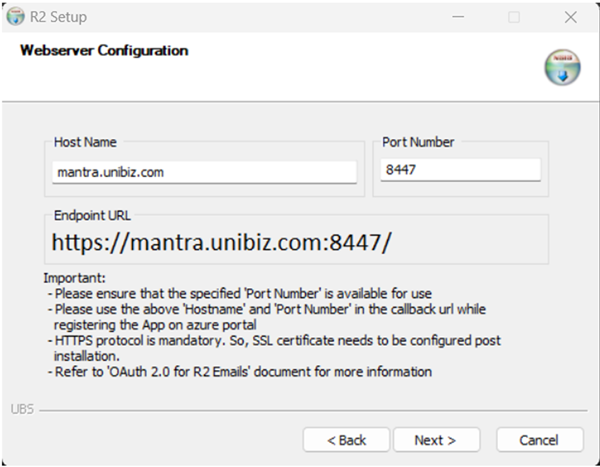
Specify the 'Port Number' in the provided field. And Click Next.
Please make sure the specified port is available for use and is not being used by any other application.
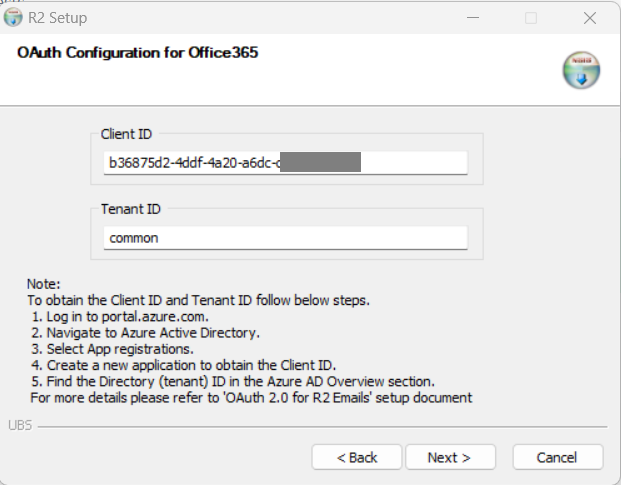
Enter the Client ID and Tenant ID. This is the same details which you would have noted down in the step in Azure Configuration here. Click Next.
The Application (Client) ID remains independent of the 'Supported Account Types'.
However the values of the Directory (Tenant) ID would depend on the selection made in the step here.
If 'Supported Account Types' = Accounts in this organizational directory only
Then Directory (Tenant) ID can be used exactly as displayed in Azure Portal > App Registration > Overview window.
If 'Supported Account Types' = Accounts in any organizational directory and Personal Microsoft accounts
Then Directory (Tenant) ID is used as 'Common'.
Review and Validate all values and settings before completing the Installation process.
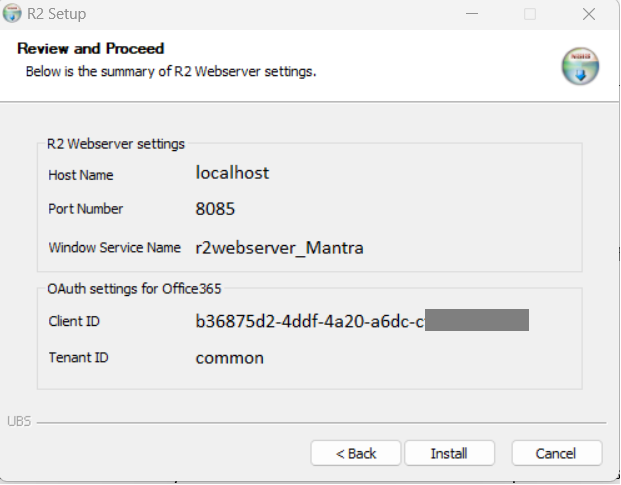
Regarding the 'Windows Service Name':
Installer takes care of installing the service if it does not exist.
It follows the naming pattern as: r2webserver_<Mantra Instance/Folder Name>
Installer will automatically start the service after installation is completed successfully.
The Webserver installer will also create a batch file to start and stop the service manually in the future.
The name of the file will follow the pattern: r2webserver_<R2 Instance Name>_service.bat
The bat will be placed under the r2webserver installation folder.
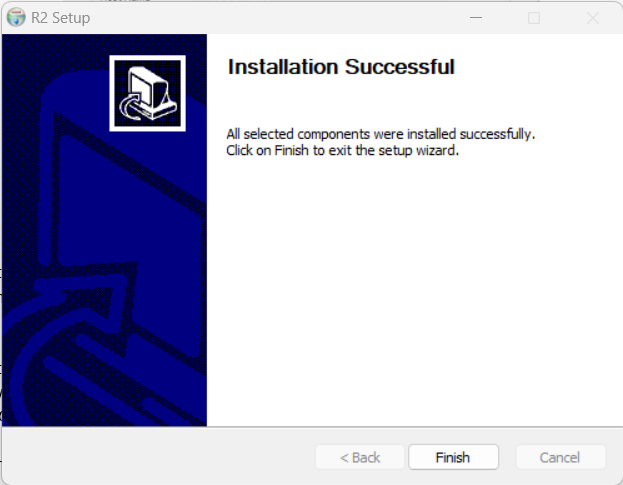
Once the installation is complete setup wizard will display the finish page. Click the Finish button to close the setup wizard.
Configuring the SSL Certificate
To make OAuth2.0 protocol work properly, it is necessary for the R2 Webserver to listen for callbacks using a secure HTTPS protocol.
Therefore, configuring an SSL Certificate is mandatory to enable HTTPS.
Prerequisites:
Obtain a valid SSL certificate in .pfx format and its keystore password. For Example: Unibiz.pfx
Convert PFX to JKS using keytool.exe
Open File explorer and navigate to R2 instance where R2 Webserver was installed. For Example: C:\Program File\R2\Mantra\
Create a folder called Security under Mantra folder. For Example:
Copy the unibiz.pfx file inside this folder.
Open the command prompt in administrator mode and Navigate to R2 instance folder. For Example:
Now execute below command to set the %JAVA_HOME% and %PATH% environment variables. For Example: C:\Program Files\R2\Mantra> call R2Init.bat
Convert the
C:\Program Files\R2\Mantra> keytool -importkeystore -srckeystore .\Security\unibiz.pfx -srcstoretype pkcs12 -destkeystore .\Security\keystore.jks -deststoretype JKS
-importkeystore: This option specifies that the operation to be performed is importing a keystore.
-srckeystore: Specify the full path (path with file name) of your PFX file.
-srcstoretype pkcs12: This option specifies the type of the source keystore. In this case, it is specified as PKCS12, which is the format commonly used for PFX files.
-destkeystore: Specifies the full path (path with file name) where Keystore.jks needs to be created (path with filename as keystore.jks)
-deststoretype JKS: This option specifies the type of the destination keystore. In this case, it is specified as JKS (Java KeyStore), which is a common keystore format used in Java applications.
After running this command, you may be prompted to enter passwords for the source and destination keystores. Use the same password as of unibiz.pfx for the destination keystore.
Open file explorer and navigate to C:\Program Files\R2\Mantra\Security folder. You should see the file keystore.jks created.
Verify the imported certifficate in JKS Format
Verify the keystore.jks for the certificate imported using the command: C:\Program Files\R2\Mantra>keytool -list -keystore .\Security\keystore.jks
-keystore Specify the full path (path with file name) where the keystore.jks file exist
You will be prompted to enter the keystore password. Use the same password as unibiz.pfx.
Specifying 'R2 Webserver' in R2.ini

This entry is R2.ini file is automatically created during the R2 Webserver installation process.
And its existence in R2.ini file also acts as a validation step, (regarding R2 Webserver being properly functional), when use opts to have O-Auth 2.0 settings.
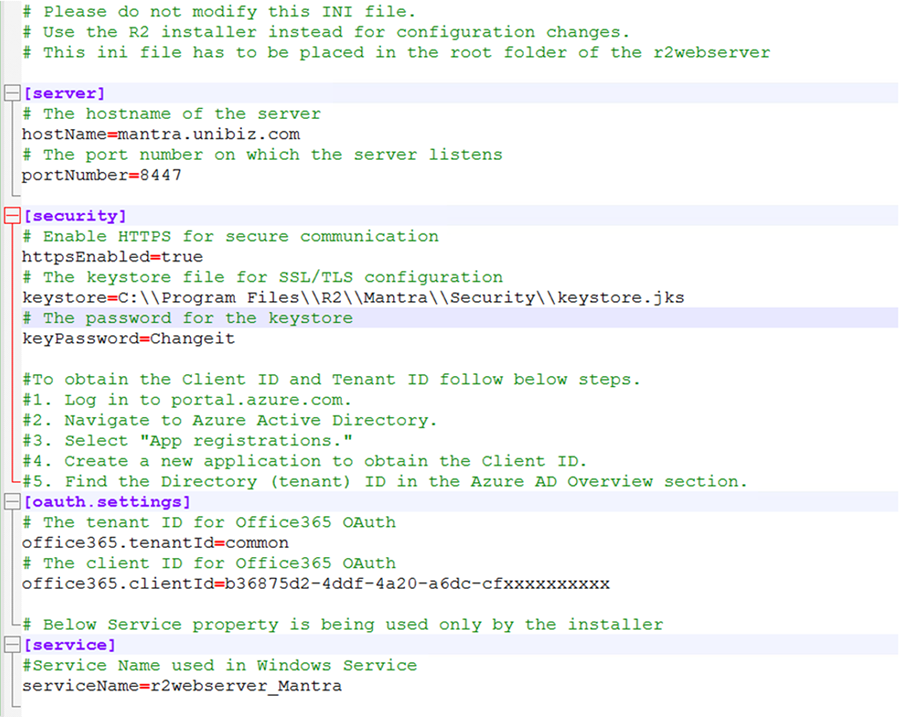
Updating r2webserver.ini for Secure HTTPS Configuration
Open the r2webserver.ini configuration file located in C:\Program Files\R2\Mantra\r2webserver\ and make the following updates:
httpsEnabled – Set value as TRUE.
keystore – Full path to the keystore file. The parameter should have double backslashes (\\) to represent the file path.
keyPassword - Should be set to the same password used for the unibiz.pf
xfile.
Enabling O-Auth in R2 Configuration Module
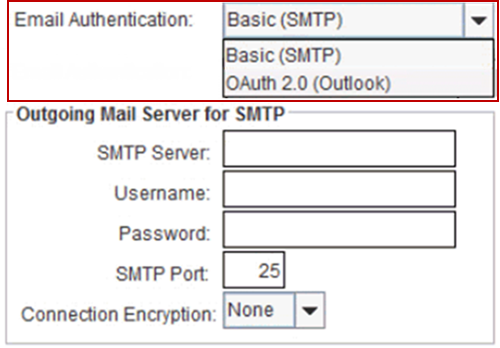
A field (Email Authentication) has been added in the Configuration > General window.
It is a drop select field with two options: Basic (SMTP) or O-Auth 2.0 (Outlook).
Basic (SMTP) is the system default setting, and system allows you to configure the associated fields.
However when you select O-Auth, system will follow Authorization Code Grant Flow (O-Auth 2.0).
Whenever you switch from SMTP (Default) to O-Auth, the system displays the following notification message.
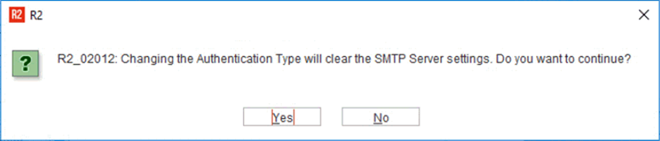
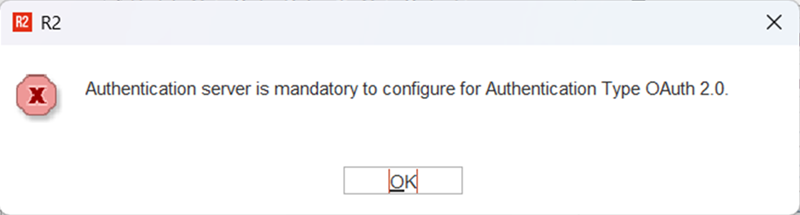
Also, when user tries to change the authentication type from BASIC to O-Auth 2.0, R2 will validate and check if the R2 Webserver is installed.
This will be done based on the entries in R2.ini file, as described in the previous section above.
If no entry found then the following notification message is displayed.