-
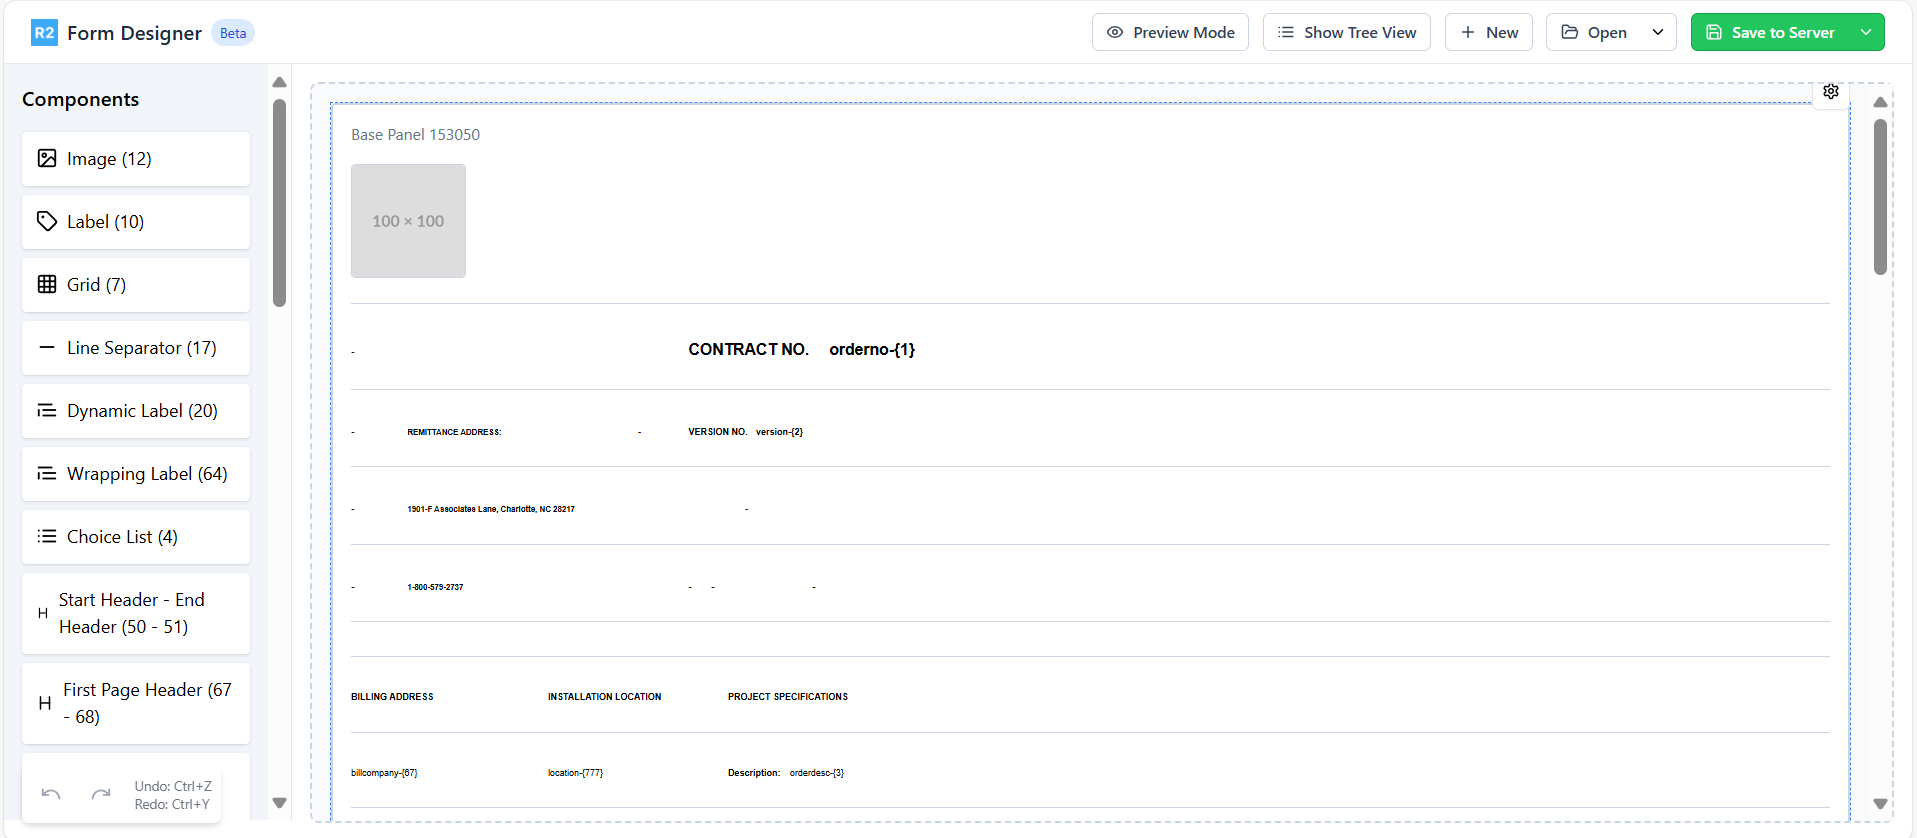
Form Designer screen opens in default browser. Below are some of the edit actions that you can perform.
-
Add new component: Drag the component from the left panel and drop it in the Designer panel where needed.
-
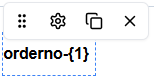
Move components within the form: Hover over the component to reveal the action icons as shown below. Click the Drag icon and move the component to the desired position.
-
Modify component properties: Hover over the component to reveal the action icons. Click the Settings icon to open the ‘Element Settings’ screen. Adjust properties such as Container ID, CID, Caption, Font Type, Size, and Style etc. as required.
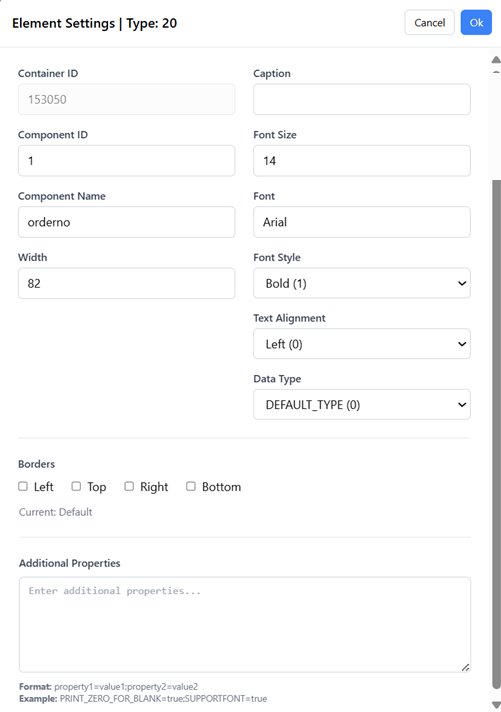
Figure 2.0: Element Settings -
Duplicate Component: Use the Duplicate icon to create a replica of any component. The replica will appear next to the original one following a left-to-right placement approach.
-
Remove Components: Click the Remove icon to delete a component from the form.
-
Change the Base Panel settings: Hover over base panel and Settings icon display. Click Settings to change the Print Orientation (Portrait or Landscape), Component ID, Paper Size, etc.
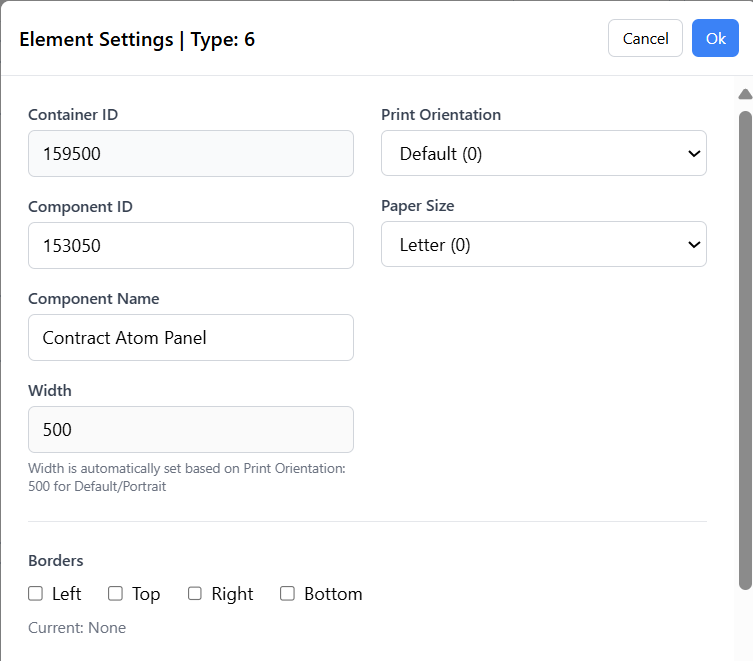
Figure 3.0: Basel Panel Settings
-
-
Utilize the view options

-
Preview Mode: Preview the print layout to confirm print output format.
-
Tree View: Click "Show Tree View" to see the components of your form in hierarchical structure. Modify settings, move, or remove components directly from the tree view.
-
-
Save and Manage Changes
-
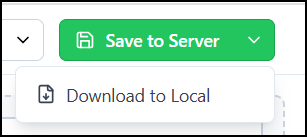
Use "Save to Server" to preserve your modified form on the server.
-
An option is available to download the form locally.
-
For 3-part form prints such as Main Order–Sub Order, Summary Invoice, Master Bill Invoice, or Event Order, the form setup is typically done for the first part of the set. As a result, when accessing the form via the Form Designer, the first form will load by default. If you need to edit the other parts of the form set, you can do so by navigating to: Form Designer > Open > From Server and selecting the desired form.
Best Practices
-
Save your work regularly using the "Save to Server" option.
-
Preview your changes before saving to ensure proper layout.
-
Use the Tree View for better organization of complex forms.
-
Take advantage of the duplicate feature to maintain consistent styling across similar elements.
Important Tips
-
The print form has a fixed width of 500 units in Portrait mode and 750 units in Landscape mode.
-
If the components are placed beyond the maximum width of the mode chosen (500 or 750 units depending on the print orientation in the base panel), they wouldn’t appear correctly on the actual print output. Use the Preview option to ensure all components fit within the allowed width.
-
To maintain proper formatting, insert a line separator to start a new row, and then place the component within the allowed width.
-
-
Ensure to have a Line Separator at the end of the print form to avoid print failures.
-
Avoid adding footers to existing forms during editing, as this may leads to print failures.
-
Refrain from duplicating Grid and Start Panel-End Panel component, as it would corrupt the component.