
Begin by logging into R2, then open the Maintenance module.
-
Click on the User Fields setup

-
Select from the User Fields for menu where you will be creating new UDFs.
.png?cb=98ce8924fa53b50d1c1ef4a212d3d854)
-
Areas in R2 in which you can create UDFs:
-
Click on the Add

-
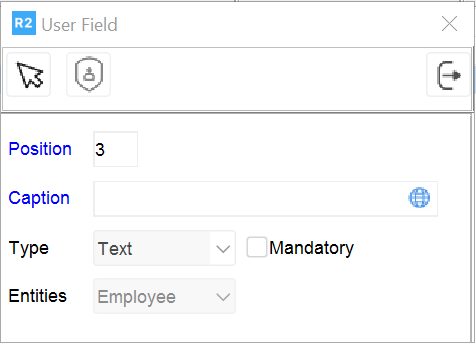
Enter the following data:
-
Position – this will be the display position in which the new UDF field will appear (e.g. 1st, 2nd, 3rd, etc.)
-
Caption – this is the title of the new UDF field.
-
Type – select the data type for the new field:
-
Text
-
Number
-
Date
-
Boolean: This is a true/false or yes/no type of option. Boolean means one or the other, but does not allow for more than two choices.
-
Choice: You define your own drop-down list of options the user may select from
-
-
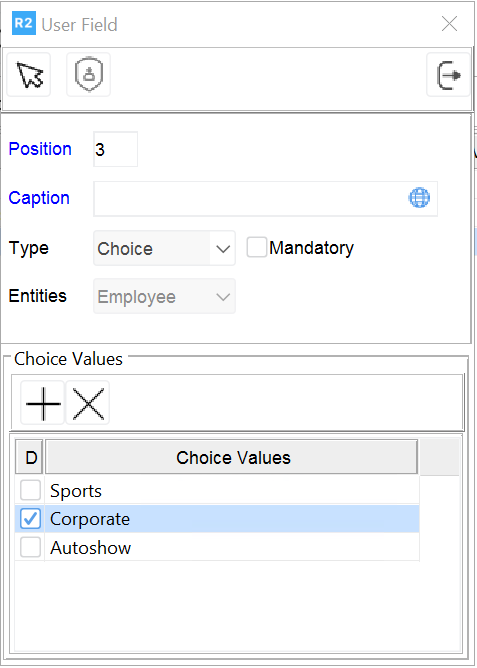
If you select Choice, then you must provide your own choice selections. Click on the Add 
Click in the “D” checkbox to indicate that a given selection is the default choice.
-
When finished, click on the OK

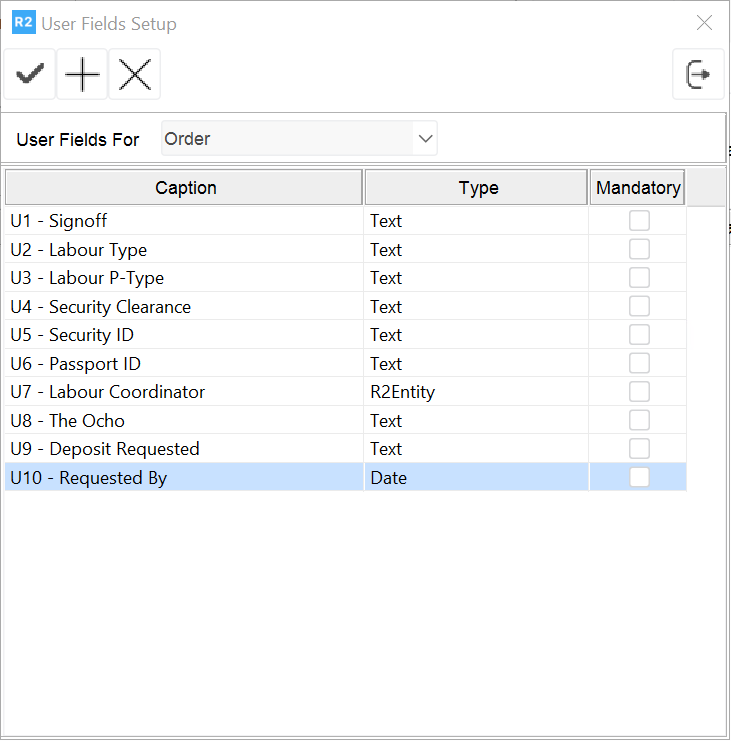
Exit the Maintenance module. The list of R2 UDFs has been built. The next section addresses their use.