Table of Contents
What’s new in service?
What’s New?
In Version 6 R2 Service & Repair has had several major changes. This document assists in highlighting those new features. Additional training material is available for Service & Repair that further details some of these new components.
-
Real time notifications for service needs at fill and return
-
Enhanced options for Maintenance Schedules
-
Service Ticket and Work Order have been combined
-
Workflow Changes
-
Service Work Order
-
Reporting
Real Time Validation
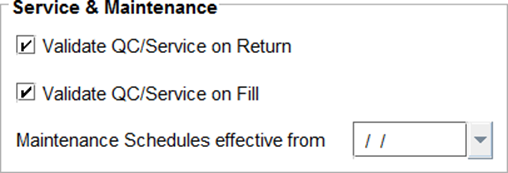
There are new validation controls available from the R2 Configuration. On the Warehouse tab of the Configuration screen, there is a new section for Service & Repair:
|
Feature |
What it does |
|---|---|
|
Validate QC/Service on Return |
If Maintenance schedules are defined, then upon returning items, R2 will prompt when service is due. Options to Create a Service Work Order or Skip Service are provided. |
|
Validate QC/Service on Fill |
If Maintenance schedules are defined, then upon filling items, R2 will prompt when service is due. Options to Cancel and select a new asset, or Suspend Service and Fill the item are provided. |
|
Maintenance Schedules From |
Time-based maintenance schedules will be reset to the date selected here. This is a global setting and will reset all assets with time-based maintenance schedules. |
Site Configuration
Set early warning notifications to help you catch up-coming service before you ship items out again.
|
Feature |
What it does |
|---|---|
|
Show Warning… |
Show warning while Returning Asset on Order if QC/Service is required in next ( ) days. |
Maintenance Schedule Enhancements
In previous versions of R2, the maintenance schedule notification would mark an asset as QC/Needing-Service but the item would be available until placed on a service ticket.
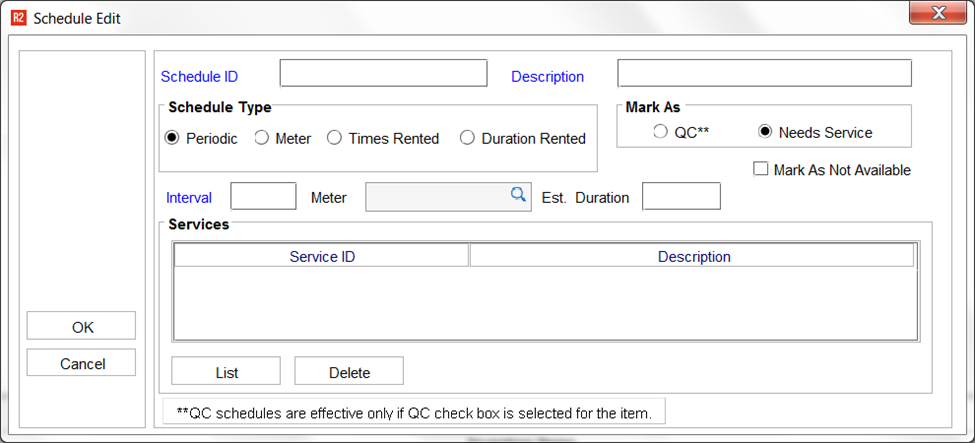
New to the Maintenance Schedule is the option to mark an item as not available upon going into a QC/Needs-Service status.
|
Feature |
What it does |
|---|---|
|
Mark as Not Available |
When an asset is due for service and is being set as QC/Needs Service, it will be unavailable on the availability calendar until the QC/Service is completed. |
Service Ticket and Work Order Combined
In previous versions of R2 there were Service Tickets and Work Orders. Service Tickets were designed to capture internal servicing and Work Orders were designed as a method of billing a customer for repairs. One of the ways of billing a customer included (1) importing Service Tickets into a Work Order or (2) to generate Service Tickets from a Work Order. In either case the customer could be invoiced, however, the workflow was different and could introduce confusion.
In Version 6, the servicing and billing process have been simplified into a single document called the Service Work Order.
Changes to Workflow
In the workflow example below, steps highlighted in red are additional as compared to R2 Version 5.
|
Service Work Order Workflow in Version 6 |
|---|
|
Open the Service module. |
|
Create a new Service Work Order (Status of Estimate.) |
|
Select an Asset to service. |
|
Select a billing customer or intra-company service department (if the work is performed internally and no invoicing is required.) |
|
Set the Work Order scheduled or open status and date. |
|
Assign the Work Order to an employee or employee group. |
|
Assign a Vendor if the equipment is sent out for servicing. |
|
Enter repair comments and instructions. |
|
Add parts/misc. charges/labor and the amount to bill/cost of service for each. |
|
Complete the Service. |
|
Invoice the work order (optional.) |
Service Work Order
It was important for us to keep the workflow as quick and simple as it was in prior versions of R2 Service, yet enhance its usefulness. Note a number of the new features you’ll find on the Service Work Order.
|
Feature |
What it does |
|
Status |
New work orders created from the service module will have a status of “Estimate” (quote) while work orders created from the warehouse will have a status of “Scheduled” (like a hold.) |
|
Dates |
Upon selecting a status, R2 will prompt a date selection. 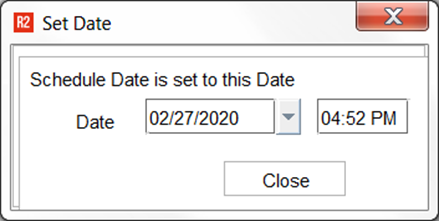
For instance, when changing a work order from Estimate to Scheduled, R2 will record the Scheduled Date and Due Date. 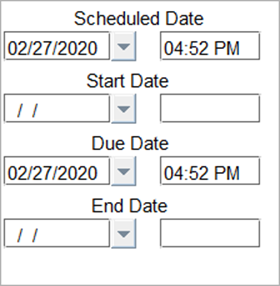
*The Due Date is affected by the Est. Duration. The End Date is automatically filled upon completing the service. |
|
Charge To |
Helps denote an internal vs. billable service. Select from Internal, Customer or Warranty. Note: your company should be setup as a customer and marked as “Intra-Company” to select Internal. |
|
Category |
User defined category to further enhance service reporting. |
|
Customer Owned Items |
On the Equipment tab of the work order, click to select an asset. If the item being serviced is owned by your customer, click on the add icon: Add Customer Owned Item 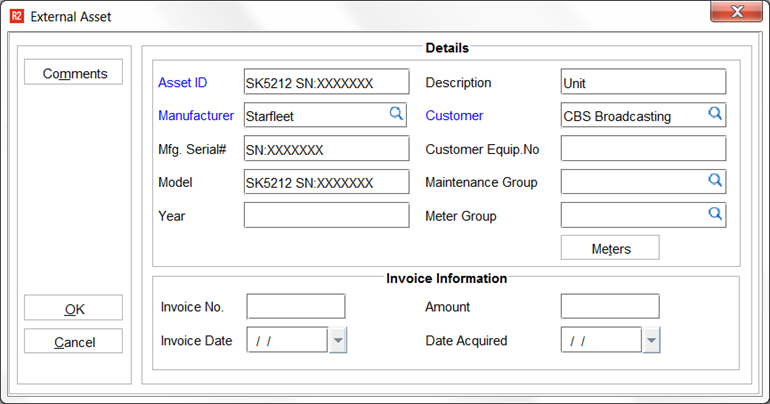
Customer Owned Items do not appear in your asset list, owned inventory reports, or any other screen except from the service work order. Once added, you can track invoices or services provided to your customer. |
|
Asset Comments |
On the Equipment tab of the work order, the Comments displayed are directly linked to the asset that is selected, allowing for documentation and other instructions to be set at the asset and seen from the work order. |
|
Services |
For the first time ever, the reason for an item needing service can be seen, and selected when you want to indicate it is complete. 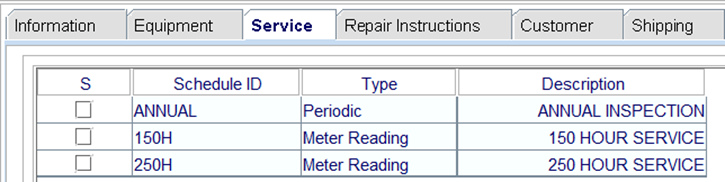
Check the “S” column to indicate the service is being completed. Click on the Add button to include a service you would like to complete outside of the usual scheduled time for that service: 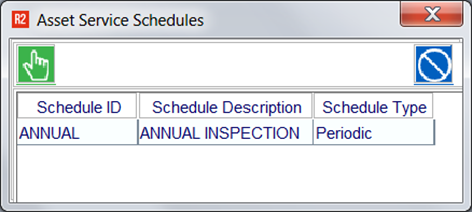
|
|
Repair Instructions |
Tell a story on your documentation about the services that were performed. Click on the Repair Instructions tab to start. 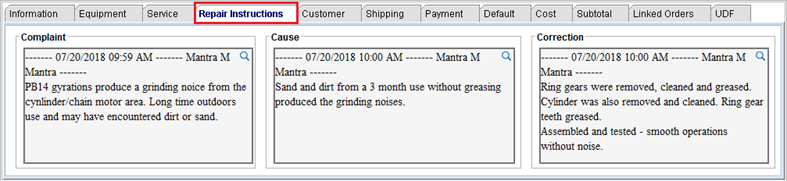
Enter details about the Complaint (reason for needing service), Cause (what is causing the issue/damage), and Correction (steps taken to fix the issue.) Complaint: 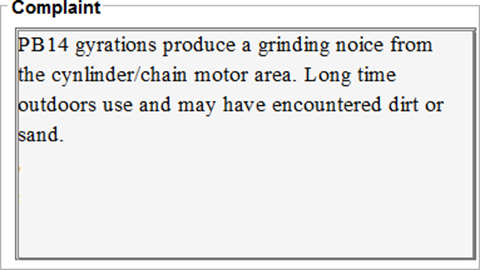
Cause: 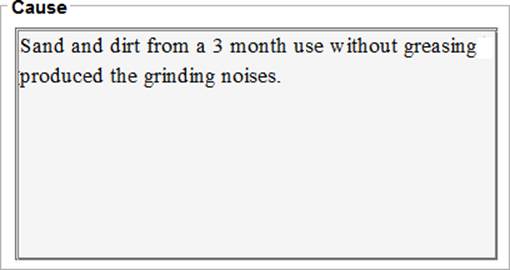
and Correction: 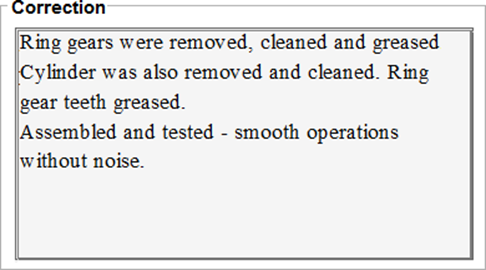
|
|
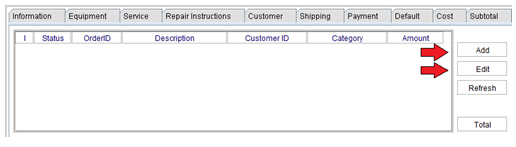
Linked Orders |
From the Linked Orders tab, you may create additional work orders, for the same or different customer. The purpose of this is to be able to group service tasks by a certain job or request. For example, your customer brings you three of their own assets and upon servicing each, you will send them an invoice. Since the request was to service three assets, using linked orders allows you to keep the items together per the request, yet still work-on, and complete the equipment individually. 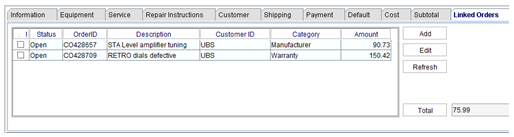
To create a new linked order, begin within a “main” order and click on the Linked Orders tab. Click on the Add button to create a new linked work order. The new linked work order allows for a different customer, asset, description and billing amount (if applicable) from the main order. To edit an existing linked order,
Note: each linked order can be completed and invoiced separately, but not together. |
Reporting
Several new custom report views have been provided for use with the Service Work Order:
Work Order Report Views
-
WorkOrderHeaderView
-
WorkOrderLineDetailView
Work Order Invoice Report Views
-
WorkOrderInvoiceView
-
WorkOrderInvoiceDetailView
Each view contains a huge selection of work order and service invoicing information that can be used to build all sorts of service reports.