Joining of Views is required when the dataset query design demands for more than one View. The following sections describes the steps required to create and edit the relationships between Views. Refer Create Data section for better understanding with the following steps.
Open query joiner dialog
-
When you drag and drop two Views from the list
or -
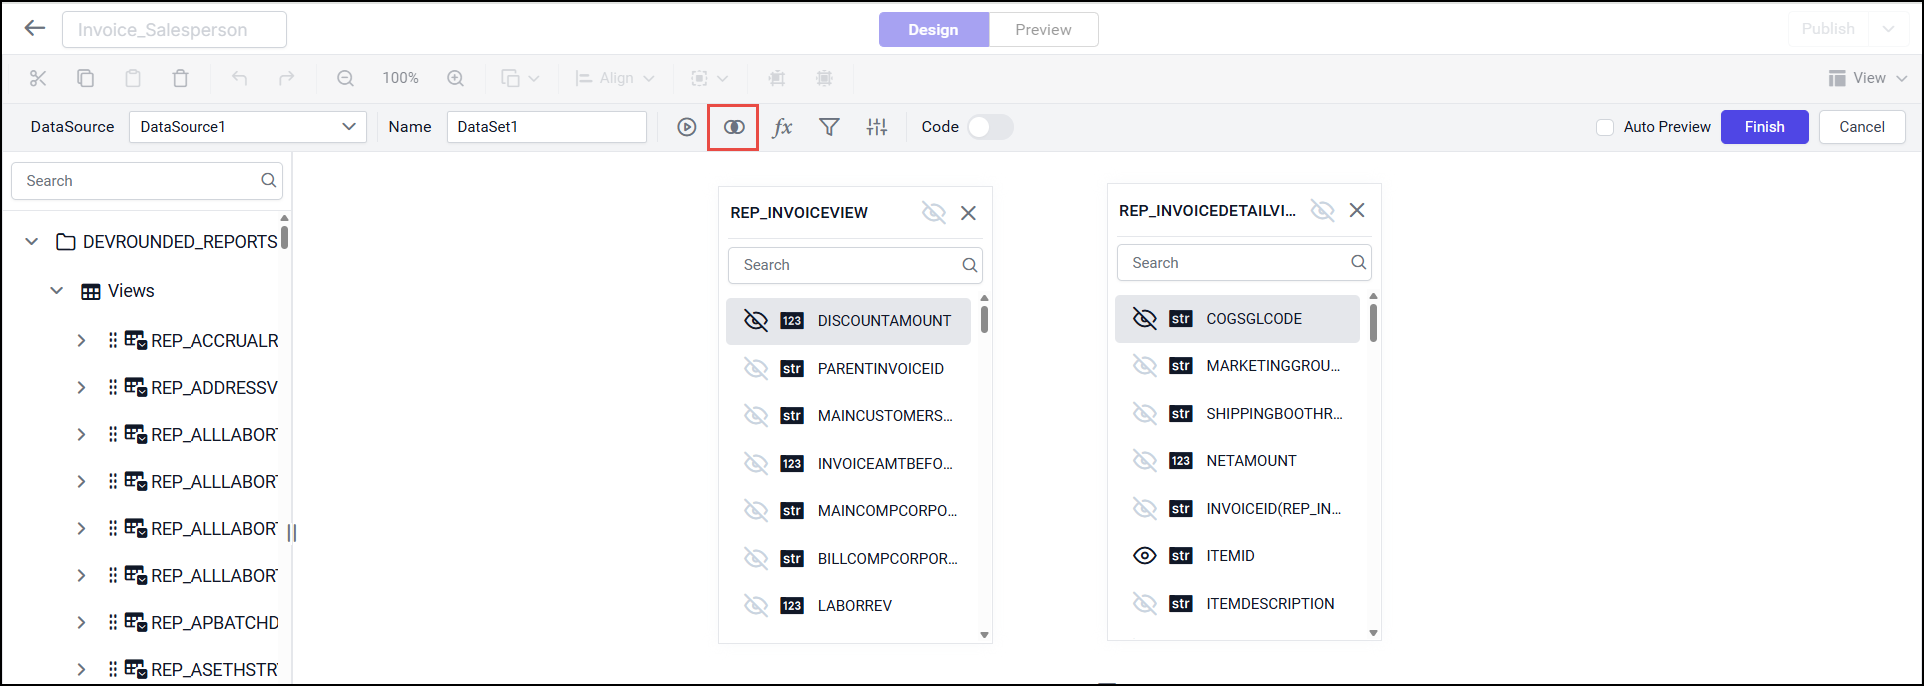
When click on the Join icon in the query designer toolbar.
Create a View relation
-
If the subsequent View being dropped, has any of its column as foreign key in any of the already dropped Views, the joining will take place automatically. Else, it will prompt the join editor like below to let you define the keys (columns) to join between this View and any one of the already dropped Views.

View drop-down list
-
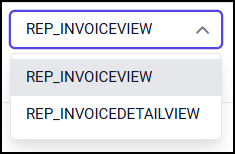
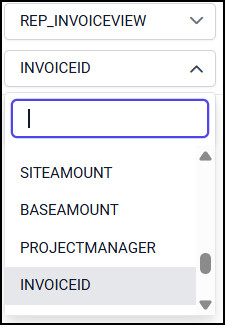
Left View - The Left View drop-down list illustrates the list of View dropped in design area.
-
Right View - The Right View drop-down list illustrates the list of View dropped in design area. By default, the View which you have dropped recently will be selected in this field.

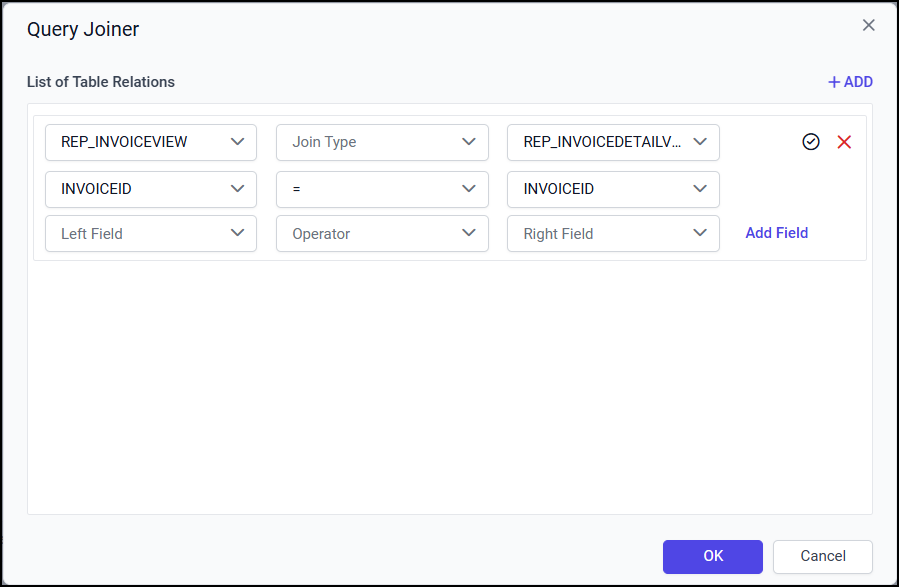
In the below snap, the new relationship is initiated between REP_INVOIVEView and REP_INVOICEDETAILView Views.

Join Types
The joins are used to retrieve data from two or more data Views, based on a join condition. These are supported join types
-
Inner Join
-
Left Outer
-
Right Outer
-
Full Outer.
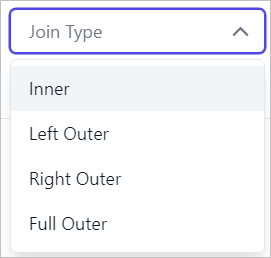
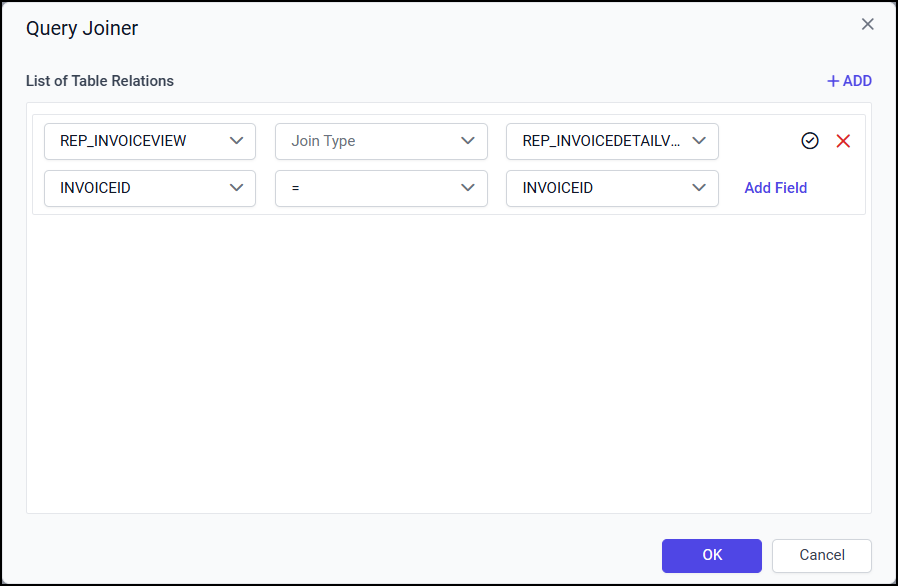
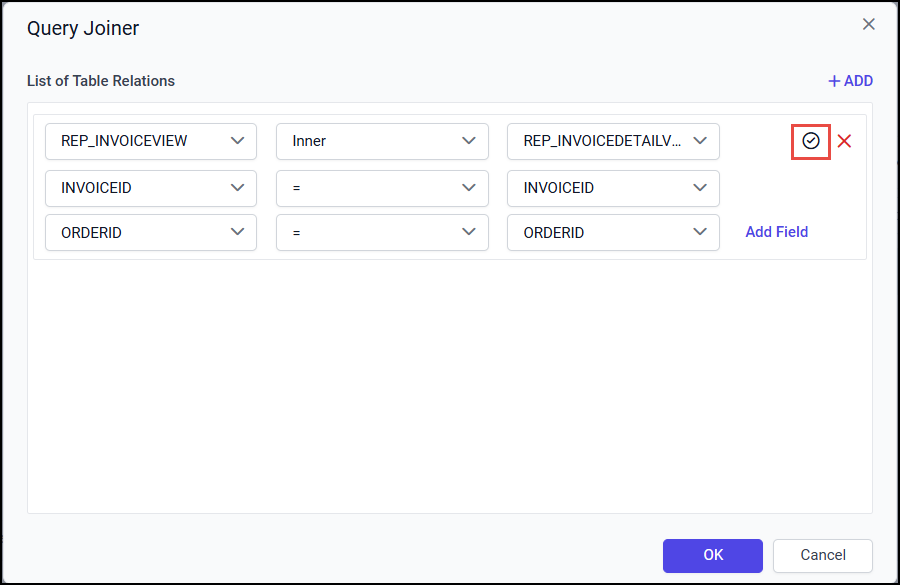
In the below snap, inner join is created between the REP_INVOIVEView and REP_INVOICEDETAILView Views.
View fields
Left field - The available columns of the View selected in the Left View drop-down list will be listed here.
Right field - The available columns of the View selected in the Right View drop-down list will be listed here.
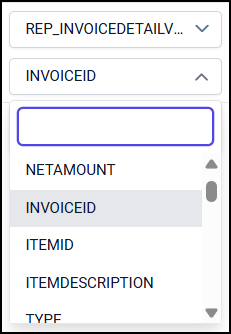
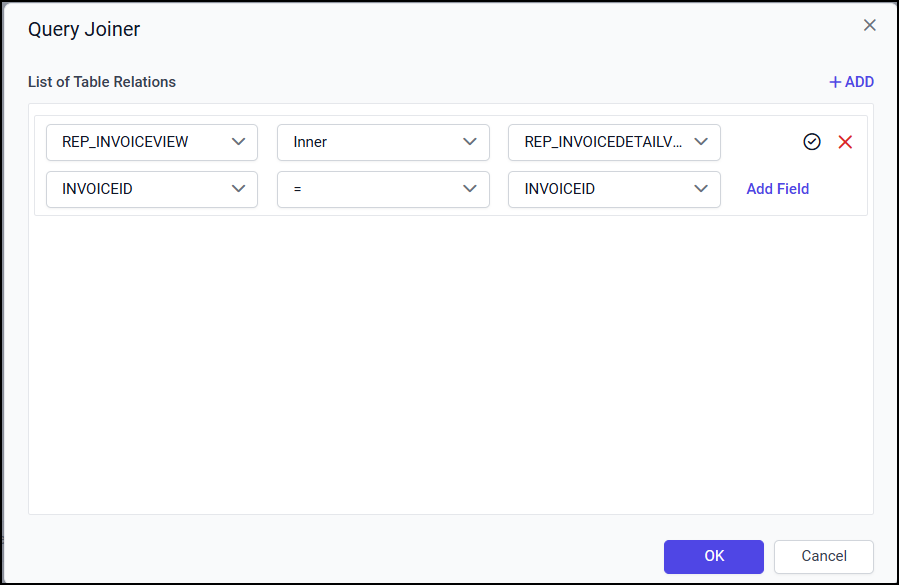
In the below snap, the join field is created for InvoiceID column in both Views.

Operator
To compare the values of the two columns (one from each View) between Views, any of the operator list shown in the below image can be used.
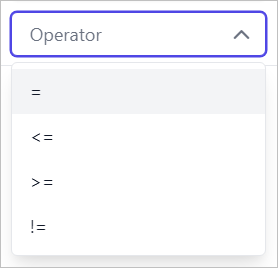
In the below snap, the Equal operator is applied between InvoiceID column of both Views.
Create multiple join condition
If you want to create multiple join condition for single View relation follow the below steps:
-
Click on the Add Field button to create multiple join conditions for single View relation.

-
Choose the new column field in Left Field and Right Field drop-down list, then choose the operator condition.
-
Now, a new join condition will be created like below.

Save a View relation
-
Click on the tick icon in the first row of View relation.
-
Click on the OK button.
Edit a View relation
-
Click on the Join icon in the toolbar to open the Query Joiner dialog.
-
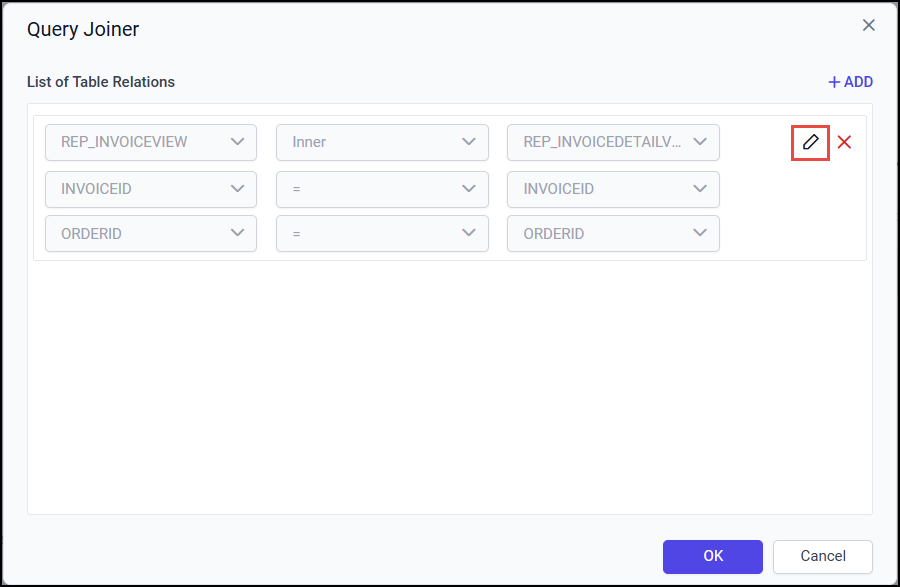
To edit the existing join condition in a View relation, click on the Edit icon in the respective field.
-
Clicking on the icon will enable the respective join fields.
-
Edit the join condition as required and click on the tick icon to update the edited join condition.
-
Then, click on the Ok button to save the modified join relationship.
Delete a join condition
To delete a join condition in a View relation follow the below steps.
-
Open the Query Joiner dialog.
-
Mouse hover on the respective join field, to enable the delete option.
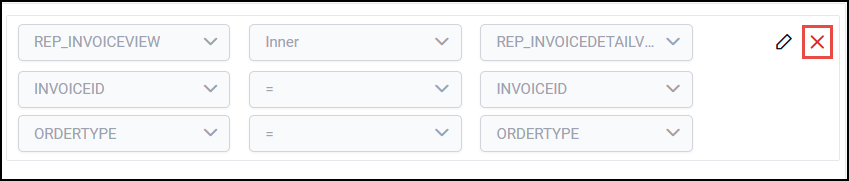
-
Click on the above highlighted icon, to remove the join condition.
Supported Join Types
The following example describes the supported join types list and purpose of the each join type.
Inner join
INNER JOIN will return the records from two or more Views, while records are matching in both the Views. An inner join of View1 and View2 gives the result of View1 intersect View2. For example, consider the below two Views.
View1
|
SupplierId |
SupplierName |
|---|---|
|
100 |
James |
|
101 |
John |
|
102 |
Robert |
|
103 |
Michael |
View2
|
OrderId |
SupplierId |
Order_Date |
|---|---|---|
|
20125 |
100 |
09/21/2017 |
|
20126 |
101 |
09/22/2017 |
|
20127 |
104 |
09/23/2017 |
If we join (INNER JOIN) View1 and View2 based on Supplier_Id column and equals (=) as comparison operator, then the result will be like below.
|
SupplierId |
SupplierName |
OrderId |
SupplierId(View2) |
Order_Date |
|---|---|---|---|---|
|
100 |
James |
20125 |
100 |
09/21/2017 |
|
101 |
John |
20126 |
101 |
09/22/2017 |
Left outer join
LEFT OUTER JOIN will return all record from the left View and the matched records from the right View. The result is NULL from the right View, if there is no match. For example, consider the below two Views.
View1
|
SupplierId |
SupplierName |
|---|---|
|
100 |
James |
|
101 |
John |
|
102 |
Robert |
|
103 |
Michael |
View2
|
OrderId |
SupplierId |
Order_Date |
|---|---|---|
|
20125 |
100 |
09/21/2017 |
|
20126 |
101 |
09/22/2017 |
|
20127 |
104 |
09/23/2017 |
If we join (LEFT OUTER JOIN) View1 and View2 based on Supplier_Id column and equals (=) as comparison operator, then the result will be like below.
|
SupplierId |
SupplierName |
OrderId |
SupplierId(View2) |
Order_Date |
|---|---|---|---|---|
|
100 |
James |
20125 |
100 |
09/21/2017 |
|
101 |
John |
20126 |
101 |
09/22/2017 |
|
102 |
Robert |
|
|
|
|
103 |
Michael |
|
|
|
Right outer join
Right outer join preserves the unmatched rows from the second (right) View, joining them with a NULL in the shape of the first (left) View. For example, consider the below two Views.
View1
|
OrderID |
CustomerID |
EmployeeID |
OrderDate |
ShipperID |
|---|---|---|---|---|
|
10308 |
2 |
7 |
1996-09-18 |
3 |
|
10309 |
37 |
3 |
1996-09-19 |
1 |
|
10310 |
77 |
8 |
1996-09-20 |
2 |
View2
|
EmployeeID |
LastName |
FirstName |
BirthDate |
Photo |
|---|---|---|---|---|
|
1 |
Davolio |
Nancy |
12/8/1968 |
EmpID1.png |
|
2 |
Fuller |
Andrew |
2/19/1952 |
EmpID2.png |
|
3 |
Leverling |
Janet |
8/30/1963 |
EmpID3.png |
If we join (RIGHT OUTER) View1 and View2 based on EmployeeID column and equals (=) as comparison operator, then the result will be like below.
|
EmployeeID |
LastName |
FirstName |
OrderID |
EmployeeID |
OrderDate |
ShipperID |
|---|---|---|---|---|---|---|
|
1 |
Davolio |
Nancy |
12/8/1968 |
|
|
|
|
2 |
Fuller |
Andrew |
2/19/1952 |
|
|
|
|
3 |
Leverling |
Janet |
8/30/1963 |
3 |
1996-09-19 |
2 |
Full outer join
The FULL OUTER JOIN keyword return all records when there is a match in either left (View1) or right (View2) View records. For example, consider the below two Views.
View1
|
CustomerID |
Name |
ContactName |
City |
PostalCode |
Country |
|---|---|---|---|---|---|
|
1 |
Alfreds |
Maria |
Berlin |
12209 |
Germany |
|
2 |
Ana |
Ana Trujillo |
México D.F. |
05021 |
Mexico |
|
3 |
Antonio |
Antonio Moreno |
México D.F. |
05023 |
Mexico |
View2
|
OrderID |
CustomerID |
EmployeeID |
OrderDate |
ShipperID |
|---|---|---|---|---|
|
10308 |
2 |
7 |
1996-09-18 |
3 |
|
10309 |
37 |
3 |
1996-09-19 |
1 |
|
10310 |
77 |
8 |
1996-09-20 |
2 |
The FULL OUTER JOIN keyword returns all the rows from the left View (View1), and all the rows from the right View (View2).
|
CustomerID |
Name |
ContactName |
City |
PostalCode |
Country |
OrderID |
|---|---|---|---|---|---|---|
|
1 |
Alfreds |
Maria |
Berlin |
12209 |
Germany |
|
|
2 |
Ana |
Ana Trujillo |
México D.F. |
05021 |
Mexico |
10308 |
|
3 |
Antonio |
Antonio Moreno |
México D.F. |
05023 |
Mexico |
10365 |
|
|
|
|
|
|
|
10382 |
|
|
|
|
|
|
|
10351 |