-
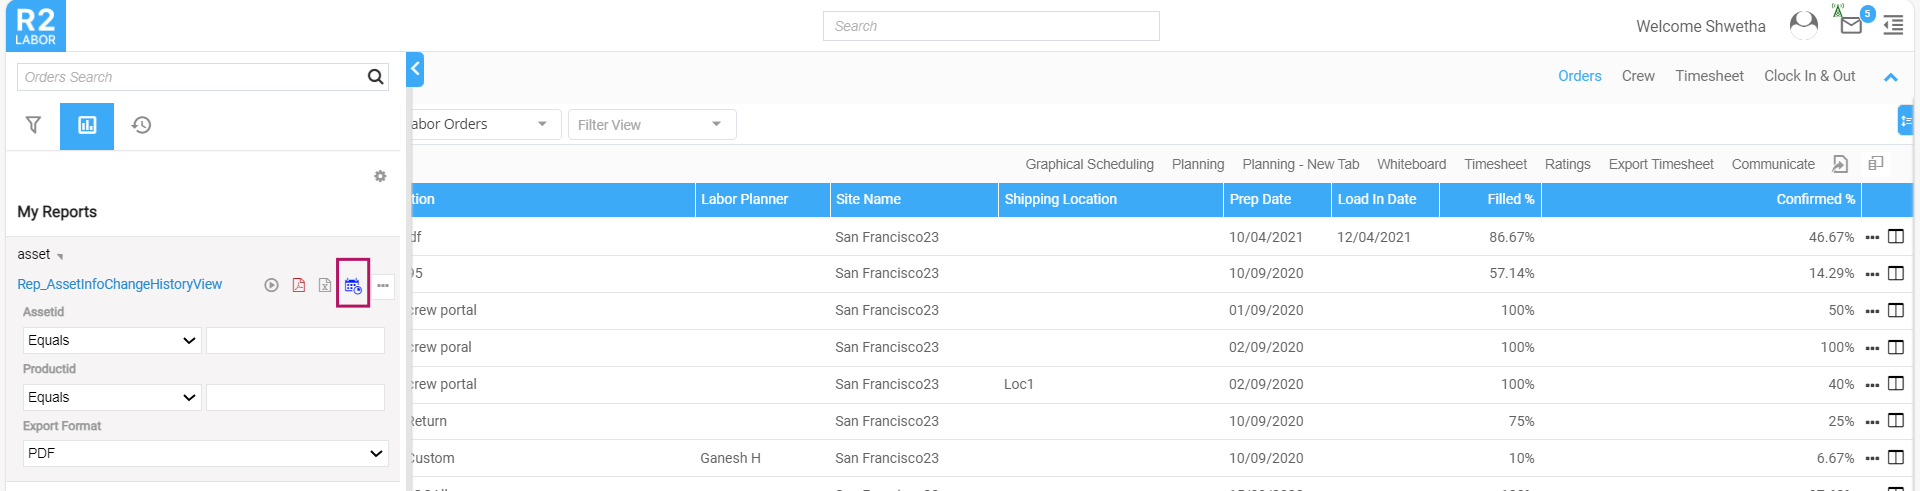
In R2labor, go to My Reports to view the list of reports.
-
Click the down arrow icon next to the report for which you want to create a schedule
-
Click the Scheduler icon to open the schedule dialog box.
-
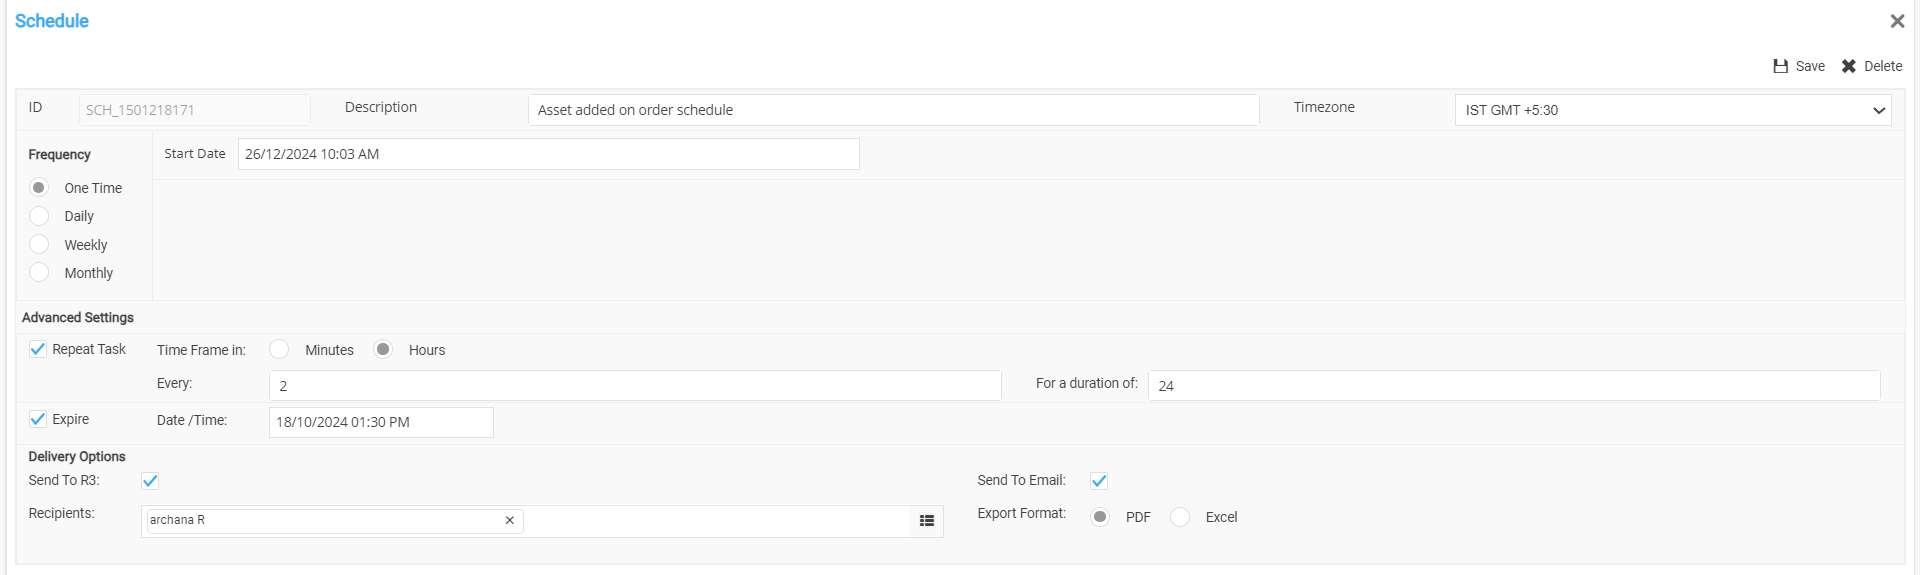
In the Schedule dialog box,
-
ID: This is system generated and cannot be modified as it is disabled.
-
Description: By default, the report name is displayed as description. You can change it if required.
-
Time zone: Set the time zone so that the report is generated based on the specified time zone.
-
Frequency: This is to set the interval period to generate the report. Available periods are One time, Daily, Weekly, and Monthly. You can choose one of them as required.
-
Start Date: This specifies the date from which the schedule starts running. Use the calendar icon to set the date.
-
Advanced Settings: This setting helps you repeat the report generation at regular hourly or minute intervals.
-
Repeat Task: Enable this check box to repeat the report generation at specified intervals.
-
Time Frame in:
-
Select ‘Minutes’ to generate the report at minute-based intervals.
-
Select ‘Hour’ to generate the report at hour-based intervals.
-
-
Every: Enter the number of minutes or hours for the interval at which the report should be generated.
-
Expire: Check this box to stop the report generation after a specified date and time
-
-
Delivery options:
-
Send to R3: Check this box to receive the notification on report generation in R2 Labor application.
-
Send to Email: Check this box to email the generated report to the specified recipients. In the Recipient fields, select the recipients who should receive the report.
o Export Format: This is the format (PDF or Excel) of the report output sent to the recipients.
-
-
Once schedule details are provided, click Save button.