You can generate, sign and print the Return receipt from the return task after the items have been returned. This copy is given to customer as a proof that items have been returned.
-
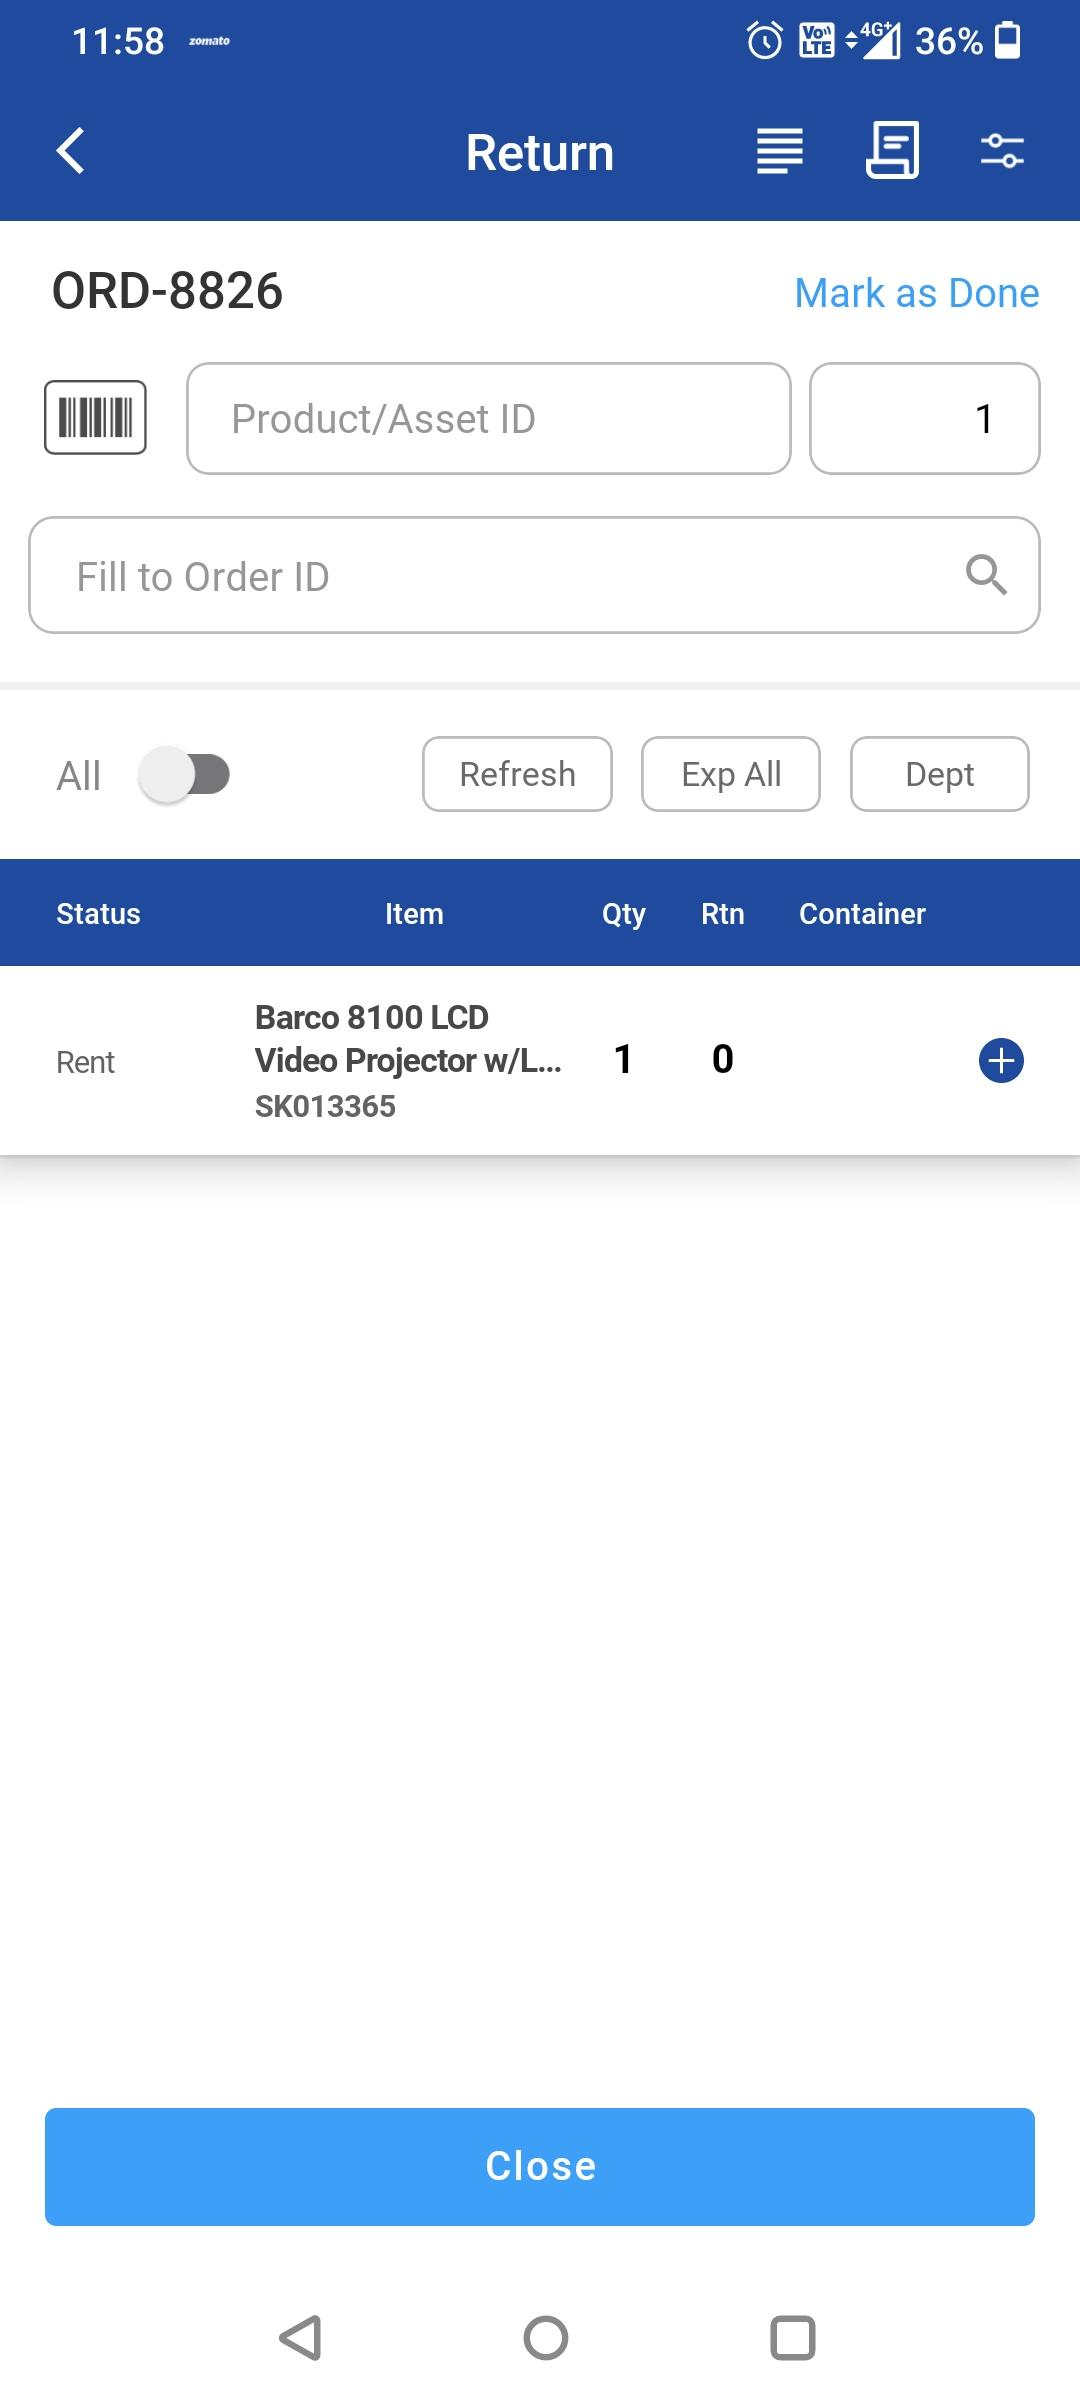
To open, sign and save the Return Receipt, tap the

-
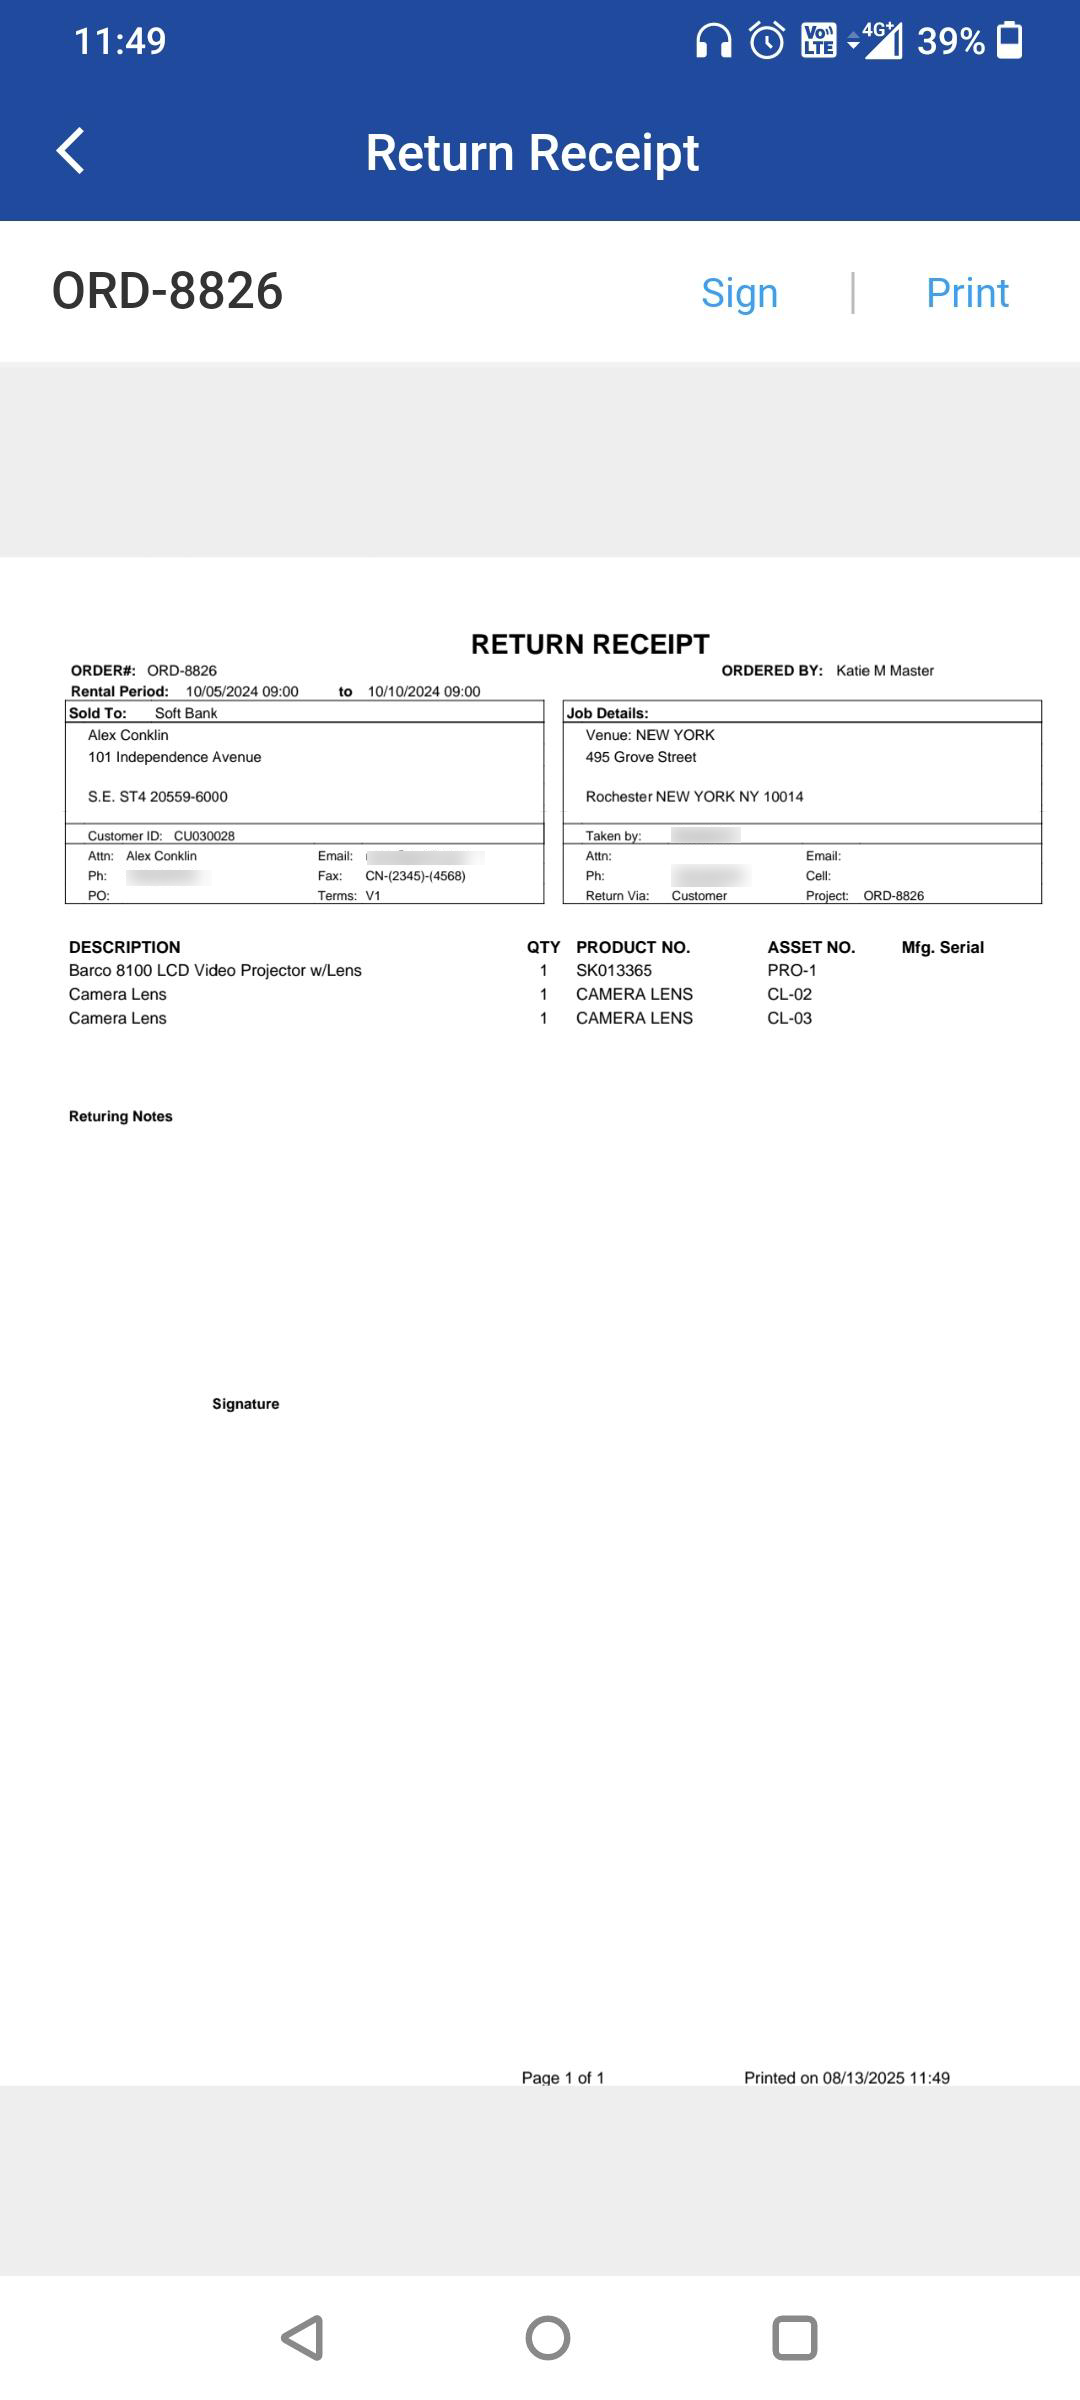
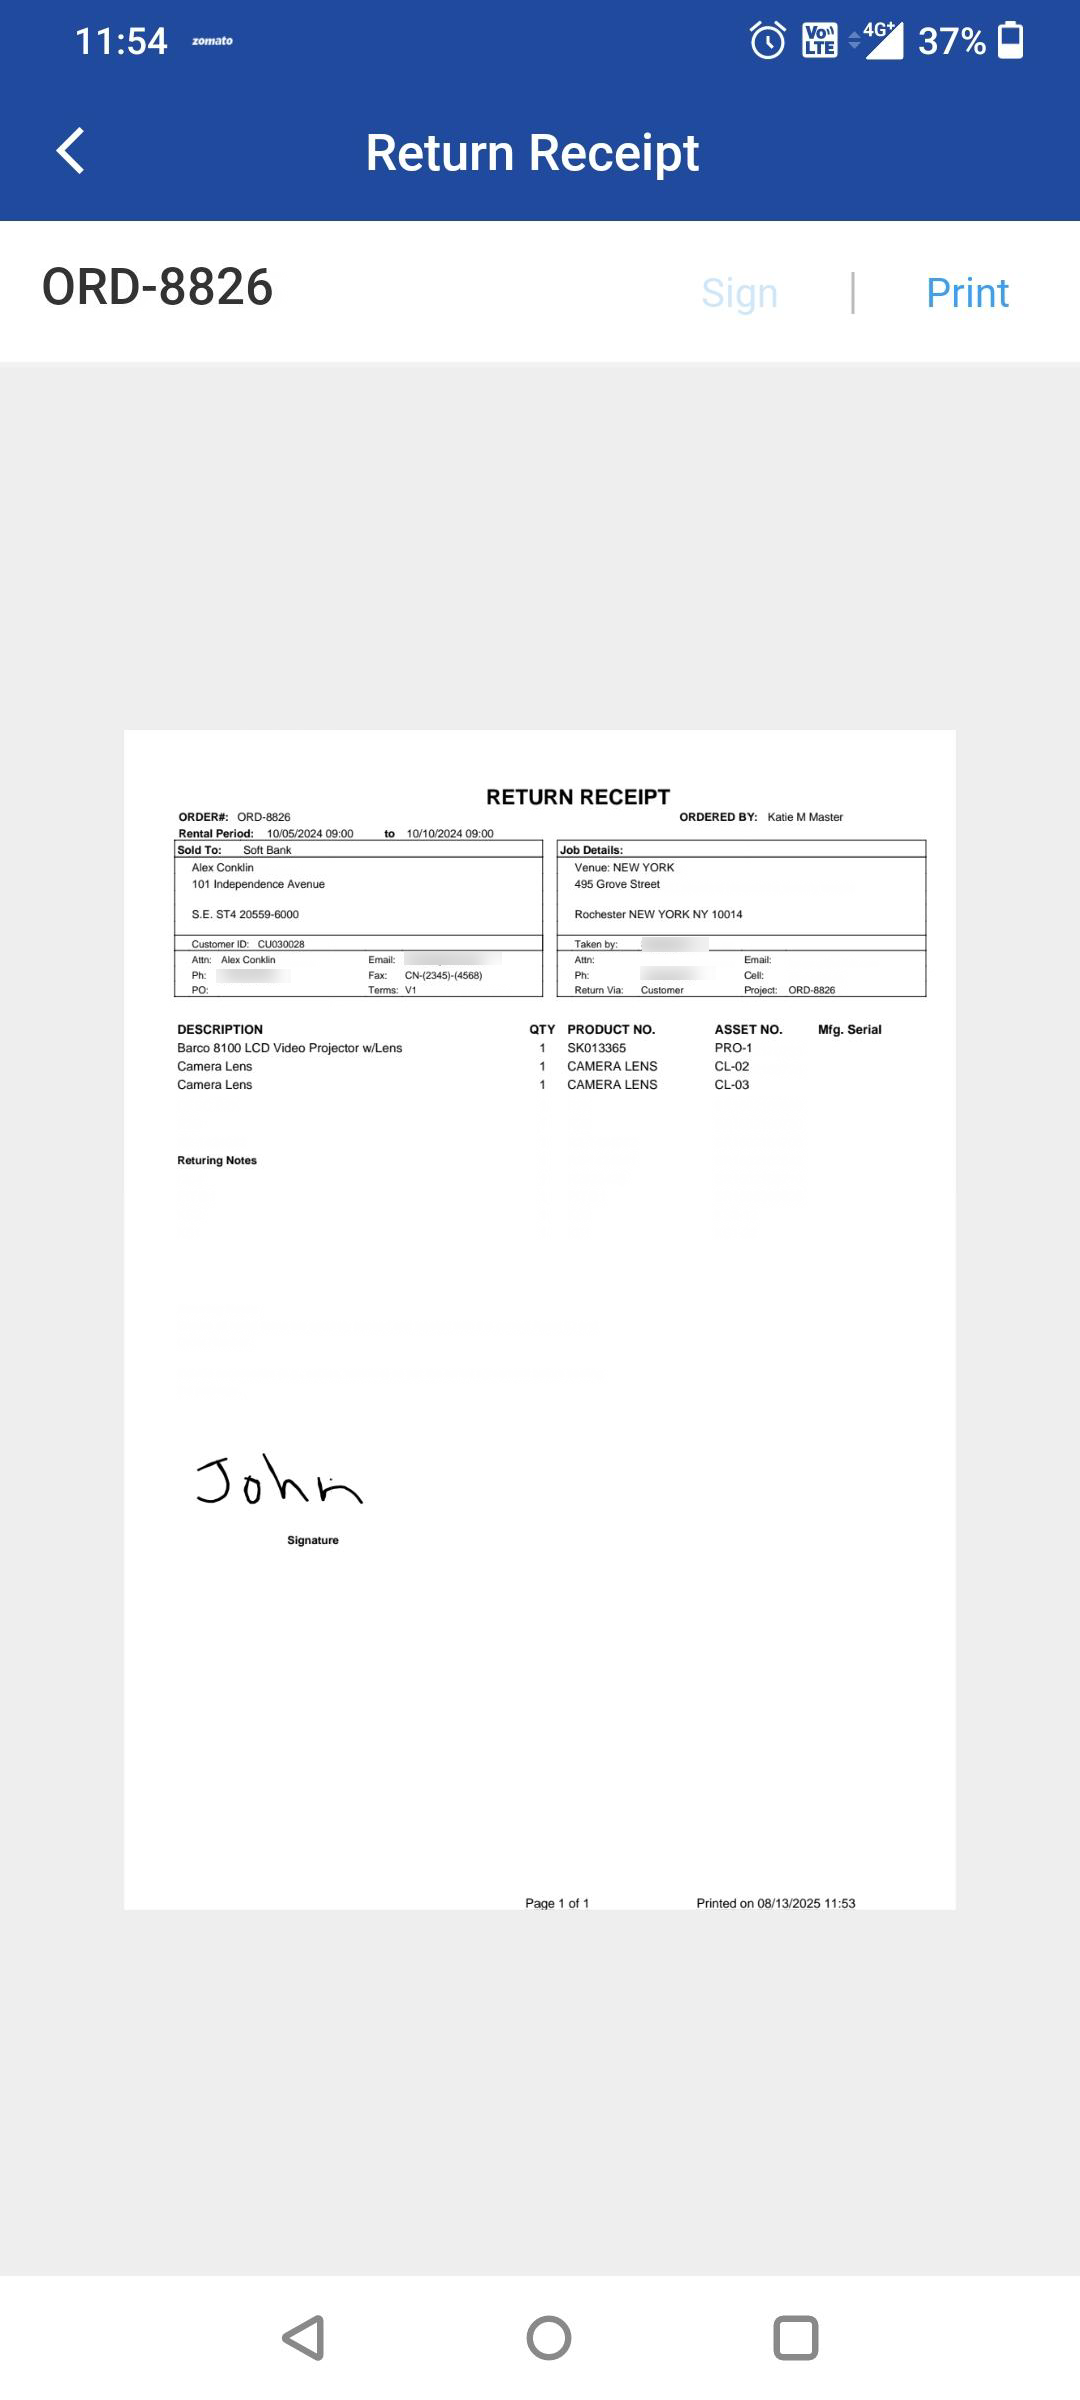
The Return Receipt is displayed in document format as shown below.
-
The generated return receipt will be saved to the path added in R2> Order > Document Folder > ReturnReceipt/OrderID.
-
System uses the Return Receipt form that is set as default in R2 form setup.
-
If no form is set up as default, system automatically chooses the first form in the alphabetical order from available forms.
-
If no form set up exists, the Return Receipt will be generated based on the built in form packaged within the system.
-
-
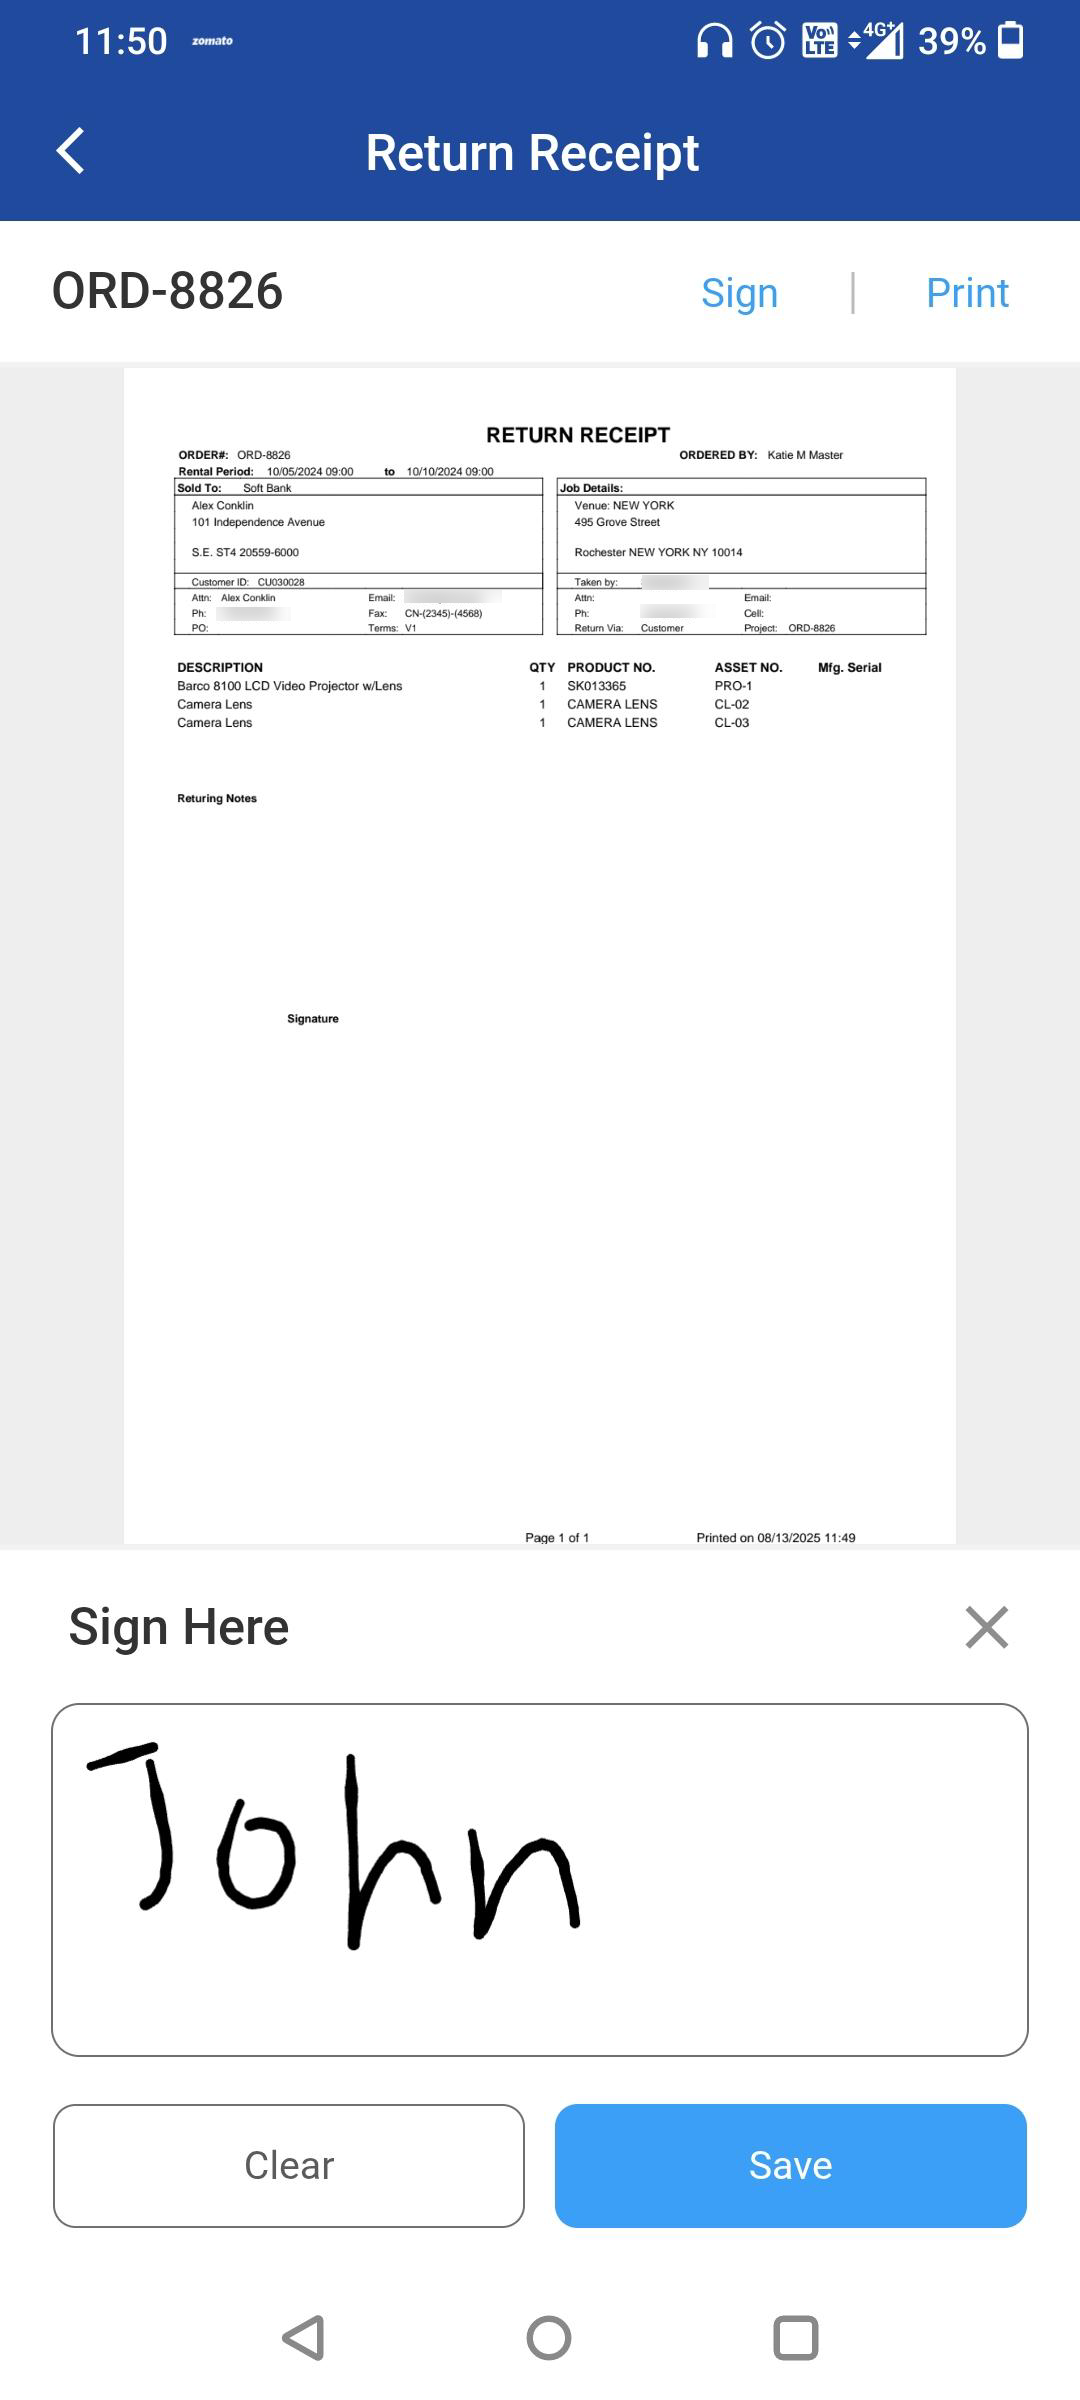
Tap Sign to digitally sign the document using your device’s touch screen. After signing, tap Save — your signature will be added to the document.
-
The signed return receipt will be stored in the path added in R2> Order > Document Folder > ReturnReceipt/OrderID, with the file name suffixed by "_signed".
-
-
Tap Print to print the return receipt.
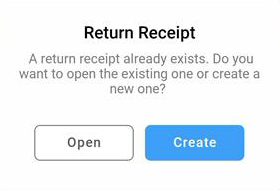
If you have already generated the return receipt and again try to generate. You will get the pop-up with the below options.
-
Open: To open the already generated receipt. If more than one Return Receipt exists in the folder, it displays the latest one.
-
Create: To create a new receipt.