Reference No: R2-59
Ability to custom design R2 Launch pad for different themes is documented here.
Details
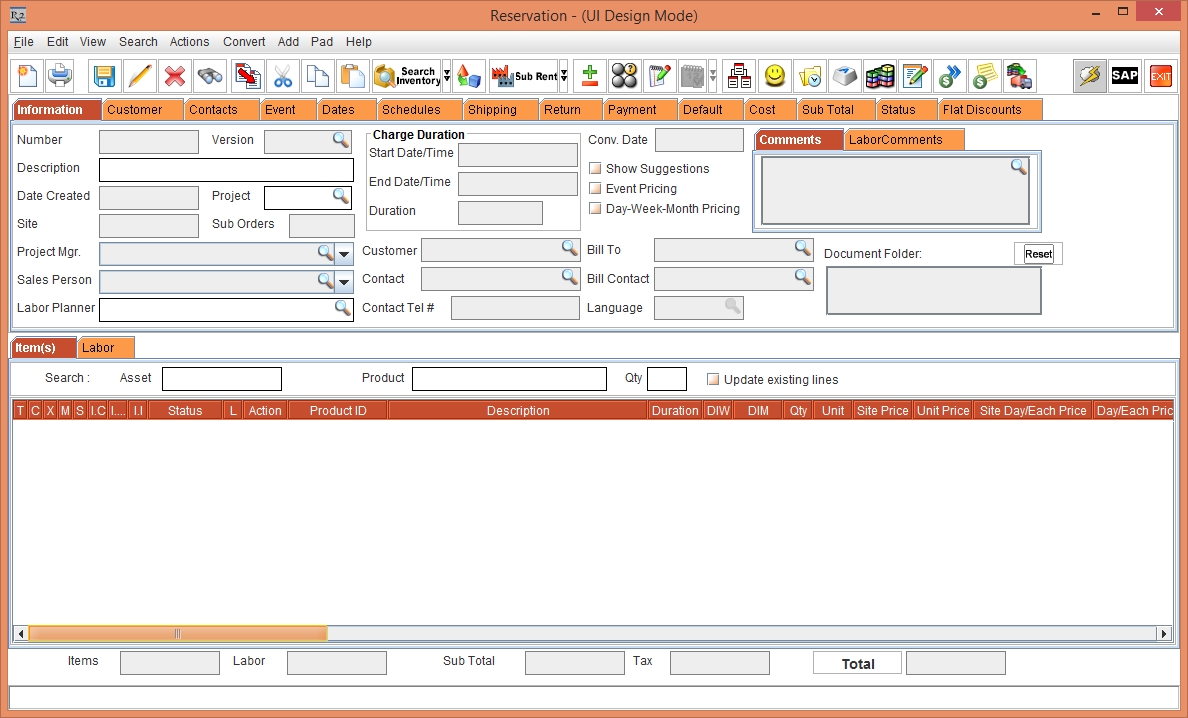
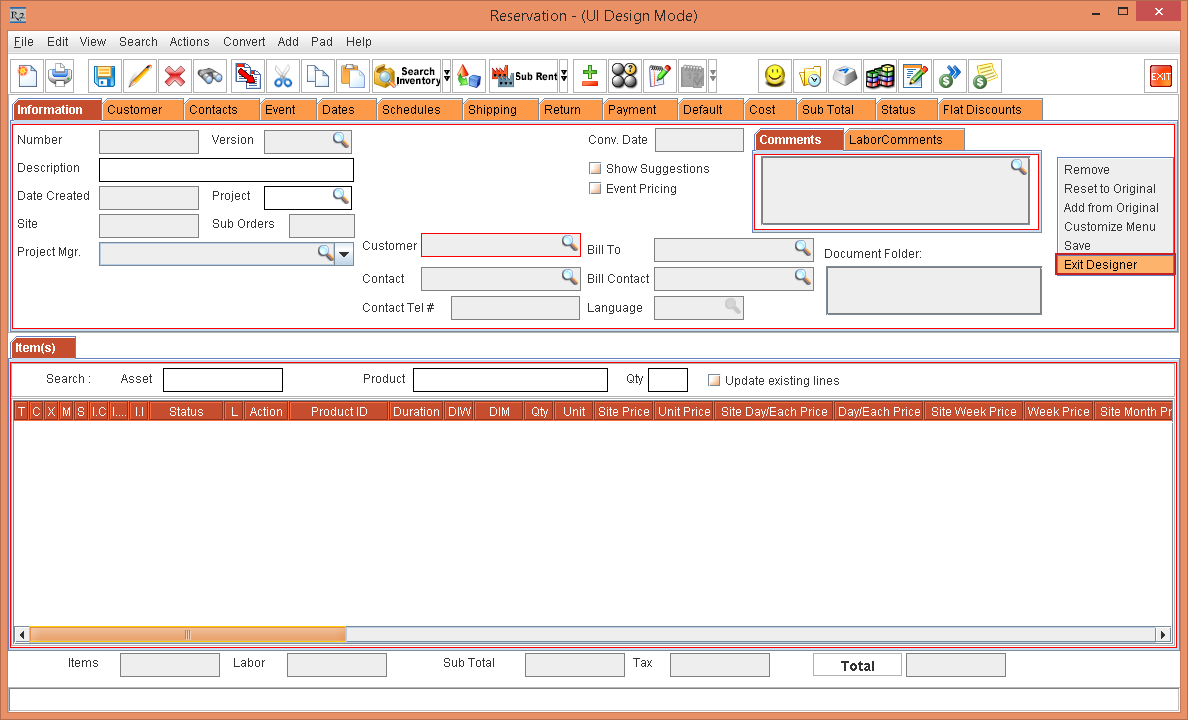
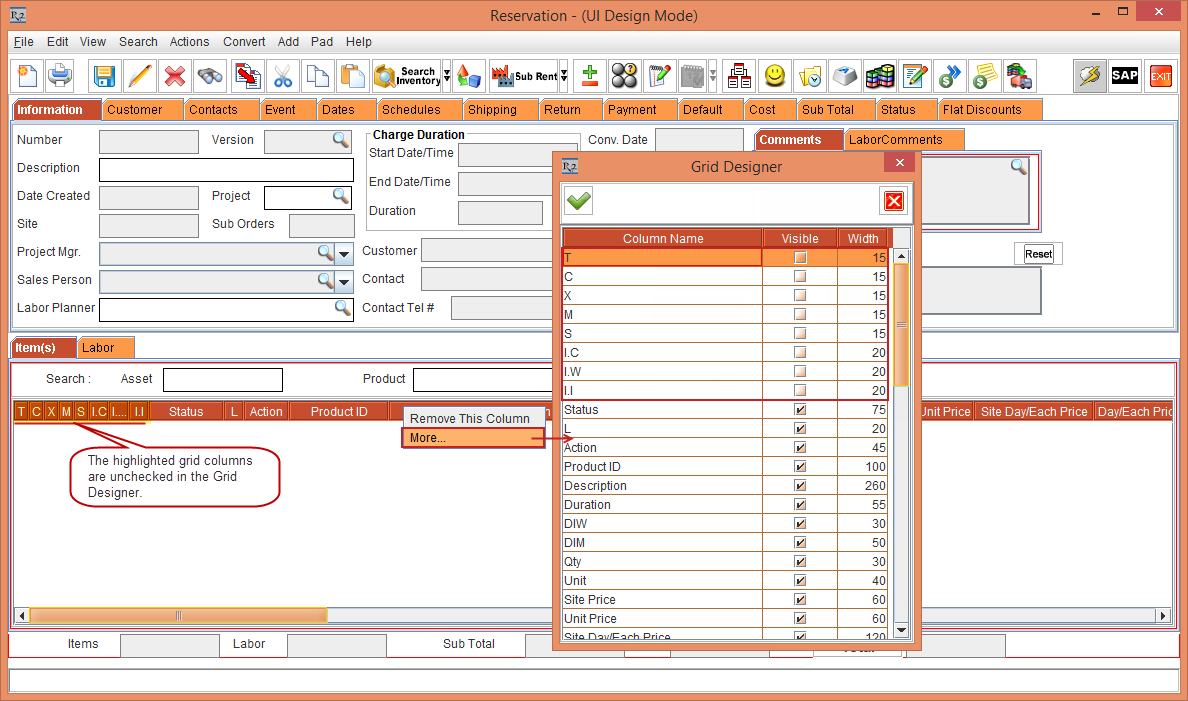
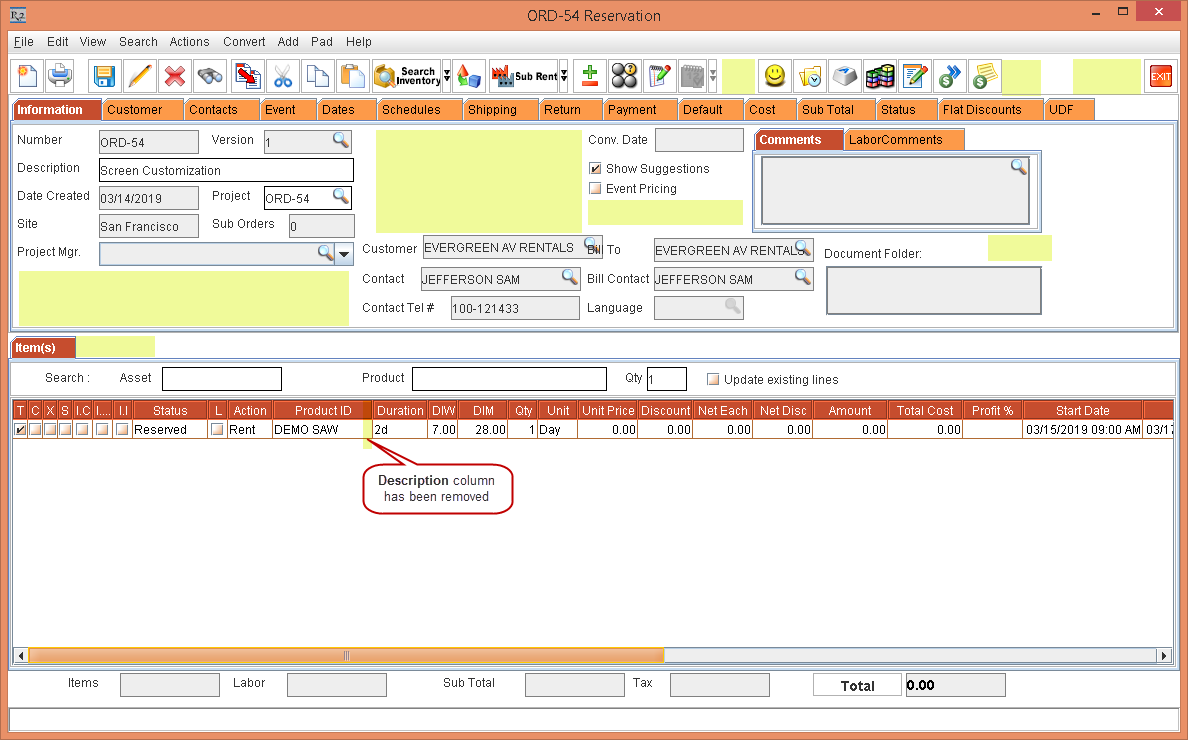
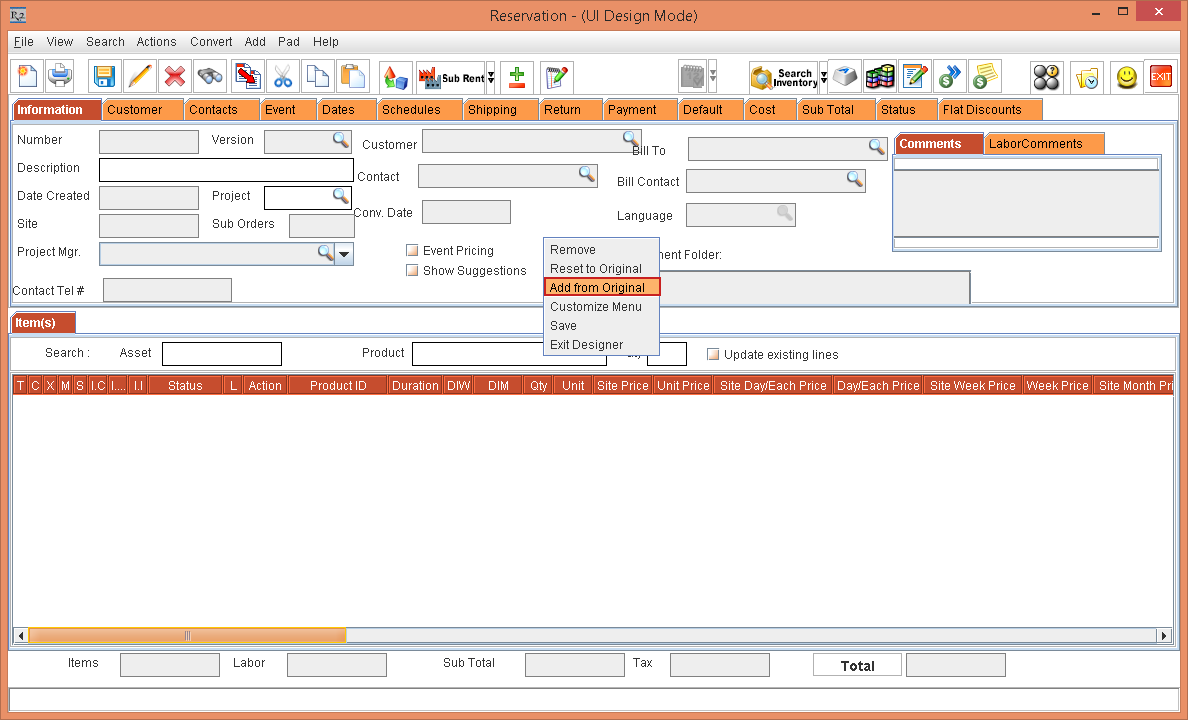
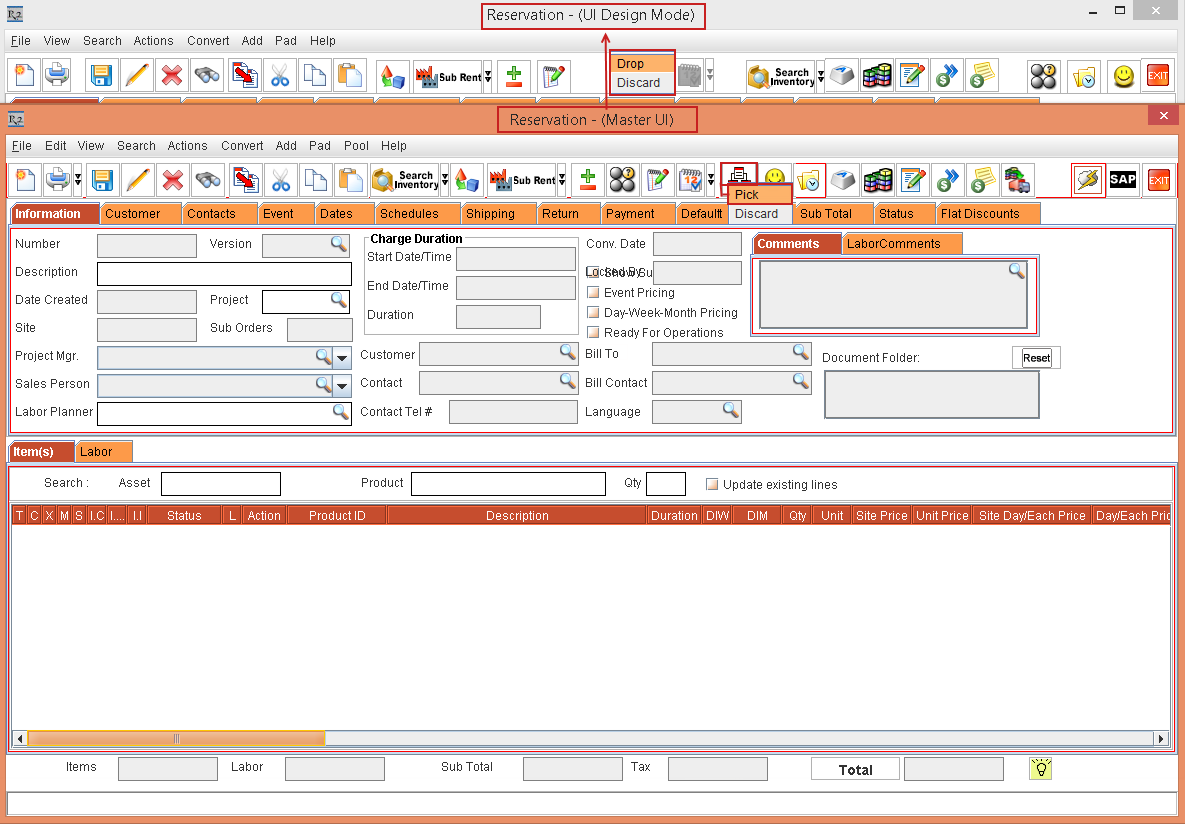
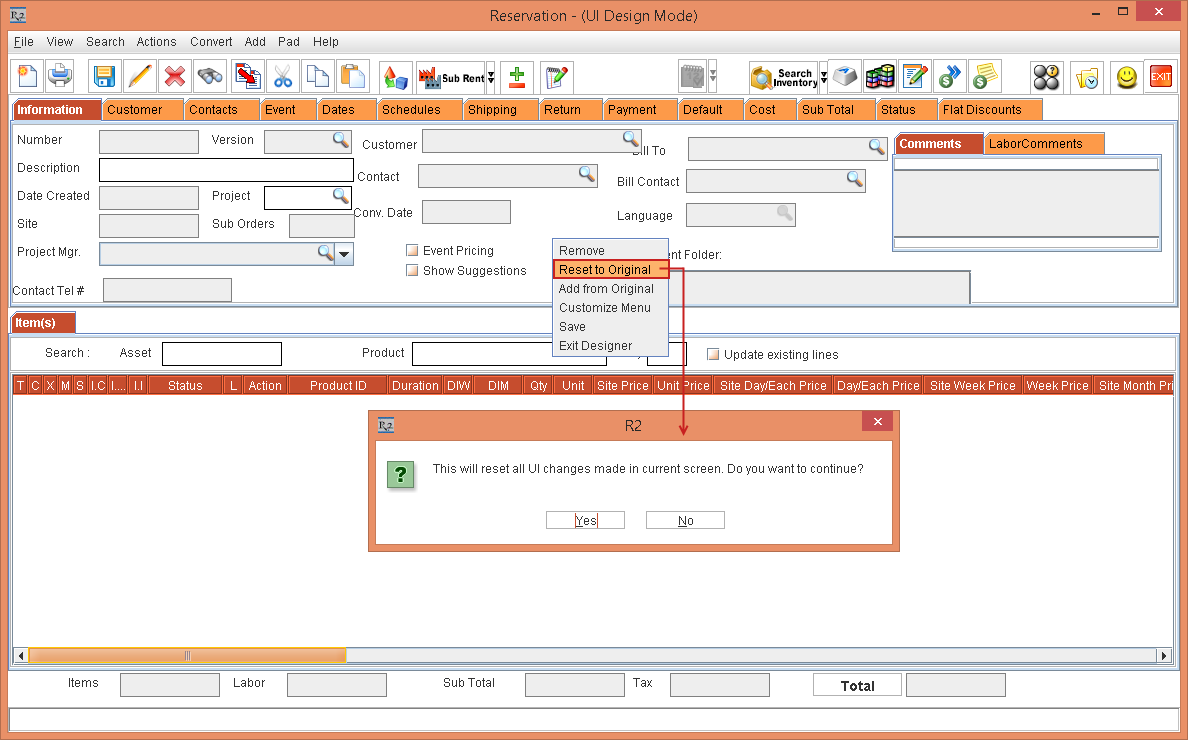
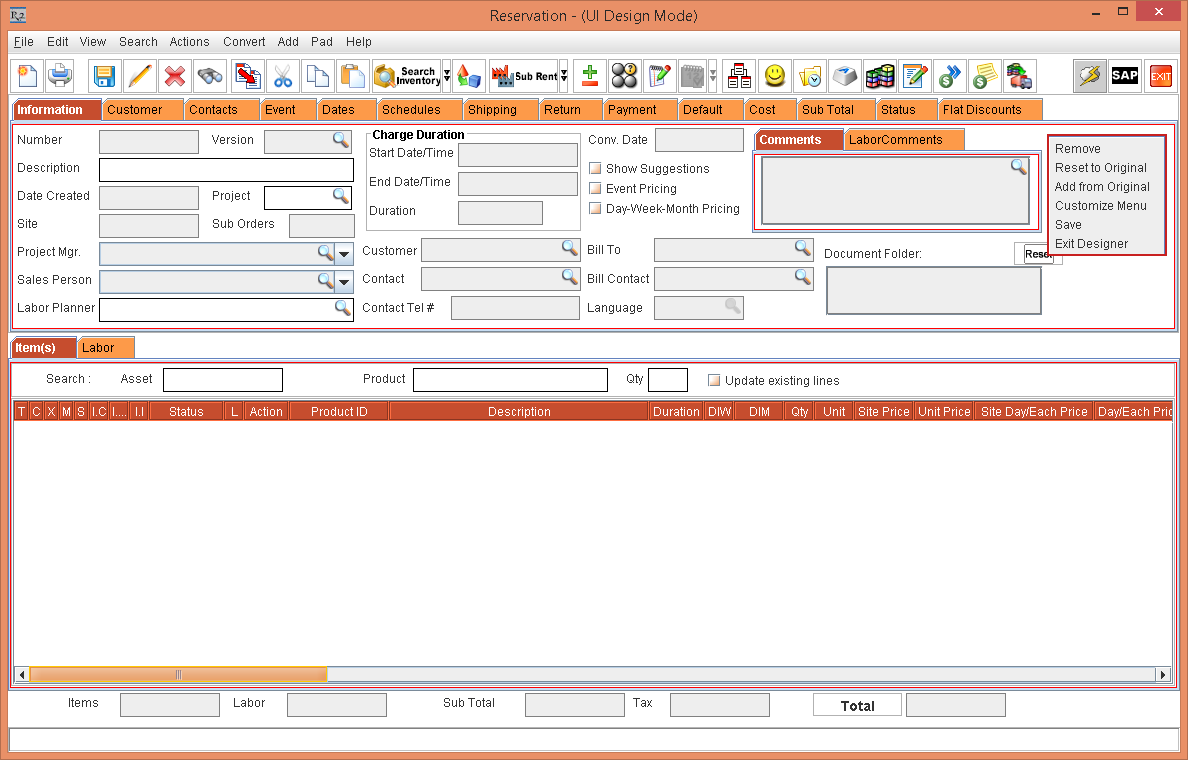
The Screen Customization has been implemented in the R2 application to customize the appearance of the screens in the R2 application by removing, resizing, and replacing the following screen components.
-
Text Box or Field
-
Importable Fields
-
Tab
-
Grid column
-
Icons / Buttons
The following screen component's resizing cannot be performed and can only be removed and replaced.
-
Check Box
-
Radio Button
-
Drop-Down
-
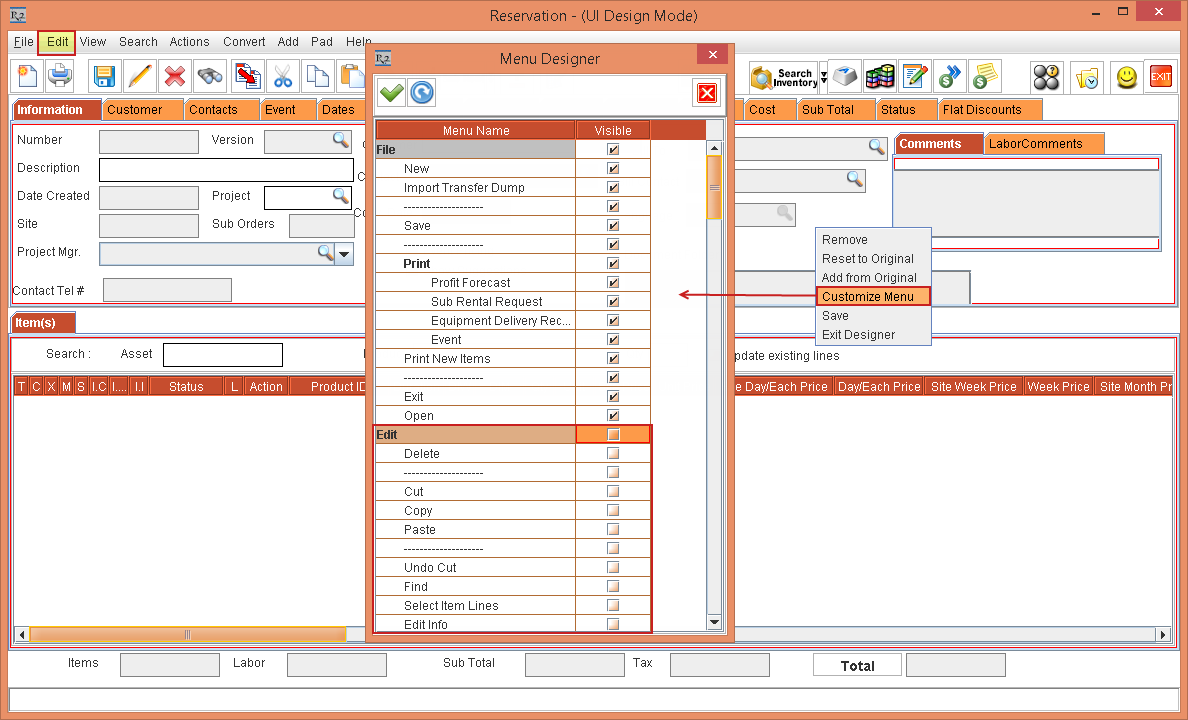
Menus
The Table 1.0 provides you the list of Hot Keys used to perform the Screen Customization.
Table 1.0 Hot Keys used to perform Screen Customization
|
Action |
Hot Key |
|
Enable Screen Customization |
F12 |
|
Disable or Exit the Screen Customization |
SHIFT+F12 |
|
Drag and Drop the screen components |
ALT+Drag and Drop the Screen Component |
|
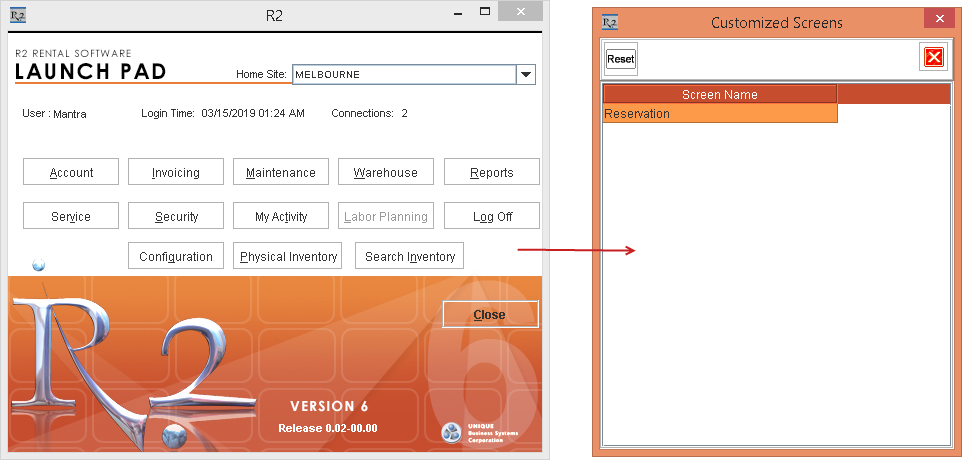
View the Customized screens from the R2 Launchpad |
CTRL+F12 |
The Screen Customization is enabled and disabled for the following:
-
It is enabled only to the Mantra User and is disabled to other users.
-
It is disabled in the Security Mode [F6].
-
It is disabled in the R2 application's Login window.
-
It is enabled to all the screens in the R2 application and is disabled in the R2 Launchpad.
The below Sample Workflow explains the above functionality:
Sample Workflow
-
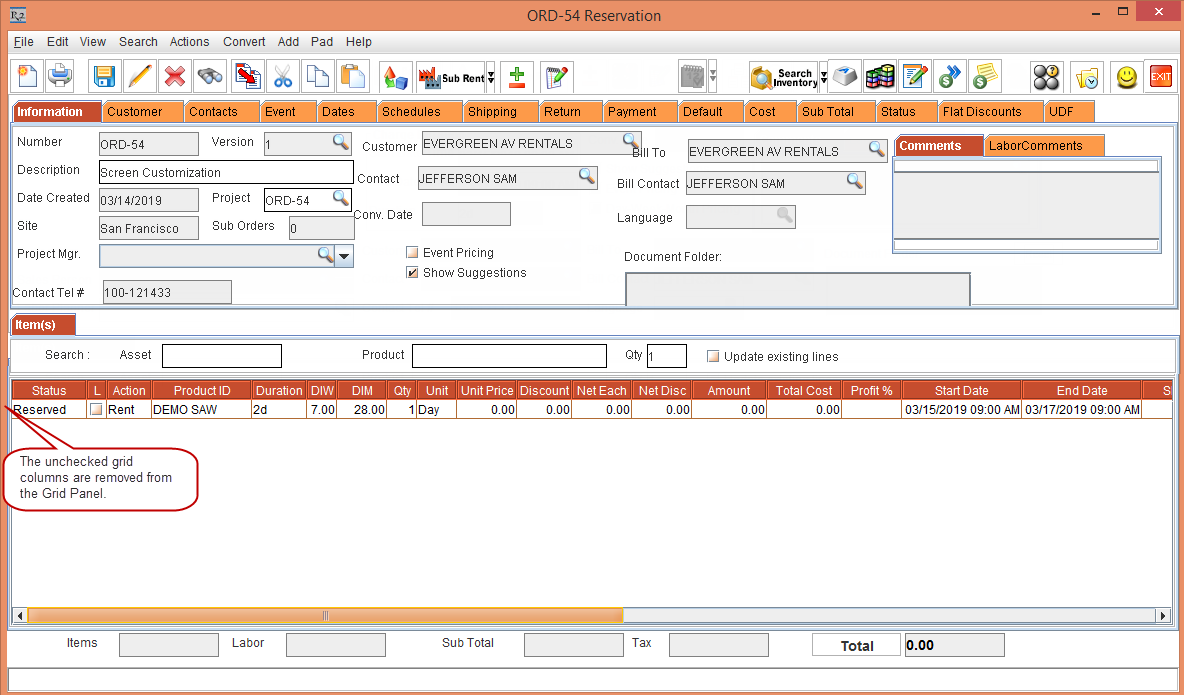
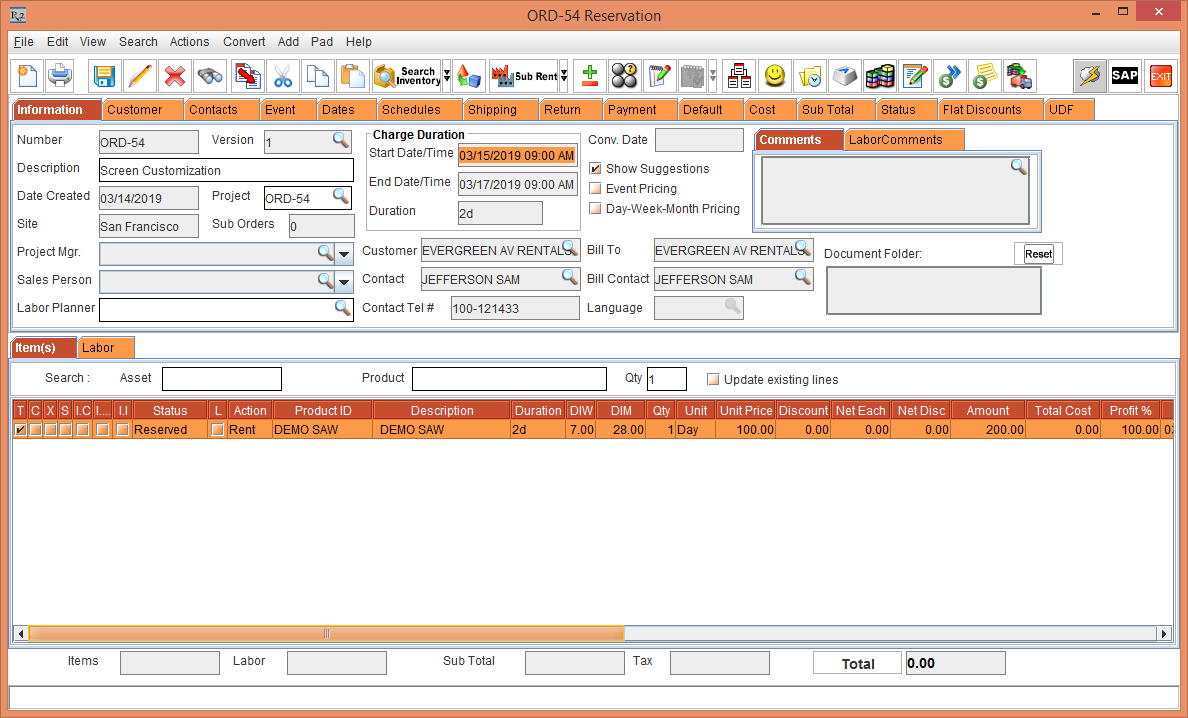
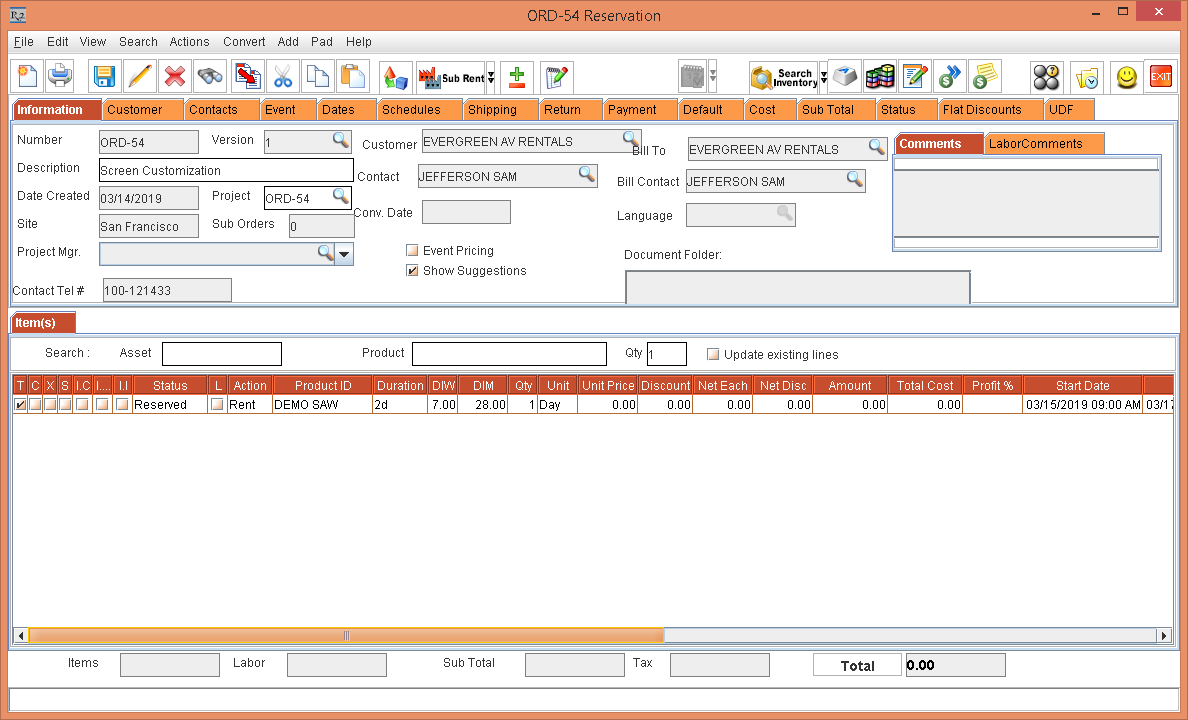
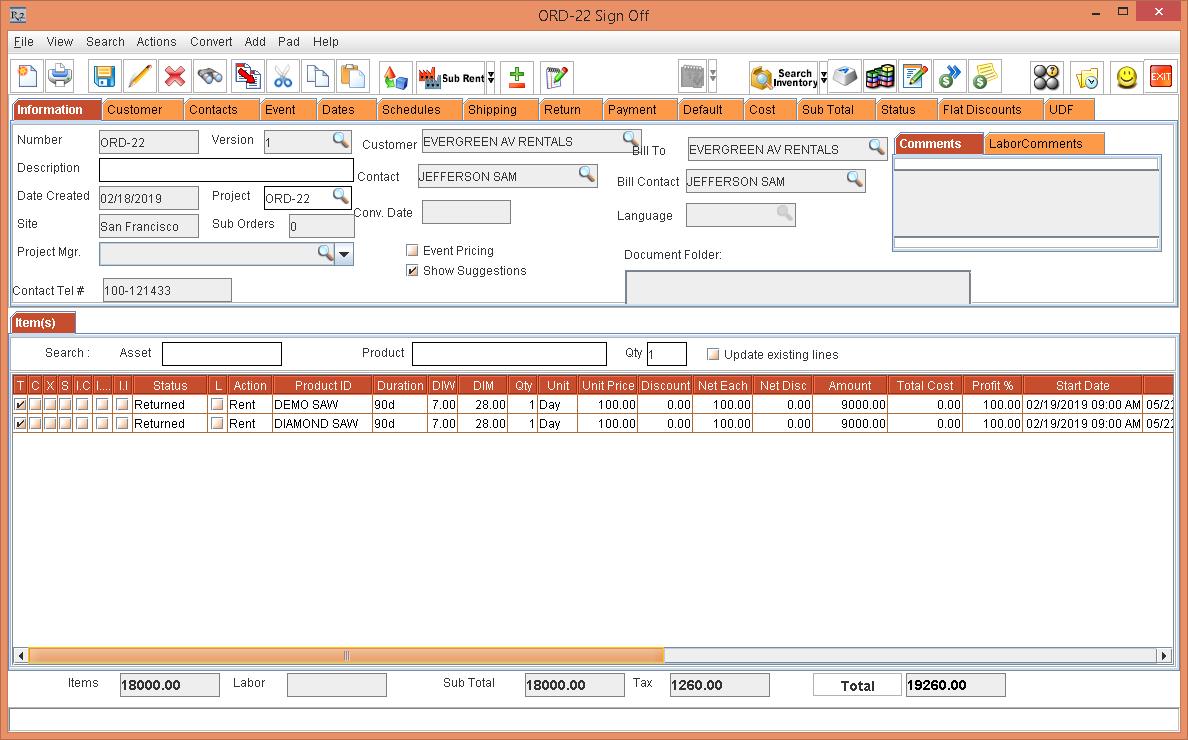
Select the Account module > tag the Company [EVERGREEN AV RENTALS] and create an Order [ORD-54] for [2 Days] duration.
-
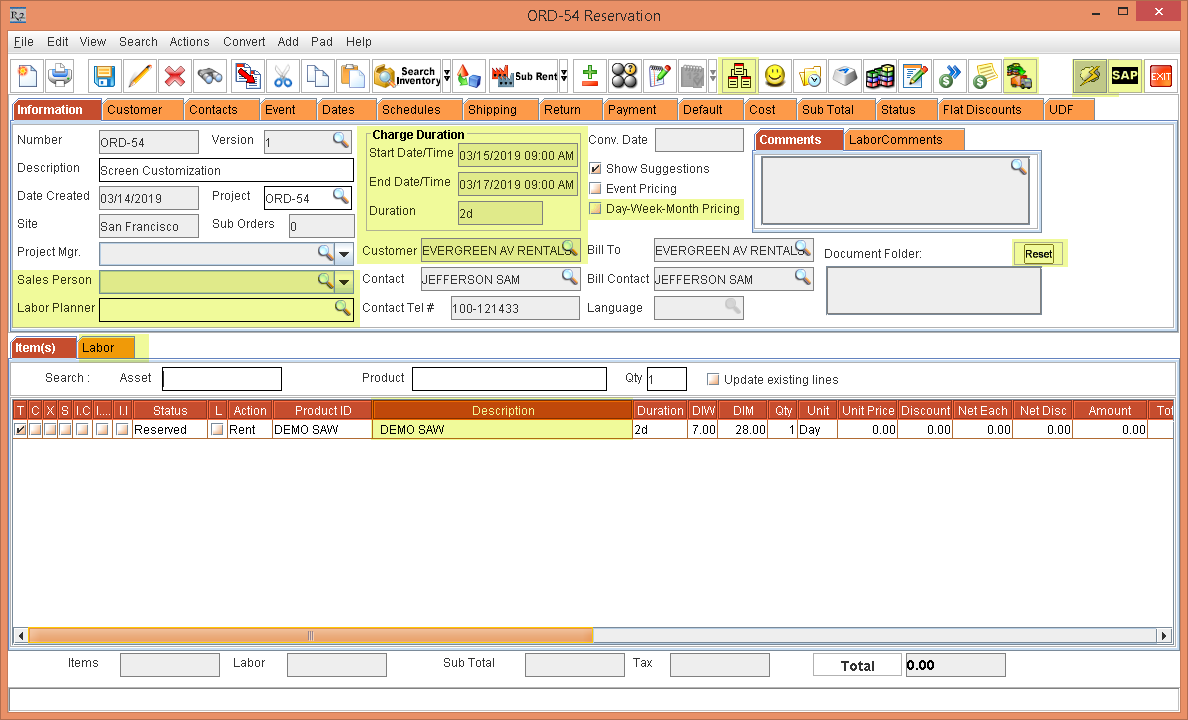
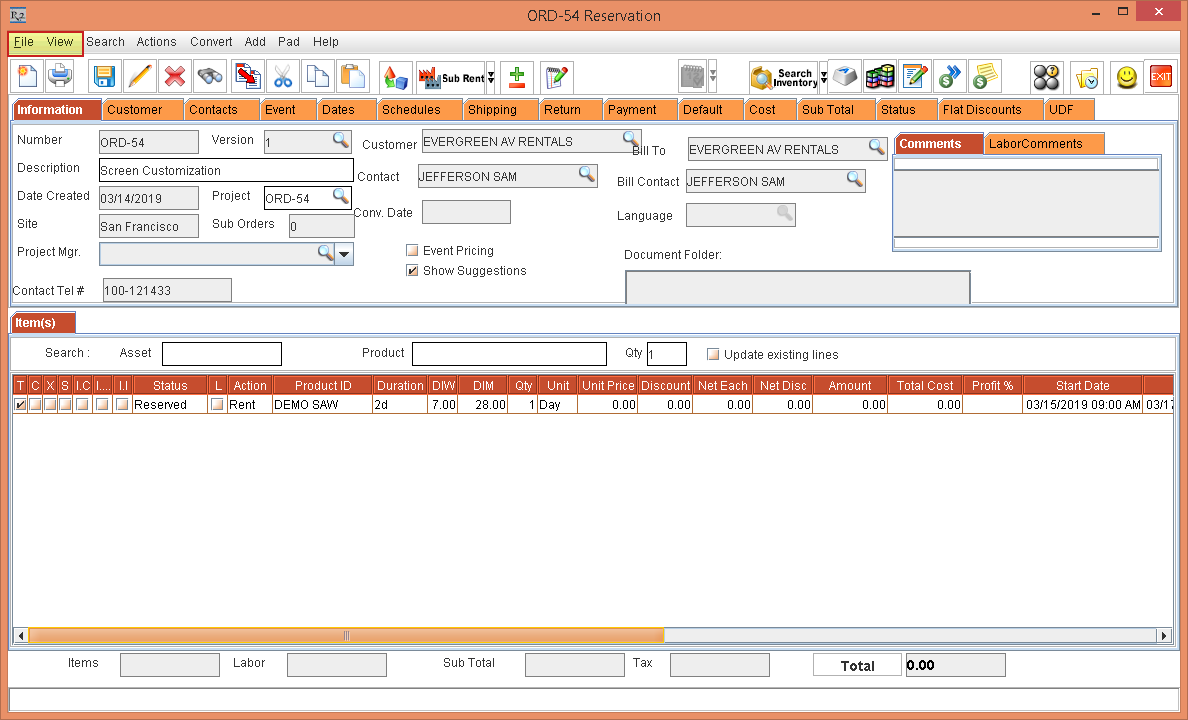
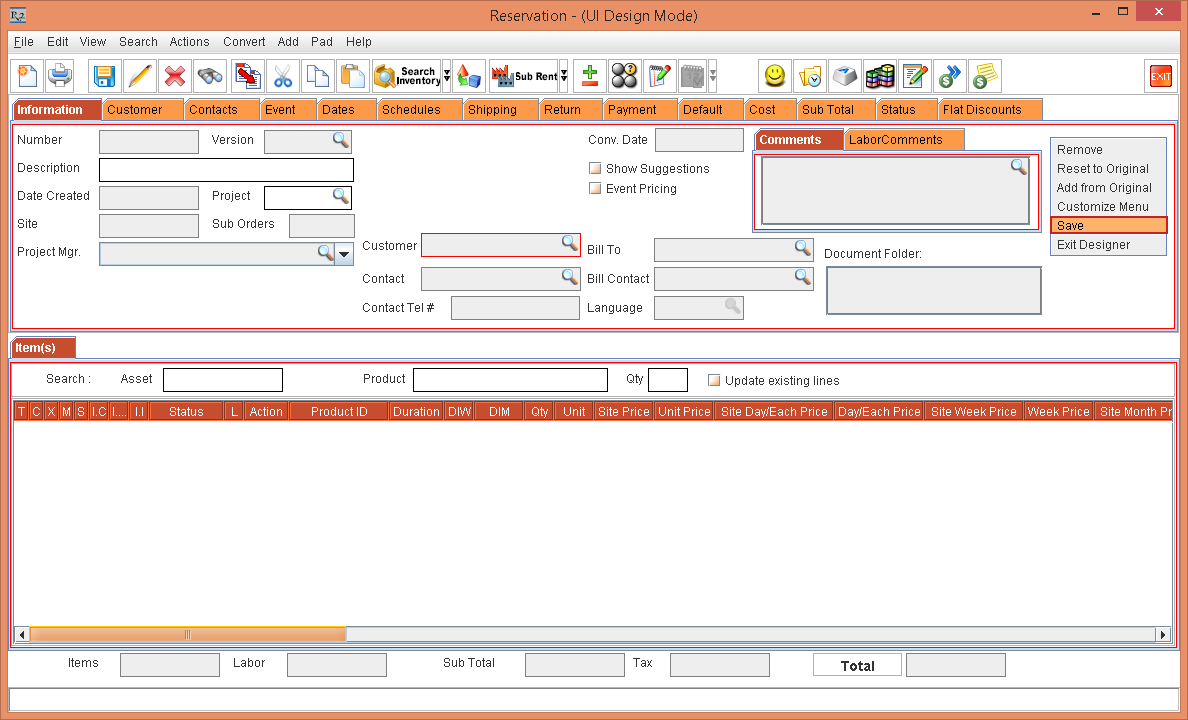
Search and add the Serial Item [DEMO SAW] with 1 Qty and the Unit Price [100.00], as shown in Figure 1.0.
-
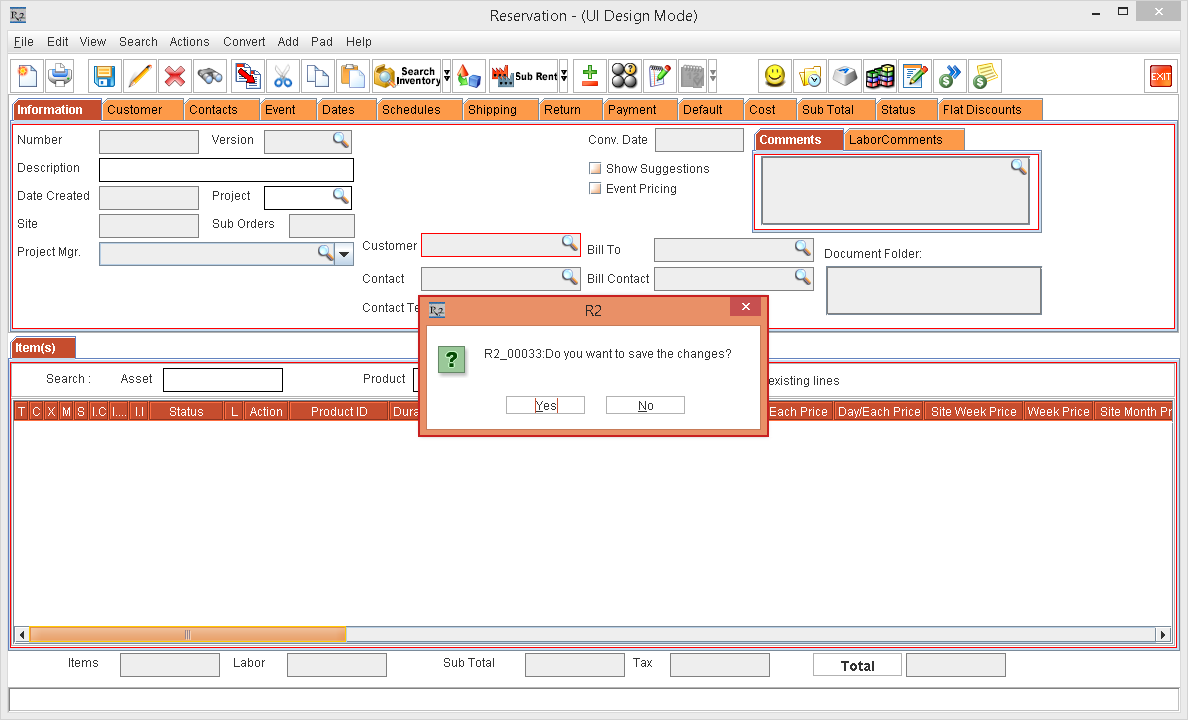
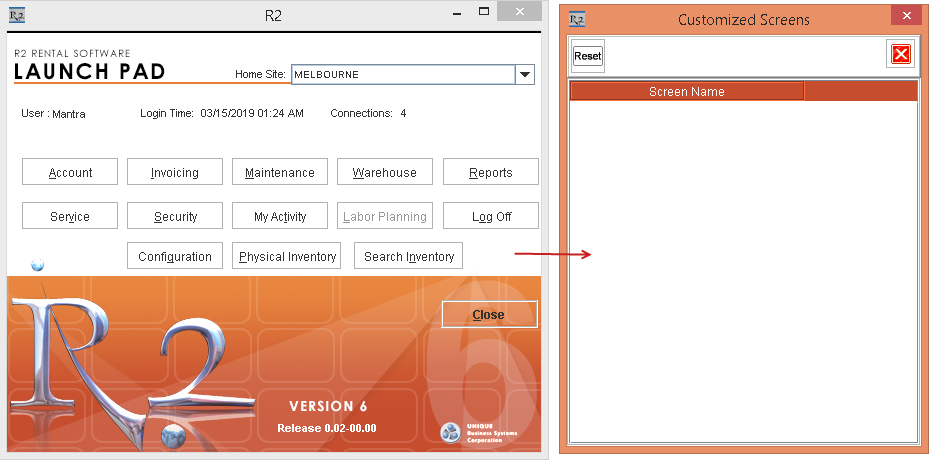
Exit the Customized Screens window.
-
The screen components within one panel cannot be moved to another panel.
-
The field label alone cannot be removed. The field along with the label together must be removed.
-
The Order > right-click > Reset Tab Order and Save Tab Order options have been removed with the Screen Customization feature.