Assign
Content was last updated in 06.01.13-00
Revision History
Version No.
|
Reference No.
|
Changes
|
|
06.01.13-00 |
R2-17041 |
Accessing Order through the Warehouse Assign window |
|
06.01.09-00 |
R2-16348 |
Search and sort products by their Category / Sub-Category. View Items on Hold Orders and Hold Line status. |
|
NA |
NA |
An additional column Amount is added in Assign window. |
Assign window is used for planning purposes in R2. No actual warehouse tasks are performed here but preparation is made for the warehouse activities in the coming days. After the order is taken by the salesperson in Account, the employee in the Warehouse module using the Assign feature checks and prepares the best possible way of fulfilling the requirements on all these orders, without compromising on any one.
The Assign window enables this job by giving support to checking the availability on the orders and assigning the items that have been promised on each. You can select multiple items from different orders, but belonging to the same site and assign them.
To access the Assign window
-
Click on the Assign icon or View > Warehouse > Assign in Warehouse main window to display the Assign window.
-
Here all the items that are unavailable and need to be acquired will be displayed.
Icon Information
|
Toolbar Icon |
Description |
|
|
The Find icon opens the Find dialog where a refined search can be conducted for items |
|
|
The Print icon will print the list of items that have been displayed in the assign window after search is conducted. This will be printed in the print.txt in the R2 folder |
|
|
The Availability icon opens the 'Availability window' for the selected line. |
|
|
The Assign icon opens the Assign dialog where items can be assigned. |
|
|
The Refresh icon refreshes the window so that the changes made by you is reflected in the window. |
|
|
The Shortage Report icon opens the 'Shortage Report window'. Here you can generate the Shortage Availability Report by selecting Date Range, Site and Availability. |
|
|
The Future Order details icon opens the 'Future Order details' window. It displays the information regarding the order and the event and its dates. |
Filter by information

|
Field Name |
Description |
|
Status |
The different assign categories that the items belong to can be displayed by selecting the respective checkboxes. Orders are displayed depending on the selection made here items belonging to either of the following status:
Shorts: The quantity of items that are falling short on an order will be calculated based on the Prep-Date and Ship-Date of the order. That is if any quantity of the items on the order are not available during the Prep-Date and Ship-Date of the order will only be considered as short. By selecting this checkbox, items on orders that are going short, irrespective of the status will be listed. |
|
Start Date |
The items belonging to orders with their prep dates within the date range set in the From and To drop down calendar will be displayed |
|
Site |
You can select a site here to display all the order lines created here with items that need to be assigned. For more details see Site filters |
|
Availability |
Once the availability of items for a particular site has been viewed, you might want to check the availability status of that item in other sites. A reason to do so could be to avoid purchasing an item which is already present in an inventory belonging to another site. |
|
Order Type |
This allows you to select an Order type based on its status — Confirmed or On-Hold. To see how this works, click here. |
|
Search By |
Search an Order based on the available filters. To see how this works, click here. |
|
Sort By |
Sort the searched Order list based the column names of the Order grid. To see how this works, click here. |
Viewing Items on Hold Orders and Hold Line status in Warehouse Assign window
Search & Sort Items in Warehouse Assign window
Search and sort products using a number of search options in the Warehouse > Assign window. This way, you can concentrate on resolving the product availability issue for a specific Category or Sub-Category of products at any given time.
The Category/Sub-Category description fields are multi-language enabled.
These four fields have also been added as new columns in the search grid on the Warehouse > Assign window.
Use the desired field as the Search Criteria in the drop down and then provide an appropriate search value.
Search can be done using more than one Search Criteria through the advanced option.

Sort Criteria in the drop down and then select either ascending or descending sort order.
Column Information
The following columns are in the Warehouse Assign Grid.
|
Column Name |
Description |
|
C |
If line comments have been given for the items in the order then these will be displayed. |
|
Status |
The status of the item on the order. |
|
Order ID |
The unique identification number of the order on which the item is unavailable. |
|
Order Description |
The description of the order |
|
Customer |
The name of the Customer for which the Order is created. |
|
Product ID |
The unique identification number of the item |
|
Product description |
The description of the item |
|
Qty |
The number of item that is required on the order. |
|
Avail Qty |
The total quantity present in the inventory across sites. |
|
Start Date /Time |
The date and time of the order prep date |
|
End Date /Time |
The date and time of the order return date |
|
Site |
The site where the order was created. |
|
Salesperson |
The salesperson as defined in the order. |
|
Assign To |
In this case, this will be the Project Manager as defined in the order window. |
|
Event Name |
The name of the event for the order, if any, for which the order was used. |
|
Amount |
This column displays the Order line amount after discount.
|
Right Click Actions
Selecting a line in the window and right-clicking will display a drop-down where you can perform a range of actions for the selected line.

|
Menu Option |
Description |
|
Assign |
Opens the Assign dialog where the item can be assigned. |
|
Reserve |
By selecting this option, Items that are marked Not available on an order but for which stock has been received can be reserved. You can also mark more than one Not Available line at a time as Reserved by selecting multiple lines in the window. This option is given primarily to resolve the non-availability of items in the warehouse by utilizing the existing resources in the best possible manner. |
|
Affecting Order |
Opens the Affecting Orders window where an item which is reserved on an order can be send on another order and the status in the first can be made Not Available. |
|
Comments |
Selecting the comments option opens the comments window where line comments given for the selected item in the order will be displayed in the Read Only mode. |
|
Find |
Selecting this option opens the Find dialog where a refined criteria-based search can be performed in the window. |
|
Split |
You can use this feature to group Not Available items so that different functions can be performed on them. |
|
View/Edit Order |
Opens the respective order in read/write mode, in which the concerned item has been added. To see how this works, click here. |
Viewing Order through the Warehouse Assign window
The View/Edit Order Option on the Right-click menu are provided in Warehouse Assign window. Thus allowing you to open respective order of the Item in read/write mode. This way, you can use Order window to locate the Kit using Parent Kit ID and view the complete kit. This feature assists you to take appropriate decisions by considering the entire kit as a whole, thus resolving the kit shortages problem.
If required, the security feature of R2 can applied to restrict Opening Order from Warehouse Assign window only for limited type of users.
-
Go to Warehouse > Warehouse Assign Window > Search any Order, that has Non-serial kit added.

-
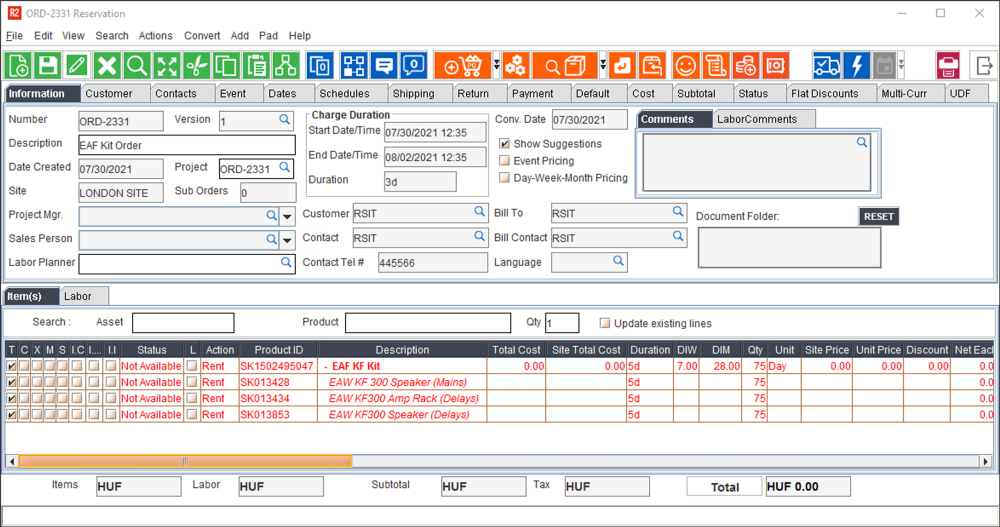
Select one of the Order Lines and either click the Assign button or View/Edit Order Option on the Right-click menu.
-
The Order Reservation Window will open.