This process document is intended to guide employees in various positions through the order
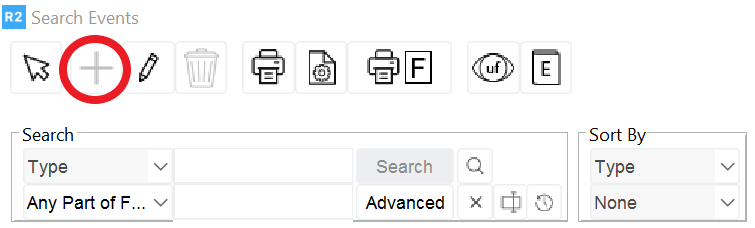
From the Account screen, go to Search > Event and click on Add
.png?cb=1818a4be1e44b9b791c8f5c43452f629)
The following screen will open. Click on the Add button
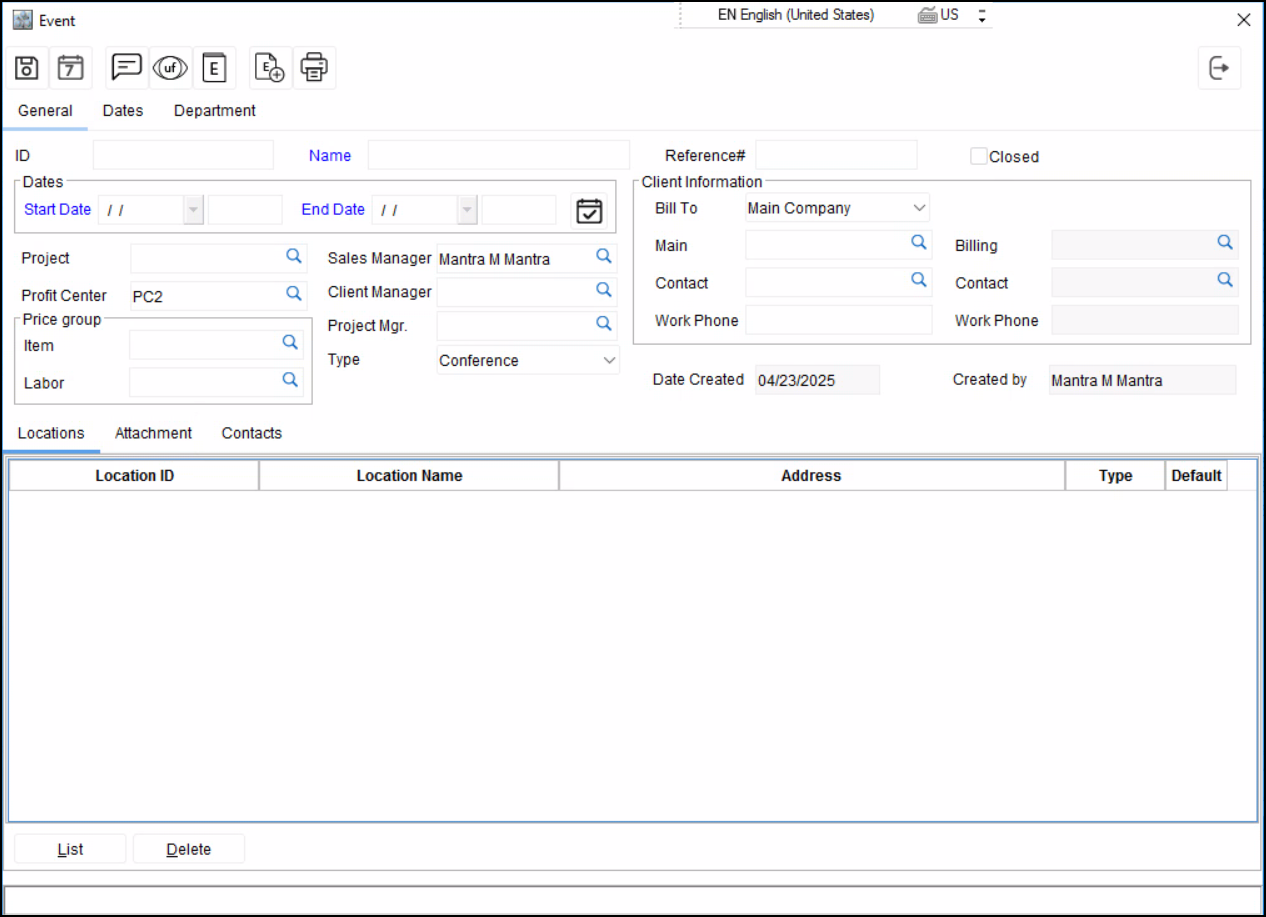
The event profile screen will open.
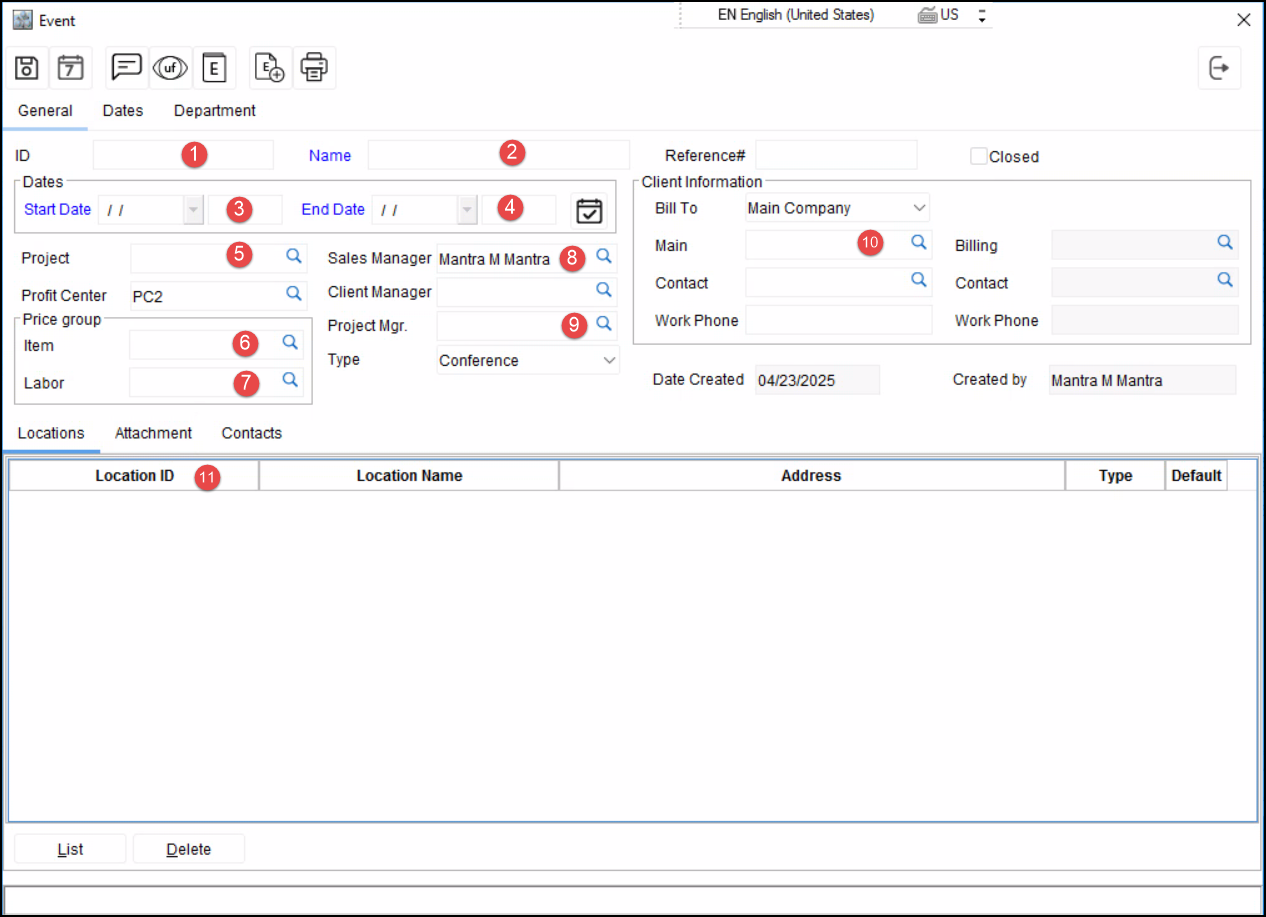
Enter the following information within the General Tab:
-
Event ID.
-
Event Name.
-
Show Start Date and Time.
-
Show End Date and Time.
-
Project# (optional).
-
Pricing group for Items (optional).
-
Pricing Group for Labor (optional).
-
Sales Manager.
-
Project Mgr.
-
Main Company along with Main Contact Name, Billing Company and Billing Contact.
-
Location.
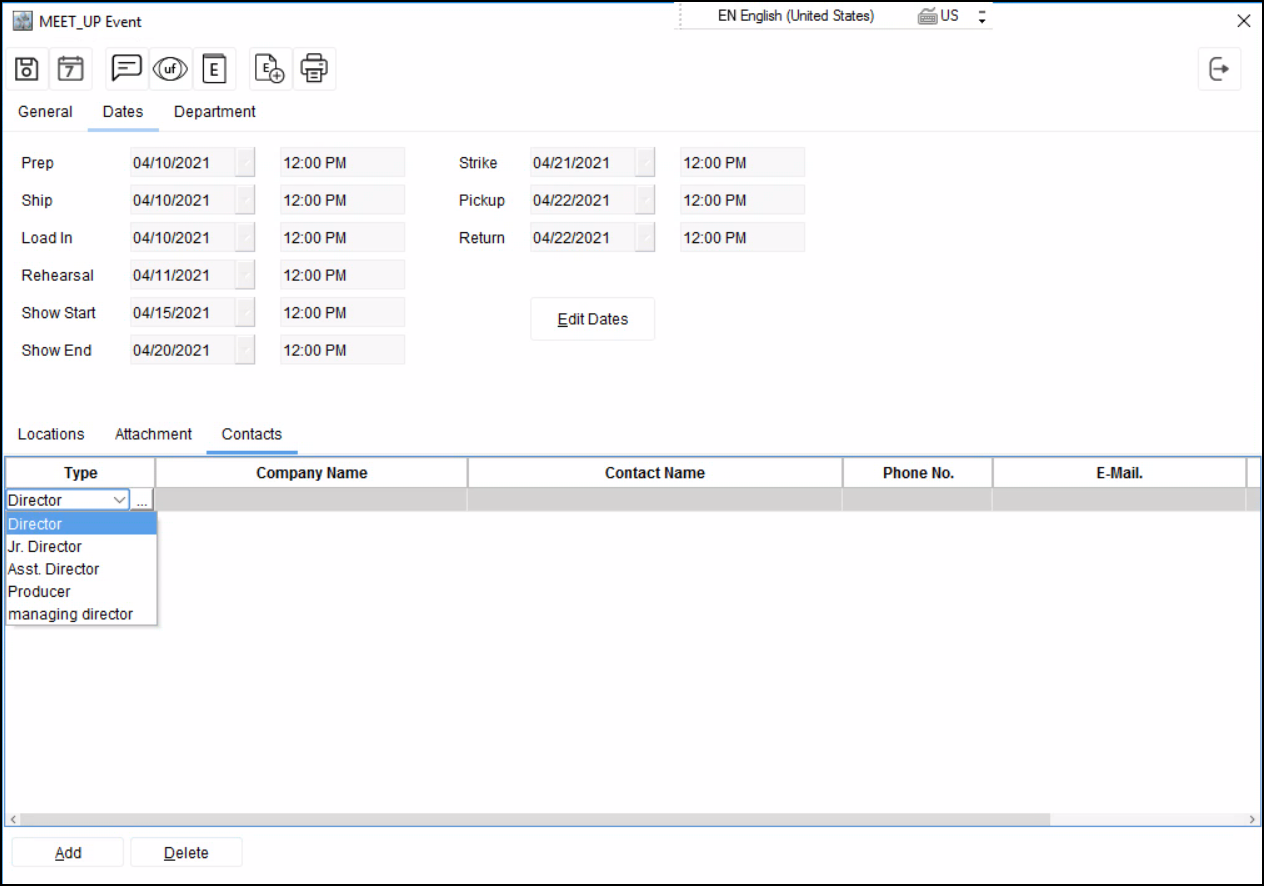
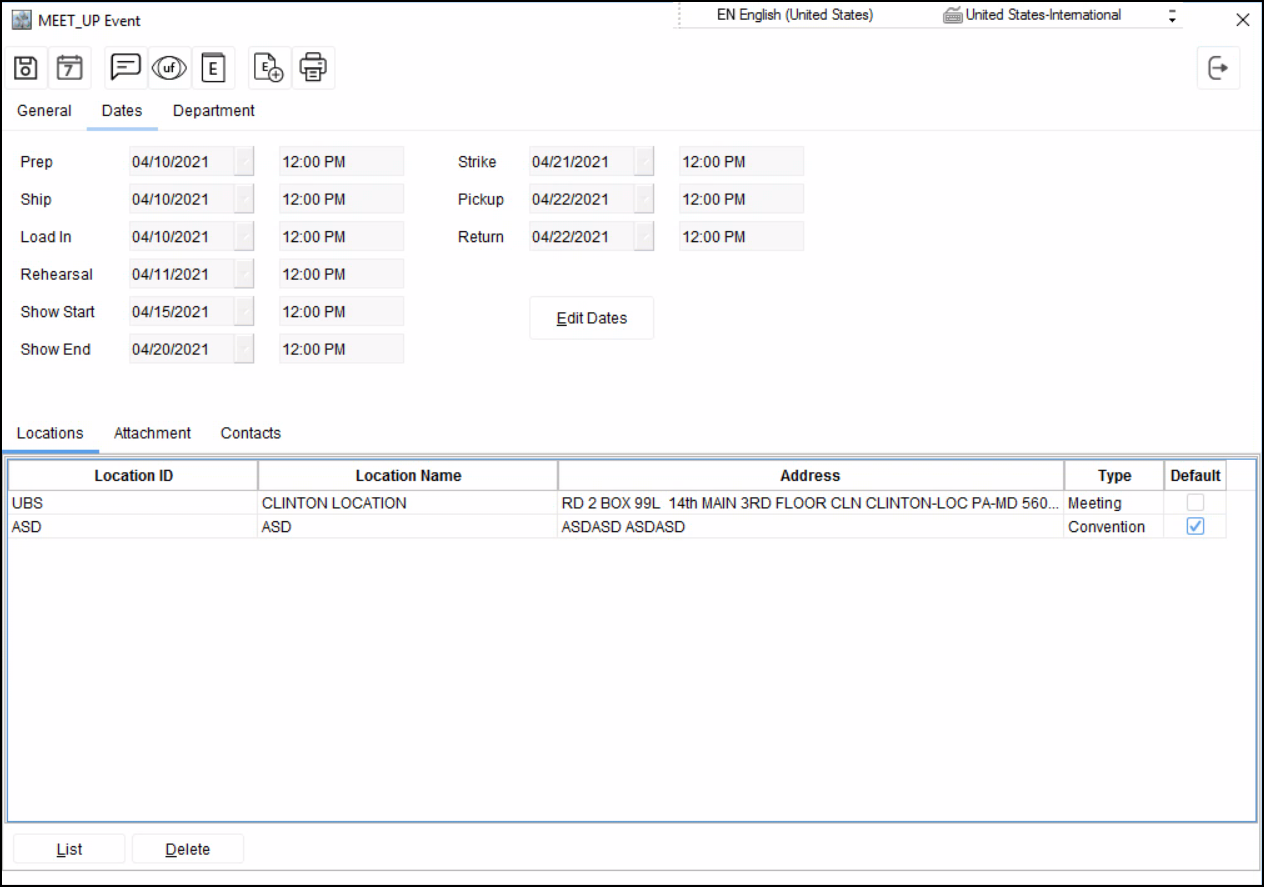
Enter the following information within the Dates Tab:
Dates can be set up as a default for the orders linked to the event.
The entire schedule of dates and times print on the Pull List
Enter the following information within the Department Tab:
-
Double-click on each department to tag them (they will turn blue when tagged). FIGURE1
-
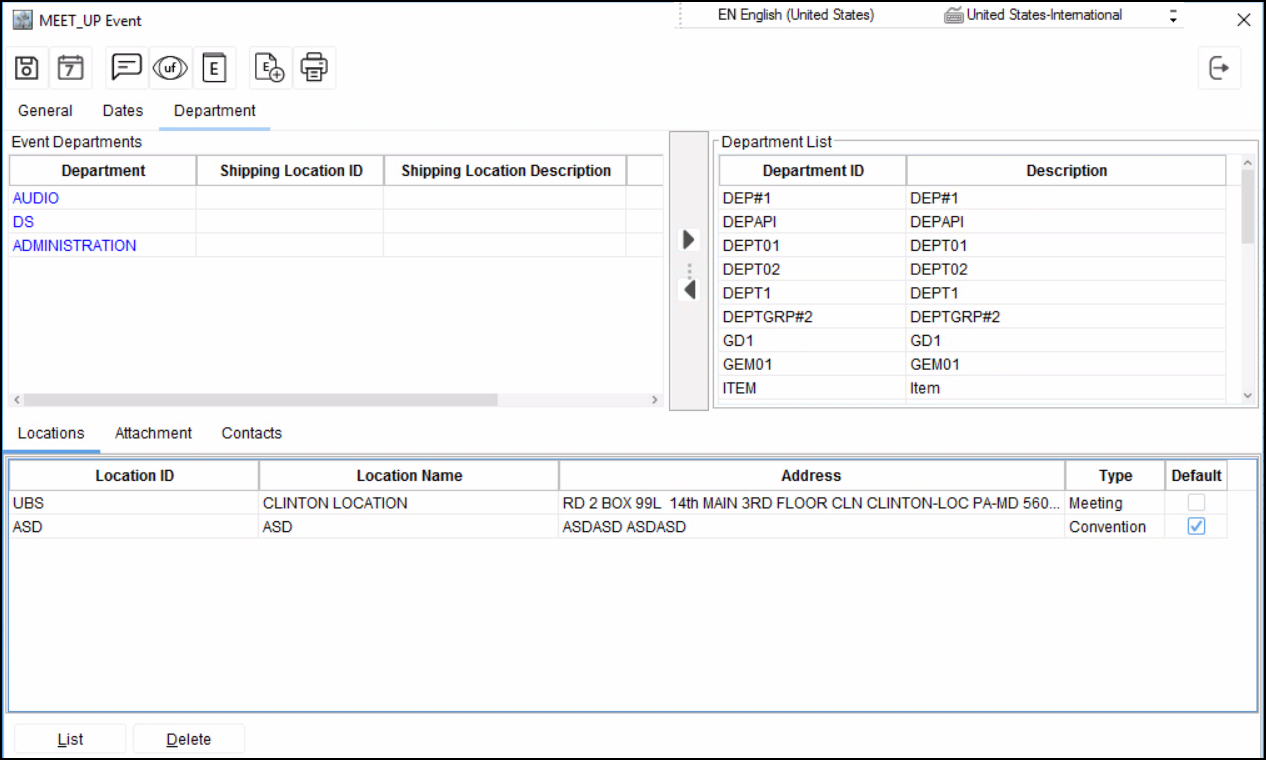
Click on the left-pointing arrow - the departments will move to the Event Departments on the left side of the screen. FIGURE2
-
Click on the Generate Event Orders.
The result is that all the orders will be created avoiding having to produce each individual order
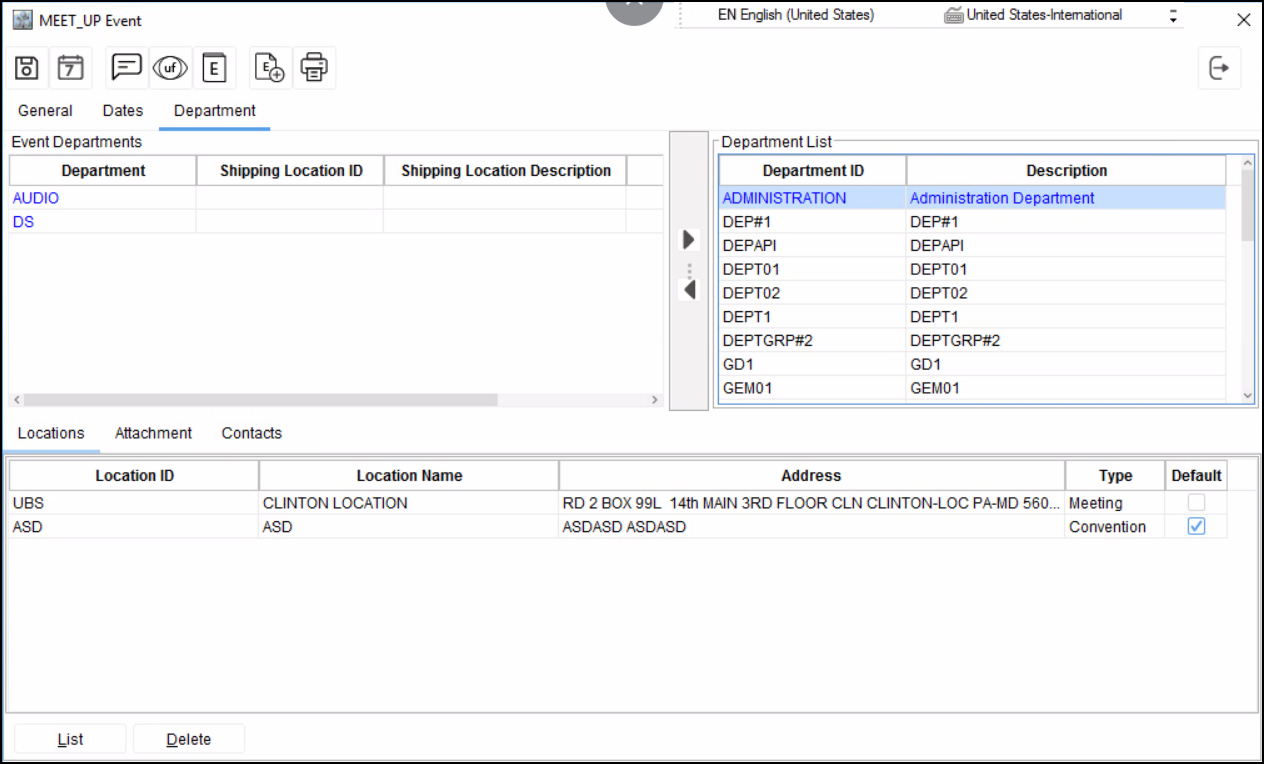
FIGURE 1
Enter the following information within the Contacts Tab:
-
Click on the Add button
-
Pull down on the Type column
-
Type in the name of the contact name (phone and email was not set up to print)