Table of Contents
Employee maintenance
What are Employees in R2?
An employee allows an individual to have a unique login that pertains to their role and security privileges. It also allows various functions to be tracked to an individual.
To access the Employee area, begin in the Maintenance module:
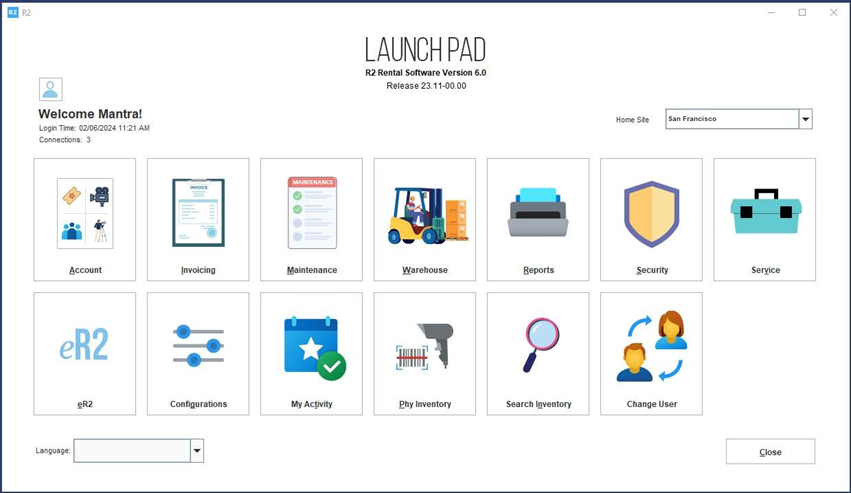
From the Maintenance module, click on the EMPLOYEE tab along the top of the search area, then click on the EMPLOYEE tab along the left side:
Editing Employees
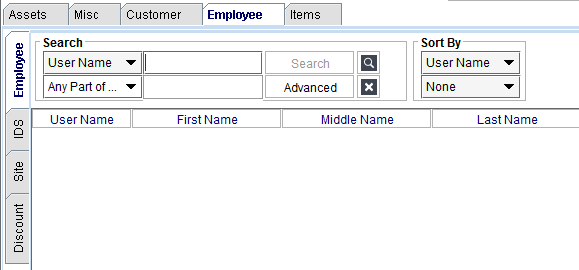
To edit an employee record, begin by searching for the employee by using one of the search criteria and then entering your search value:
The drop-down list is the search criteria. These are the types of data that can be searched for.
Enter the search value into the field to the right of the search criteria.
Click on the Search button. There are two ways to edit:
-
Right-click to edit, or
-
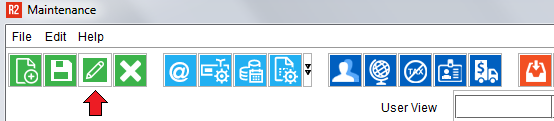
Click the Edit icon
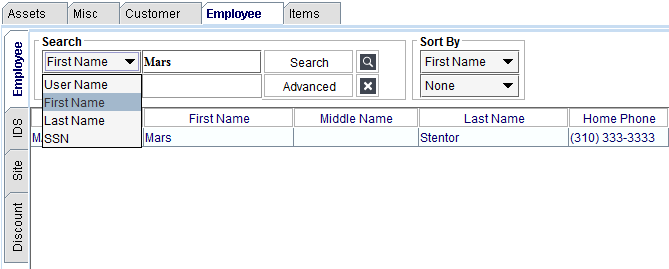
Right-Click to Edit
Right-click on the employee row and select Edit:
Or simply highlight the employee row and click on the Edit icon:
Adding Employees
Click on the Add icon to create a new employee:

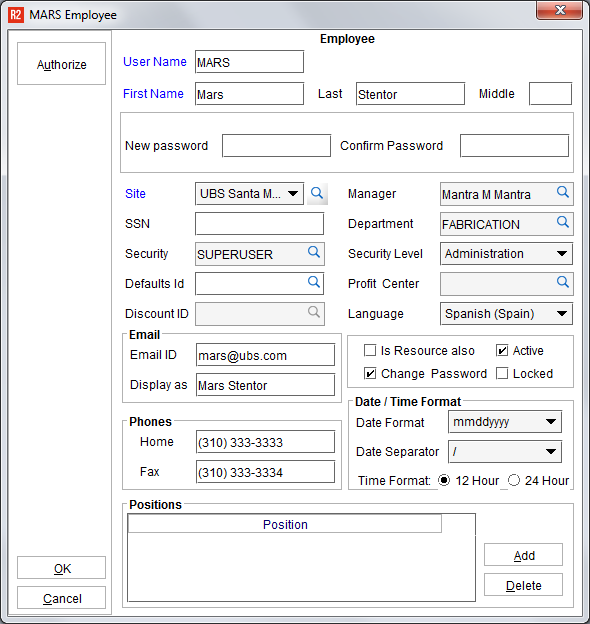
See below for a list of most commonly used Employee Master features:
|
Field |
What it does |
|---|---|
|
User Name |
This is the unique ID used to login and can be alpha-numeric. |
|
First Name and Last Name |
Employee’s first and last name. Middle name field is also available. |
|
Home and Fax Numbers |
Employee’s home and fax numbers. Note: the employee’s Fax field is often times relabelled to “Mobile” if employees do not have fax machines at home. |
|
Email ID |
The employee’s email address. This is used in email correspondence sent from R2. |
|
Email Display As |
A display name changes the email address into a name for the purpose of display only. For example, tcringle@ubs.com may be the Email ID, but the Display As would be “Tom Cringle”. |
|
New and Confirm Password |
Administrators will use these field to change an employee’s password in the event of a new employee setup or if the employee forgot their password. Note: this can be used in conjunction with the Change Password check-box. |
|
Site |
In a multi-site environment, an employee may represent, or need to access several company sites. To grant site access to an employee click on the magnifying glass in the Site field. To select one or more sites, double-click on the site. A selected site will turn blue in color. 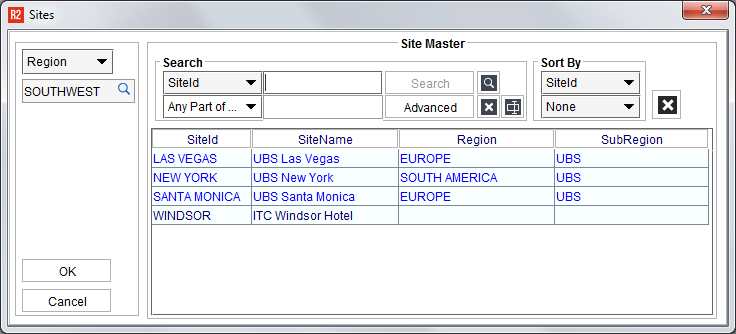
|
|
Security Level |
The Security Level is a fixed list of security positions assigned to an employee. The Security Level controls what buttons can be accessed from the Launch Pad only. Choose from the following:
All employees are granted access to the following Launch Pad modules:
|
|
Security |
Security Groups can be created and employees assigned to them. A Security Group is in charge of the “granular” security settings that can be set on any screen in R2. To create and assign a security group, begin by clicking on the magnifying glass in the Security field. Click on the Add icon to create a new Security Group: 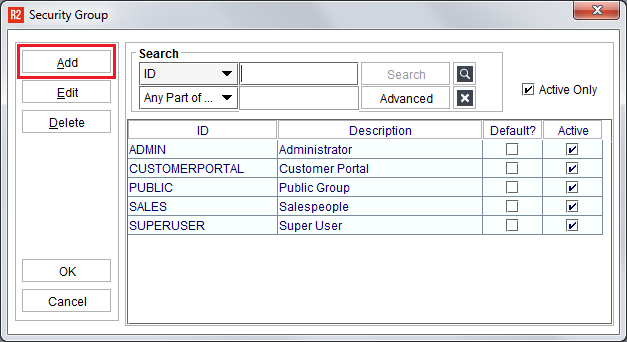
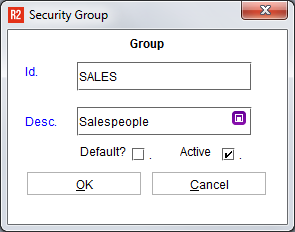
Enter the Security Group ID and Description. Click OK to save it. To assign an employee to the security group, double-click on the group. Upon doing so, the Security Group window will close and the security group ID will appear in the field. |
|
Department |
Select the employee’s regular Department. |
|
Language |
Select the language the employee likes to see in R2. |
|
Date Format and Date Separator |
Set the employee’s preferred Date Format: 
Set the employee’s preferred Date Separator: 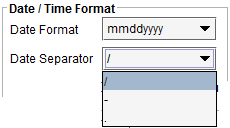
And whether they prefer to see times in 12- or 24-hour format: |
|
Active |
Select whether the employee should be active in the system. Note: an active employee is visible and can be used from any list that accesses the employee master list. For example, salespeople, labor planners, and project managers are employees. Active employees do not need to be licensed to be used in the program, however, only a licensed employee can log-into R2. |
|
Change Password |
Check this box when the employee’s next login should require them to change their password. |
|
Locked |
It is possible an account can become locked when entering the password incorrectly too many times. If an account becomes locked, then this field’s box will be checked. De-select the checkbox to enable the employee login access again. |
Click on the OK button to save the employee record.
Refer to the Employee Licensing guide to give access to the R2 application.