Table of Contents
Site Management
What is a Site?
A Site allows the management of stock, rentals and sales orders, purchase orders and employees. An R2 site is also known as a warehouse or fulfillment center.
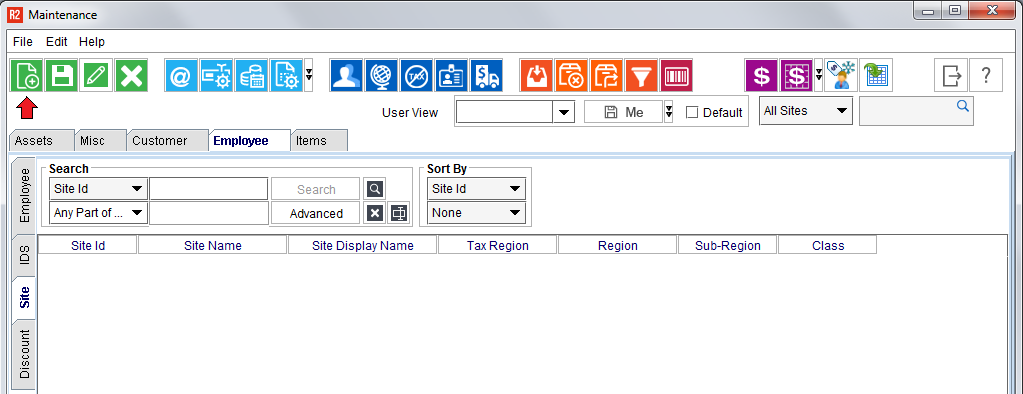
To access the Site area, begin in the Maintenance module:
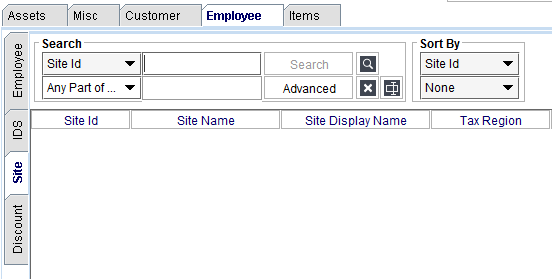
From the Maintenance module, click on the EMPLOYEE tab along the top of the search area, then click on the SITE tab along the left side:
Editing Sites
To edit a site, begin by searching for the site by using one of the search criteria and then entering your search value:
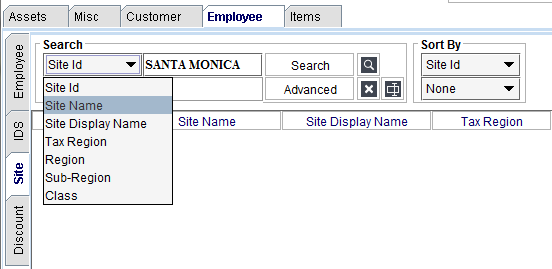
The drop-down list is the search criteria. These are the types of data that can be searched for.
Enter the search value into the field to the right of the search criteria.
Click on the Search button. There are two ways to edit:
-
Right-click to edit, or
-
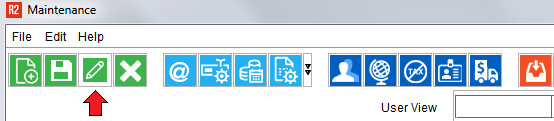
Click the Edit icon
Right-Click to Edit
Right-click on the site row and select Edit:
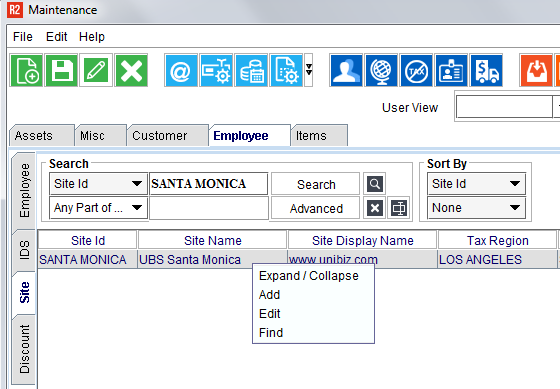
Or simply highlight the site row and click on the Edit icon:
Adding Sites
Click on the Add icon to create a new site:
See below for a list of the most commonly-used site features.
|
Field |
What it does |
|---|---|
|
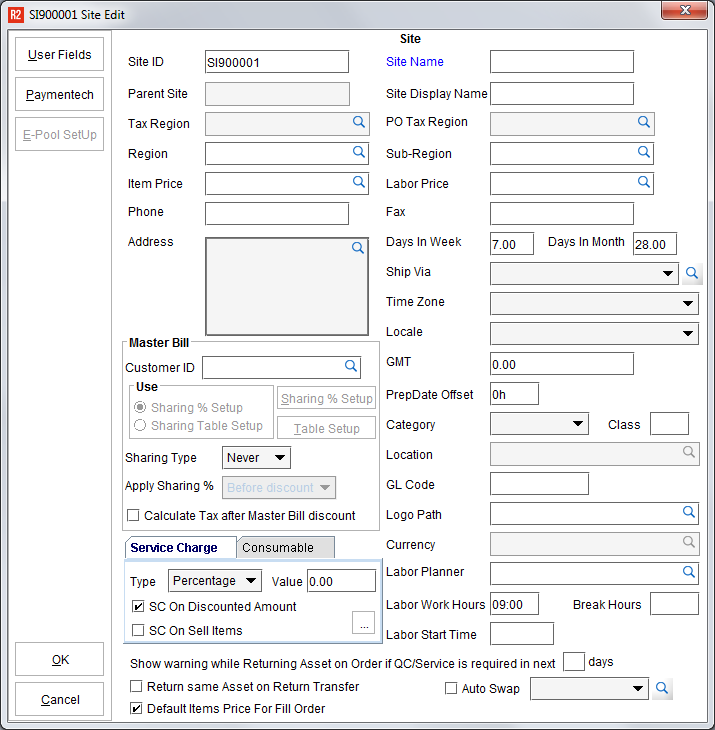
Site ID |
The Site ID is a required field and can be alpha-numeric. |
|
Site Name |
A descriptive name of the site. |
|
Tax Region |
New orders created from this site will use this tax rate. |
|
PO Tax Region |
New purchase orders created from this site will use this tax rate. |
|
Region and Sub-Region |
A Region and/or Sub-Region are typically used in multi-site environments to identify groups of sites for inventory availability reasons. A Region and Sub-Region can be used together or independently. An example might be: Region: United States Europe Sub-Region: Northern Territory Southern Territory Eastern Territory Western Territory To create a Region/Sub-Region click on the magnifying glass next to the field label: 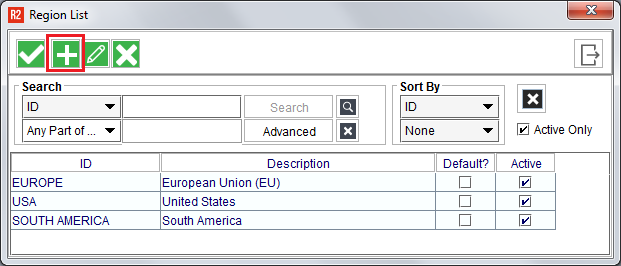
Click on the Add icon to create a new Region/Sub-Region: 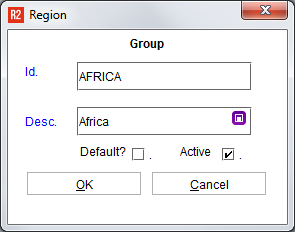
Click OK to save. To select a Region or Sub-Region to a Site, double-click on it. |
|
Item Price |
New orders created from this site will use the Item Price schema selected here. If nothing is selected here, then new orders created from this site will use the Item “default” pricing. |
|
Labor Price |
New orders created from this site will use the Labor Price schema selected here. If nothing is selected here, then new orders created from this site will use the Labor “default” pricing. |
|
Phone, Fax, Address |
The Phone, Fax, and physical site Address entered here can be used on printable documents. |
|
DIW |
Days in Week (DIW) is a term for how many billable days are in a 7-day period. E.g. “how many days do you charge for in a week?” New orders created from this site will have a default DIW applied to all items. This can be changed order-by-order afterward. |
|
Ship Via |
Click on the magnifying glass to select from a list of available shipping methods at that site: 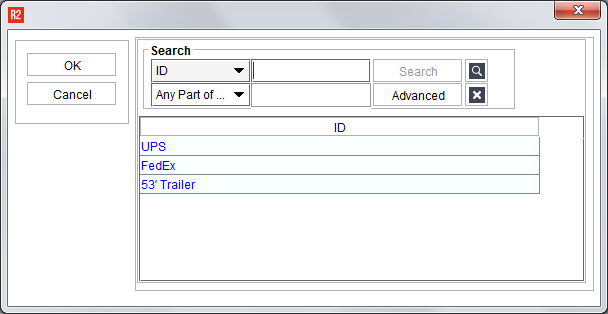
Double-click each ship method available to that site. Upon doing so, the shipping method will turn blue in color. *A list of global Ship Vias is setup in the Configuration module. |
|
Prep Date Offset |
New orders created from this site will have a Prep Date offset of ‘X’ hours, based on the selected Ship Date of the order. For example, say you need a minimum of one day before the ship date to get an order together and ready. In this case, the Prep Date Offset would be 24 hours (entered in R2 as 24h). When creating a new order, and selecting the Ship Date as 18 September, R2 will set the order Prep Date to 17 September. This gives your warehouse a day to get the order picked and ready to ship. |
|
Labor Planner |
New orders created from this site will have this employee selected as the Labor Planner. |
|
Labor Work Hours |
When entering labor positions on customer orders, the estimated work time for each position and role can be defined. The Labor Work Hours is the standard number of work hours there are in a 24-hour day. |
|
Labor Start Time |
When entering the estimated work time for each labor position and role, it may be that multiple days are required. When that is the case, R2 will default the start time for each day to this Labor Start Time. E.g. say the labor positions for a customer event are needed for five days. Upon selecting the start date of the labor, R2 can setup the five days based on the Labor Work Hours and Labor Start Time automatically. |
|
Default Items Price for Fill Order |
When items are added to the order during fulfillment, should those items appear on the customer order as free (e.g. zero dollars) or should the items added during filling have a price? If this box is not checked, then R2 will add items to the order without a price. If this box is checked, then R2 will add items to the order with the regular rental/sales price for that item. |
|
User Fields |
User Defined Fields are additional fields for an area of R2 that allow a company to store additional information. R2 allows User Defined Fields in many areas of the program and the Site is one of them. When User Defined Fields are setup, there will be one or more fields available by clicking on the User Fields button. Note that sometimes those fields will require data entry before being able to save. |
|
Time Zone |
When using R2 in a multi-site environment across multiple time zones, use this field to indicate the time zone that corresponds to this site location. Each selection shows the time zone abbreviation followed by the number of hours by which the time zone is offset from GMT. This setting is crucial to synchronization of item availability and order schedules across multiple time zones. |
When finished entering new Site information, click the OK button to save the new site.
Note: after setting up sites, it is important to edit each Employee and assign them site access. See the Employee Management guide for more details.