Details
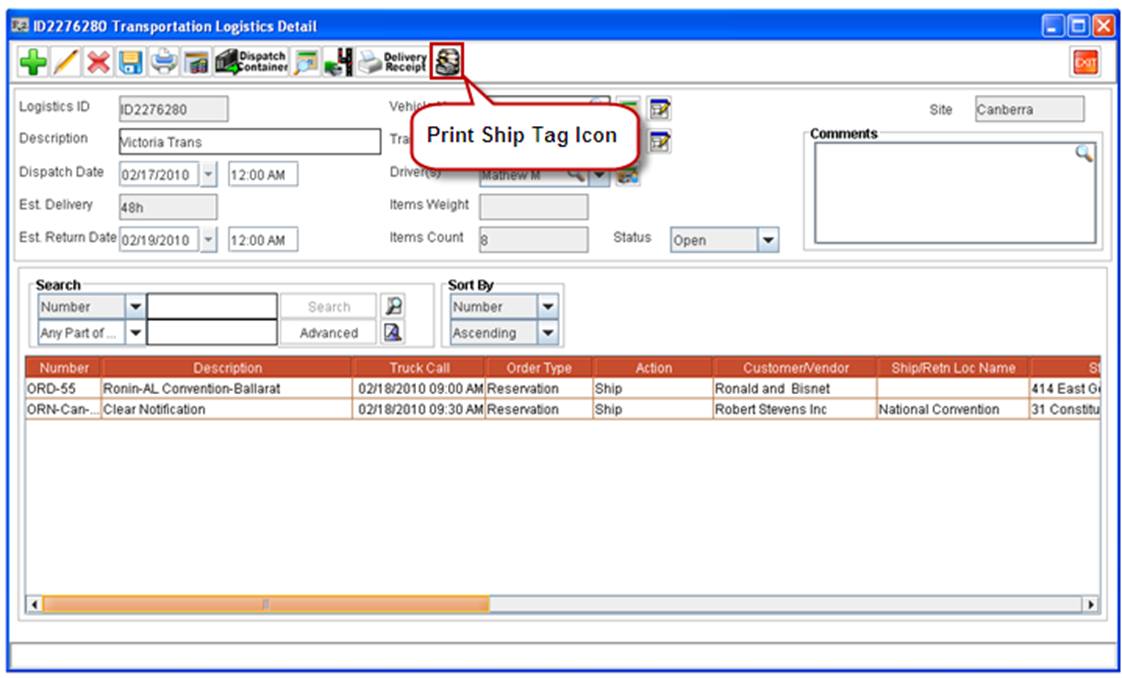
In the Transportation Logistics Detail Window, you can print the Ship Tag for the Orders’ whose tasks are added to the Logistics Schedule. This can be done from within the Logistics Detail window by using the Ship Tag icon ![]()
Steps to print Ship Tag from within Transportation Detail Window
-
From within the Logistics Detail window, click on the Ship Tag Icon.
-
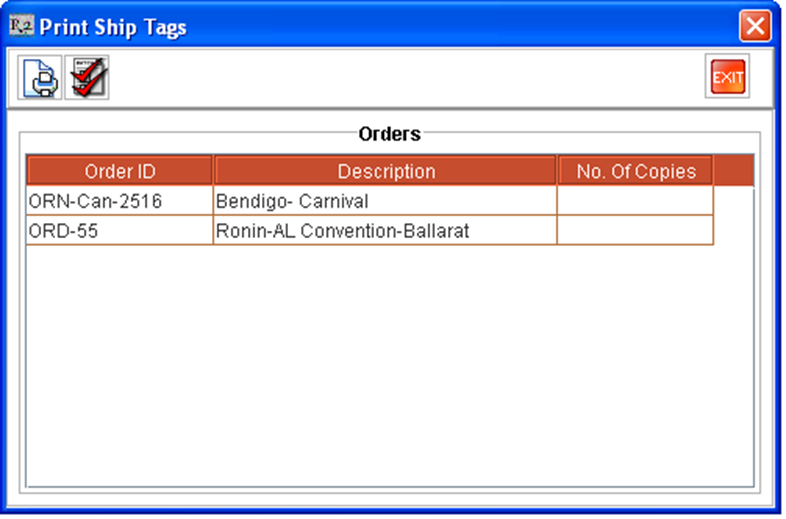
System will display the Print Ship Tags window, with the list of Orders corresponding to the Order Tasks added.
-
Double-click on an Order / Orders for which you wish to print the Ship Tag or click on Tag All icon

-
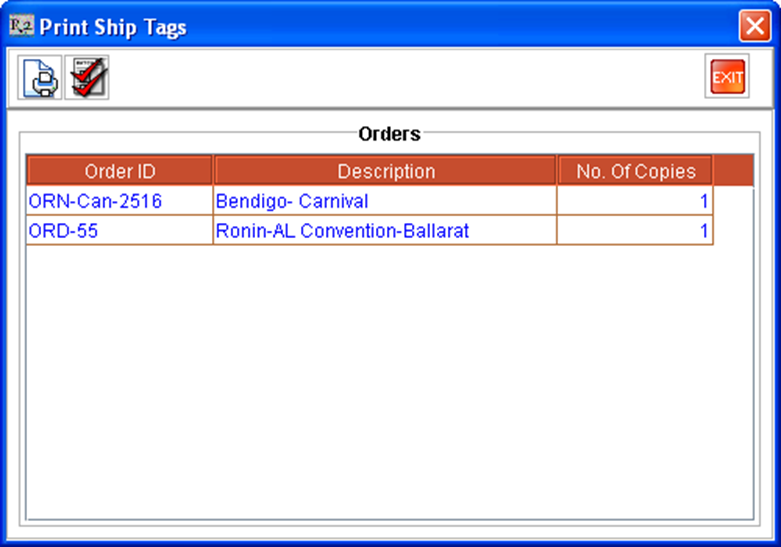
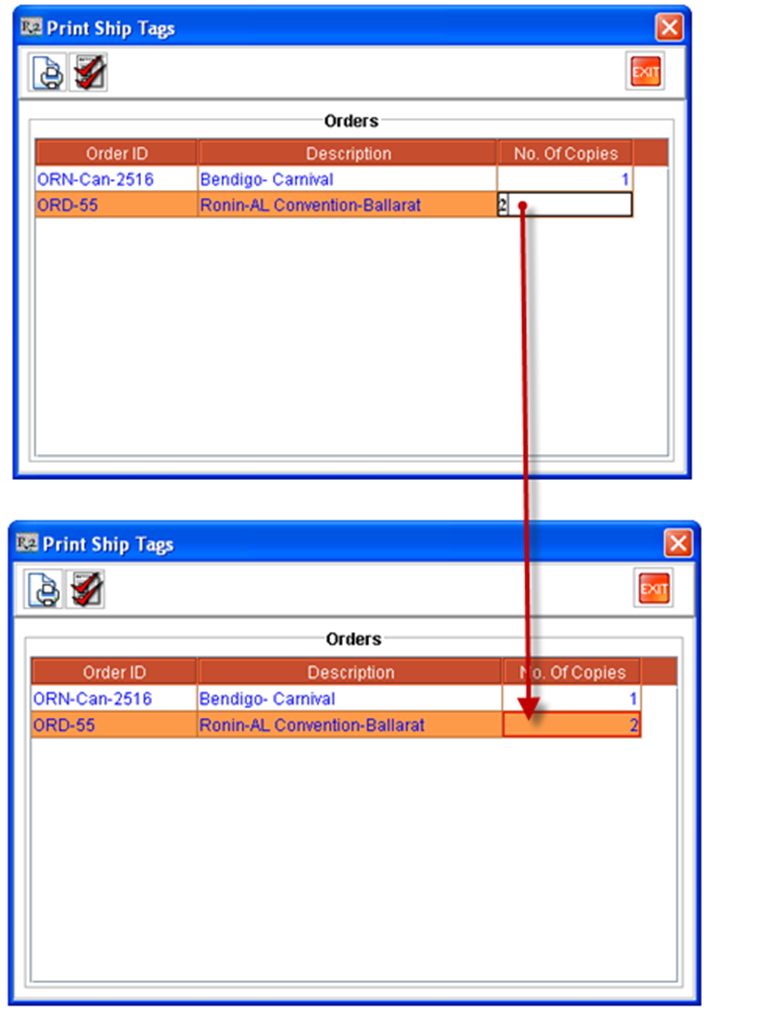
On tagging an order, the value in the No. of Copies field for the order will be updated as 1 as shown below:
-
You can also increase the no. of copies of Ship Tag to be printed, by modifying the value present in the No. of Copies field (by double-clicking inside the field).
-
Once the Orders are selected (tagged), and the required No. of copies is also defined, click on the Print Icon

-
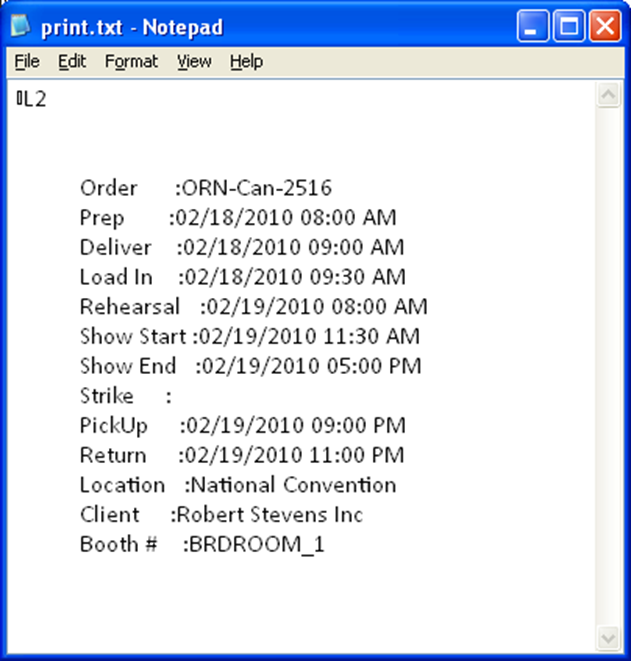
On clicking on the Print Icon, system will generate the Ship tag for the selected order(s) and will return to the Transportation Logistics Detail window by closing the Print Ship Tags window.
Points to Note:
-
On generating the Ship Tag print, the print generated will be displayed for preview or send to the printer based on the print settings present in the Print Tab - Warehouse - General section in the configuration.
-
In the Print Ship Tags window, the Tag All icon present in the tool bar can be used for Tagging all lines present as well as to Un-tag all the orders which are tagged.